 Save to Pinterest
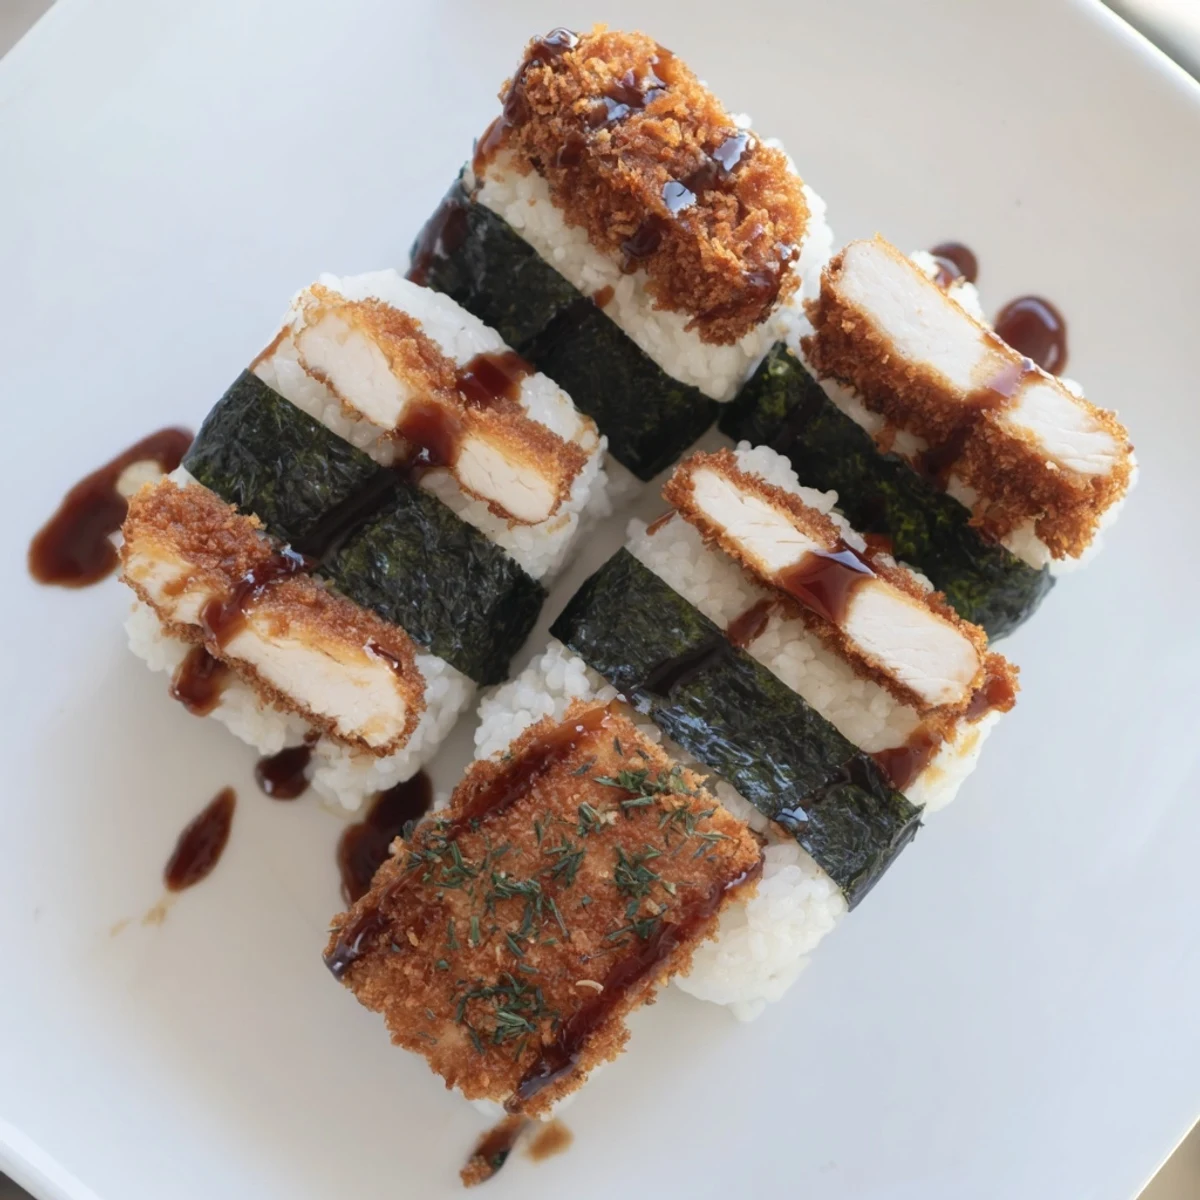
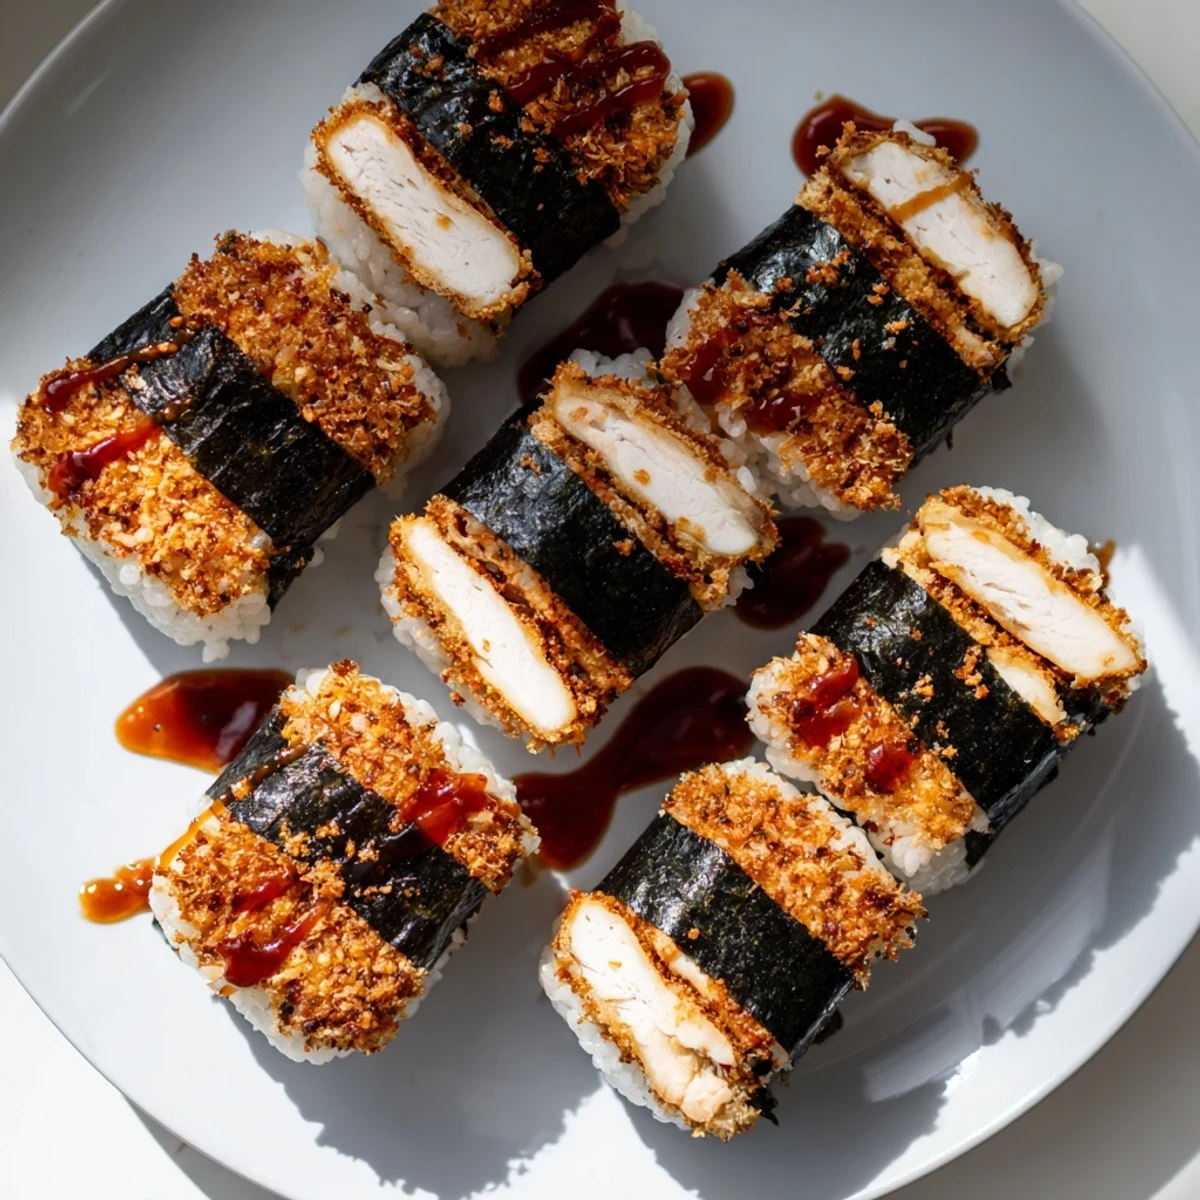
 Chicken Katsu Musubi combines the best of Hawaiian and Japanese cuisines into one portable, satisfying handheld. Golden, crispy panko-coated chicken thighs rest between layers of perfectly seasoned short-grain rice, all hugged by roasted nori seaweed. The sweet and savory tonkatsu-based sauce ties everything together, while optional furikake adds an extra layer of umami richness. Each musubi offers that irresistible contrast of textures—crunchy exterior, tender meat, and soft, vinegared rice. Perfect for lunchboxes, picnics, or anytime you need something substantial yet convenient to eat.
Standing in my aunt's tiny Honolulu kitchen, watching her press rice into neat rectangles while chicken sizzled in the background, changed how I thought about hand-held food. The smell of panko hitting hot oil mingled with the tang of rice vinegar, and I knew this wasn't just a recipe—it was something special.
During finals week in college, my roommate stumbled home with a cardboard box of musubi from a local spot, and we devoured them while studying at 2 AM. That moment of crispy, savory comfort got me through more than one deadline, and I've been making them ever since.
Ingredients
- Chicken thighs: Thighs stay juicier than breast through the frying process and handle being pressed into musubi without drying out
- Panko breadcrumbs: These create the essential airy crunch that defines good katsu, regular breadcrumbs just won't give you that same shatter
- Short-grain rice: The stickiness is non-negotiable here, long-grain rice will fall apart when you try to wrap the nori around it
- Rice vinegar mixture: This seasons the rice from within, giving each layer a subtle tang that cuts through the fried chicken
- Tonkatsu sauce blend: Adding honey and soy sauce to store-bought tonkatsu sauce creates a custom glaze that's both sweet and deeply umami
- Nori sheets: Use the roasted variety for the best flavor, and halve them carefully to avoid tearing
Instructions
- Fry the chicken to golden perfection:
- Pound those thighs until they're evenly thick, then season generously before your three-step coating process. Flour first, then egg whisked with milk, then press firmly into panko so it really adheres. Fry in hot oil until you hear that satisfying sizzle and see golden brown edges, about 3-4 minutes per side, then drain on paper towels while you slice them into musubi-sized strips.
- Season your rice while it's still warm:
- Whisk rice vinegar, sugar, and salt until dissolved, then gently fold it into your hot cooked rice. The warmth helps the seasoning penetrate every grain. Let it cool just slightly so you can handle it without burning your fingers, but keep it warm enough to mold easily.
- Mix up that signature sauce:
- Whisk tonkatsu sauce, soy sauce, and honey in a small bowl until completely smooth. Taste and adjust—some days I want it sweeter, others more savory. This will be your finishing touch and dipping sauce.
- Build your musubi with confidence:
- Lay plastic wrap on your counter, place a halved nori sheet shiny side down, and with damp hands, press about 1/4 cup of rice into a tight rectangle in the center. Sprinkle with furikake if you're using it, top with chicken, drizzle with sauce, add another thin rice layer, then wrap the nori tightly around everything, using the plastic wrap to compress it into a neat package. Let it sit for 2-3 minutes so the nori softens and seals the deal.
 Save to Pinterest
 My son asked for these in his lunchbox every day for a month after I first made them, and honestly, I didn't mind. There's something deeply satisfying about packing food you know will bring someone joy, even when you're not there to see them eat it.
Getting That Perfect Crunch
Double-frying the chicken takes extra time but creates that restaurant-quality crunch that holds up even after the musubi has sat for a while. Fry once, let it rest, then fry again briefly before assembling.
Rice Timing Matters
I've learned the hard way that cold rice won't mold properly and falls apart. Keep your rice warm while you work, and have everything else prepped before you start the assembly line.
Make Ahead Strategy
You can fry the chicken and make the sauce up to a day ahead, just store them separately and reheat the chicken slightly before assembling. The rice needs to be freshly made and still warm for the best results.
- Wrap assembled musubi individually in plastic wrap if you're making them for later
- Don't add sauce inside the musubi if you're packing them for the next day—the nori will get soggy
- Keep a small container of extra sauce on the side for dipping
 Save to Pinterest
 These musubi have become my go-to for beach days, road trips, and those nights when I want something comforting but not heavy. Make a batch, wrap them up, and take them anywhere life takes you.
Common Questions
- → What makes chicken katsu musubi different from regular musubi?
-
Traditional musubi typically features Spam or grilled protein, while chicken katsu musubi showcases crispy, panko-breaded fried chicken. The katsu adds a satisfying crunch and heartier protein element that pairs beautifully with the soft rice and nori wrapper.
- → Can I make chicken katsu musubi ahead of time?
-
Yes, you can prepare the components in advance. Cook and slice the chicken katsu, season the rice, and whisk the sauce up to a day ahead. Assemble the musubi shortly before serving for the best texture—norI can become soggy if assembled too far in advance.
- → What's the secret to getting the musubi shape right?
-
Use wet hands when pressing the rice to prevent sticking. Press firmly but gently to create compact rectangles that hold together. The plastic wrap technique helps mold and compress the musubi evenly while keeping everything contained during assembly.
- → Can I bake the chicken katsu instead of frying?
-
While frying gives the crispiest results, you can bake the katsu at 425°F for about 15-20 minutes, flipping halfway through. Spray the breaded chicken with oil before baking to help achieve golden-brown color and better crunch.
- → What other proteins work well in musubi?
-
Beyond chicken katsu, try teriyaki beef, grilled salmon, pork cutlets, or even tofu katsu for a vegetarian version. The key is having a protein that holds up well when sliced and complements the seasoned rice and nori flavors.
- → How do I store leftover musubi?
-
Wrap each musubi individually in plastic wrap and refrigerate for up to 24 hours. For longer storage, freeze them wrapped in plastic then foil—thaw in the refrigerator overnight. Avoid microwaving as it makes the rice gummy; room temperature or gently warmed is best.
