 Save to Pinterest
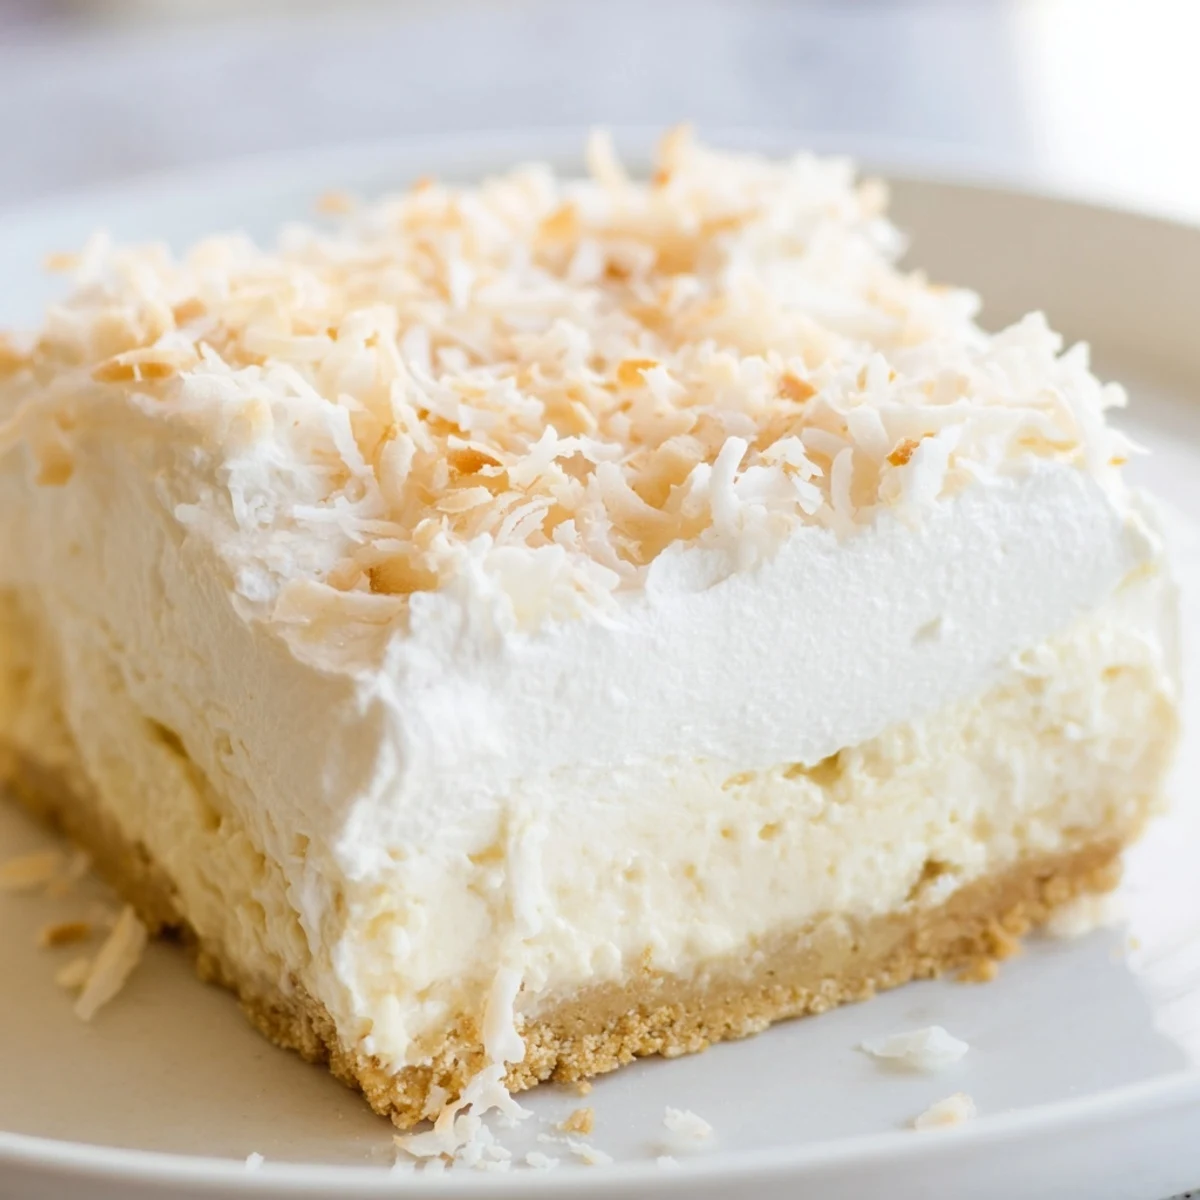
 These bars feature a crunchy graham cracker crust layered with a smooth and creamy coconut filling. Topped with chilled whipped cream and toasted coconut flakes, the dessert offers a balanced texture of crispness and softness. Easy to prepare and chill, they make a perfect indulgence for warm days or any gathering. Substitutions for the crust and additional coconut flavor can elevate the experience. Gluten-free options are available by swapping the crust base.
The smell of toasted coconut takes me back to my aunt's kitchen, where she'd let me stand on a chair to sprinkle garnishes on her famous desserts. These Coconut Cream Dream Bars became my go-to comfort food during college finals week. Something about that sweet coconut flavor just makes everything feel lighter and more manageable.
I brought these to a summer potluck last year, and my friend Sarah—who claims to hate coconut—went back for thirds. Turns out she'd only ever had the artificial sweetened flakes from grocery store bakeries. Now she asks for this recipe every time we hang out, and honestly, I love that I could change her mind about something.
Ingredients
- Graham cracker crumbs: The foundation needs to be solid and slightly sweet to balance the rich filling
- Unsalted butter, melted: Salted butter works too, but adjust the sugar in the crust accordingly
- Coconut milk: Full fat canned coconut milk makes all the difference here, dont use carton versions
- Cornstarch: This creates that silky pudding texture without making it too heavy
- Egg yolks: Room temperature yolks incorporate more smoothly into the hot liquid
- Sweetened shredded coconut: Toast half the coconut for deeper flavor in the filling
- Heavy whipping cream: Cold cream whips up faster and holds its shape better
Instructions
- Prepare your baking dish:
- That parchment overhang is worth the extra effort, it saves you from digging bars out with a spoon later
- Build the crust:
- Press the crumbs firmly into the pan using the bottom of a measuring cup for even thickness
- Start the custard base:
- Whisk constantly while the milk mixture heats up, catching those edges before they scorch
- Temper your egg yolks:
- Add that hot milk slowly while whisking frantically, nobody wants scrambled eggs in their dessert
- Thicken it all up:
- You'll know it's ready when the bubbles look glossy and the mixture coats the back of a spoon
- Fold in the coconut:
- Let the shreds soften in the hot filling for a minute before spreading it over your crust
- Chill completely:
- This step tests patience, but cutting into warm bars leads to messy slices and weeping filling
- Top it all off:
- Spread that whipped cream gently like you're tucking in a blanket, then finish with toasted flakes
 Save to Pinterest
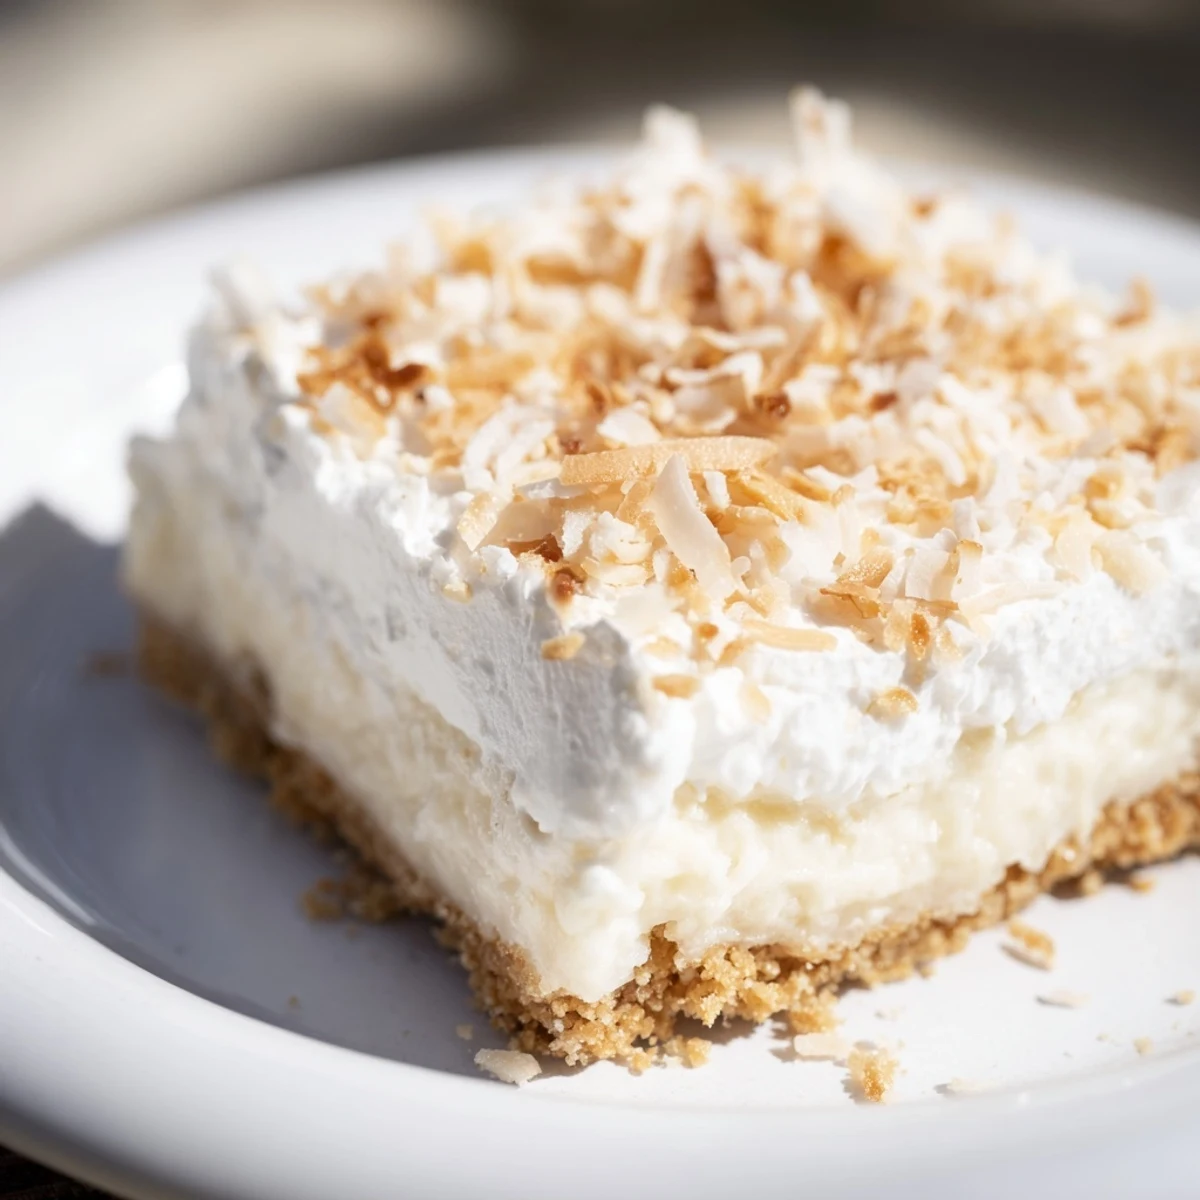
 My dad called these vacation bars because they remind him of our beach trips. Now whenever I make them, the whole house feels like a tropical getaway even in the middle of February. Food has this magical way of transporting you somewhere else entirely.
Making It Your Own
I've swapped in chocolate graham crackers for the crust during chocolate cravings, and let me tell you, chocolate coconut is a combination that deserves more attention. You could also add a layer of fresh mango between the filling and whipped cream for something truly special.
Serving Suggestions
These bars shine on their own, but a drizzle of chocolate ganache takes them over the top. I've also served them alongside fresh berries when I need to pretend I'm being healthy about dessert. The tartness cuts right through all that rich coconut cream.
Storage And Make Ahead Tips
The bars keep beautifully in the refrigerator for up to four days, though they rarely last that long in my house. I've frozen them without the whipped topping for up to a month, then thawed and topped fresh before serving. The crust stays surprisingly crisp through freezing.
- Place a piece of wax paper between layers if you need to stack them
- Bring bars to room temperature for about 10 minutes before serving
- The whipped topping will weep if left at room temperature too long
 Save to Pinterest
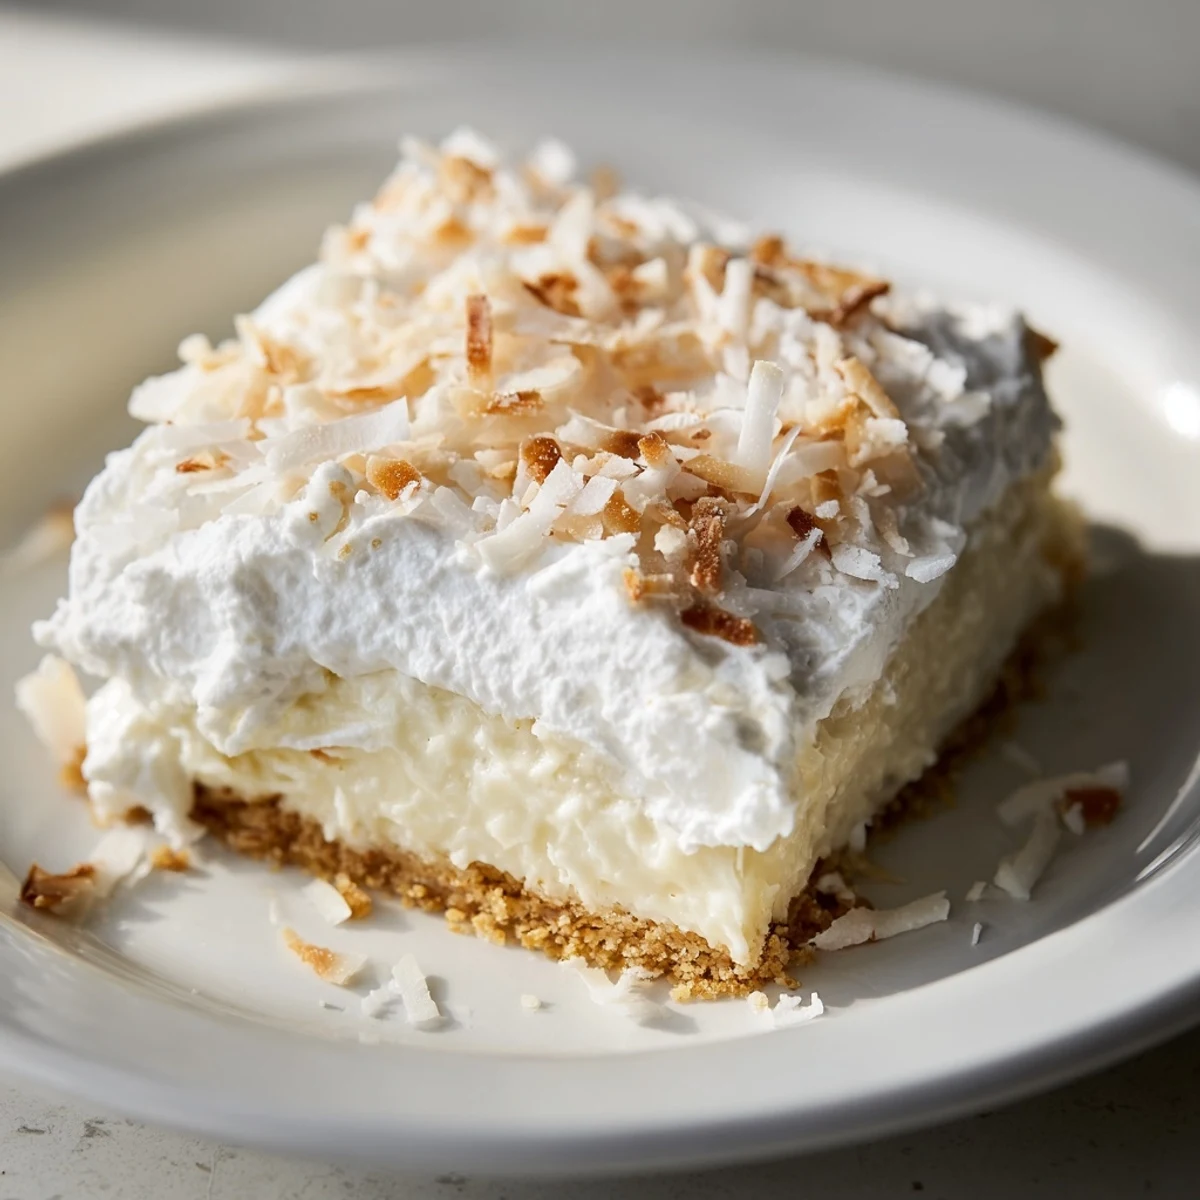
 Hope these bring a little tropical sunshine to your kitchen, no matter the season outside.
