 Save to Pinterest
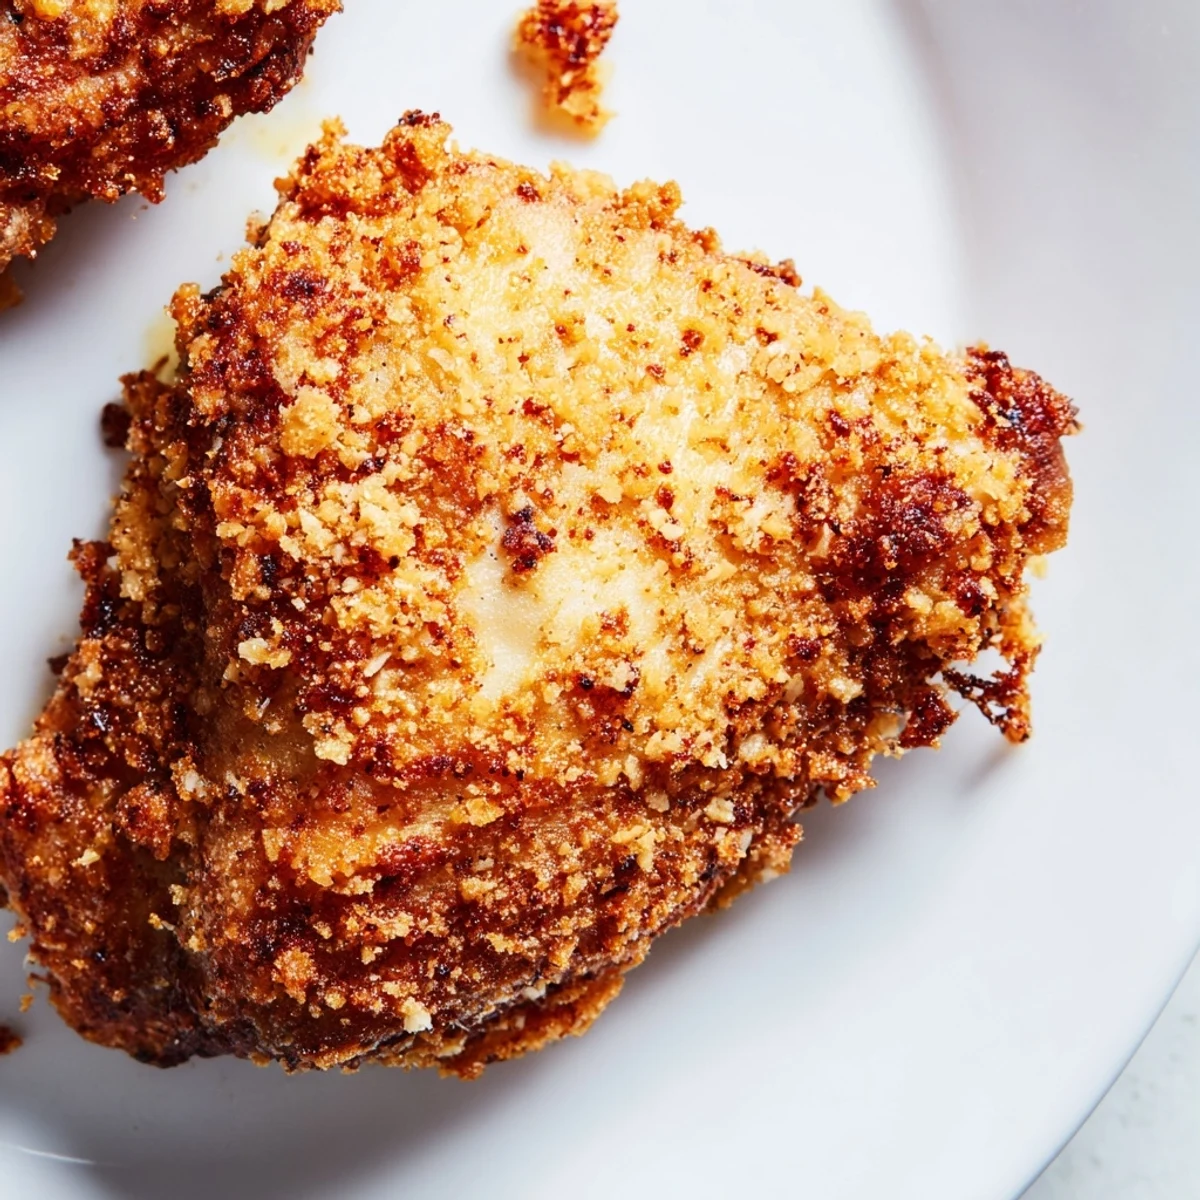
 This chicken transforms simple ingredients into something extraordinary through the magic of pickle brine marination. The acidic juices tenderize the meat while infusing it with signature dill flavor, while the double-dredge technique creates that coveted crunch. Perfect for weeknight dinners or casual entertaining, this dish delivers restaurant-quality results with minimal effort.
The first time I heard about marinating chicken in pickle juice, I'll admit I was skeptical. But then I took that first bite and understood what all the fuss was about. The tanginess penetrates deep into the meat while the exterior stays impossibly crispy. Now it's become my go-to when I want something that feels like comfort food but still surprises people.
Last summer I made this for a backyard barbecue and watched my pickle-hating cousin go back for thirds. She kept asking what made the chicken taste so different and juicy. When I finally told her about the secret ingredient she just stared at me in disbelief. Now she texts me every time she makes it at home.
Ingredients
- 4 boneless skinless chicken thighs or breasts: Thighs stay juicier but breasts work perfectly too just pound them to even thickness
- 1 cup dill pickle juice: This is the star of the show so use good quality pickle brine from a brand you actually like
- 2 tablespoons chopped dill pickles: Adds little bursts of tangy flavor throughout the meat
- 1 teaspoon garlic powder: Helps build that savory base layer without competing with the pickle flavor
- 1 cup all-purpose flour: Creates the foundation for your crispy coating
- 1 cup panko breadcrumbs: The secret to extra crunch that regular breadcrumbs just can't match
- 1 teaspoon paprika: Adds beautiful color and a subtle smoky note
- 1 teaspoon onion powder: Rounds out the savory flavors beautifully
- ½ teaspoon salt: Enhances all the other flavors without overpowering
- ½ teaspoon black pepper: Just enough warmth to balance the tang
- 2 large eggs: The glue that helps your breading stick perfectly
- 2 tablespoons water: Thins the egg wash for an even coating
- Vegetable oil for frying: Needs about 1 inch in your skillet for proper frying
Instructions
- Let the chicken soak up all that tangy goodness:
- Place your chicken in a large resealable bag and pour in the pickle juice along with those chopped pickles and garlic powder. Seal it up give it a good toss and pop it in the fridge for at least an hour but honestly overnight is even better.
- Get your coating station ready:
- In one shallow bowl whisk together the flour panko paprika onion powder salt and pepper until everything is well combined. In another bowl beat the eggs with the water until smooth.
- Give the chicken a quick pat down:
- Pull the chicken from that flavorful marinade and pat it dry with paper towels. This step is crucial because wet chicken means soggy coating and nobody wants that.
- Build those beautiful crispy layers:
- Dip each piece of chicken first into the flour mixture pressing gently to help it stick. Then into the egg wash letting any excess drip off before going back into the flour mixture one more time. Press firmly to make sure that coating really adheres.
- Get that oil nice and hot:
- Pour about ½ inch of vegetable oil into a large skillet and crank the heat to medium high. You'll know it's ready when a pinch of flour sizzles immediately upon hitting the oil.
- Fry until golden perfection:
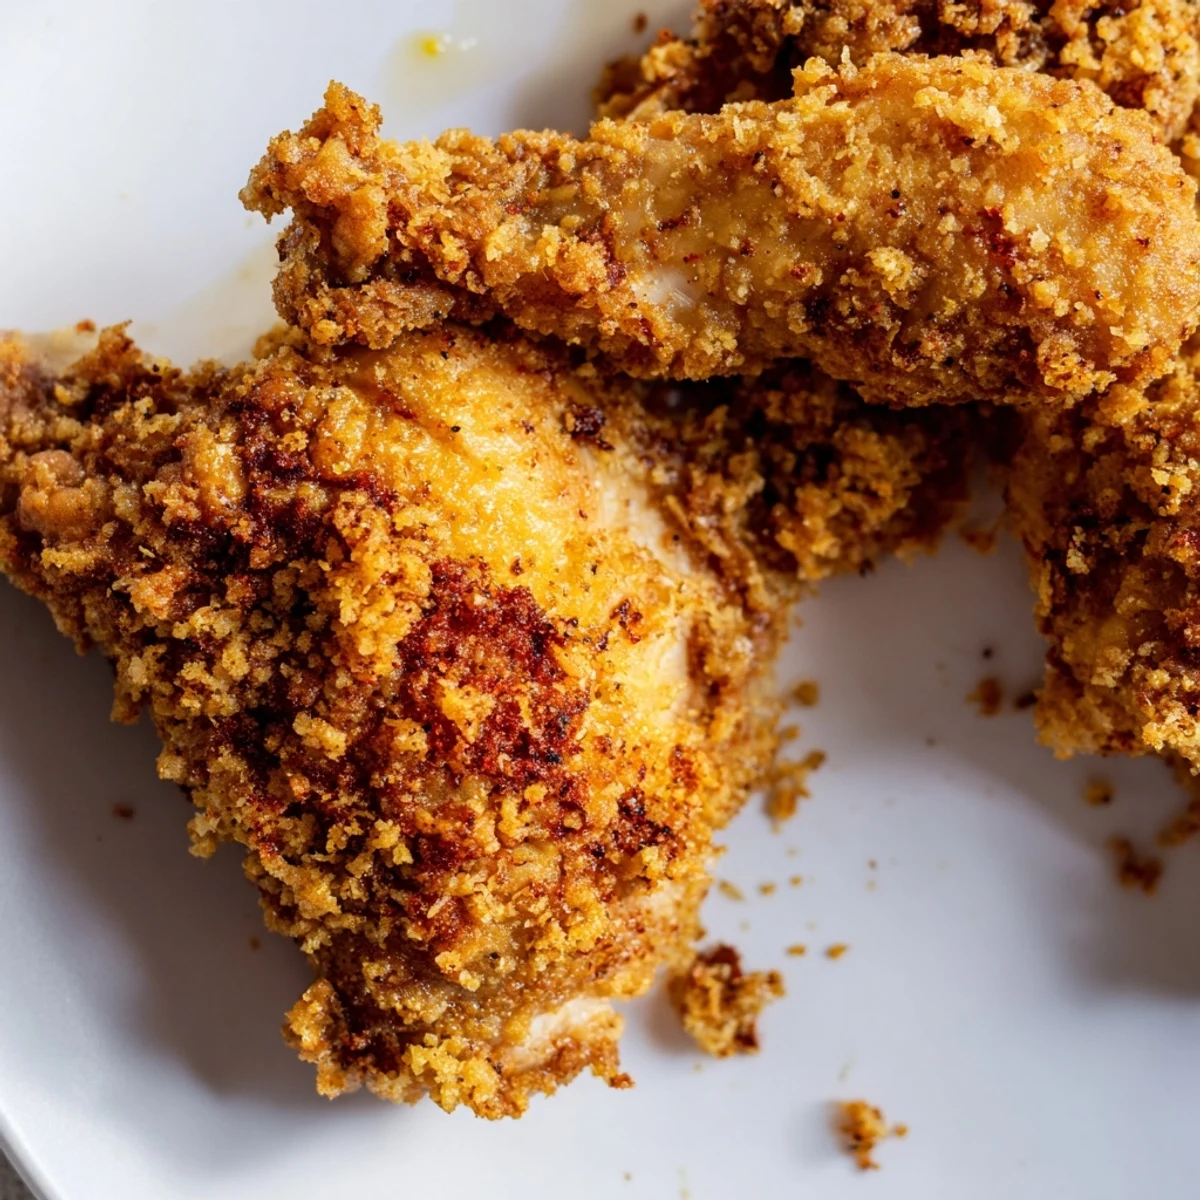
- Cook the chicken in batches so you don't crowd the pan. Let each side go for about 4 to 6 minutes until you've got that gorgeous golden brown crust and the chicken reaches 165°F inside. Move finished pieces to a wire rack to stay crispy.
 Save to Pinterest
 My daughter now requests this for her birthday dinner every year. There's something about the combination of crunch and tang that makes people feel taken care of. I've started keeping extra pickle juice in the fridge just so I'm always ready to make it.
Making It Your Own
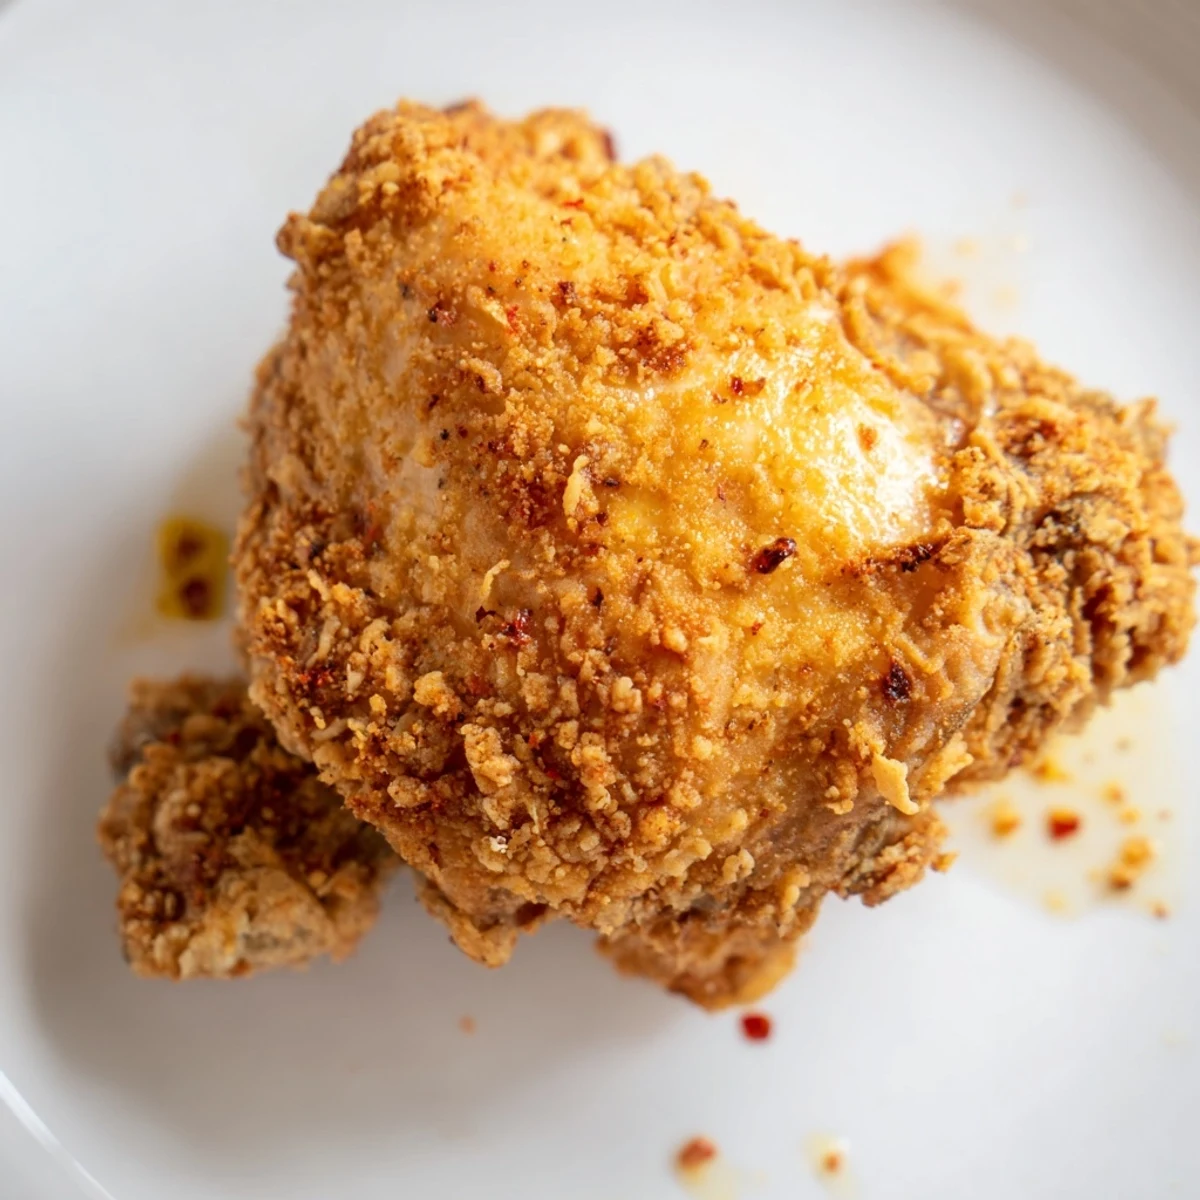
Sometimes I'll throw in a teaspoon of cayenne with the flour mixture when I'm craving a little heat. The spicy kick plays so nicely with that pickle tang and creates this amazing flavor complexity. Other times I'll swap in sweet pickle juice for a completely different vibe that my nephew absolutely loves.
Serving Ideas
This chicken deserves sides that can hold their own against all that flavor. I love it with a cool creamy potato salad or some crisp coleslaw to cut through the richness. A cold pilsner or light beer makes everything come together perfectly.
Make Ahead Strategy
The great thing about this recipe is that you can do all the prep work in advance. Marinate the chicken overnight and even set up your breading station before guests arrive. When you're ready to eat just fry everything up and serve it piping hot.
- Let the marinated chicken come to room temperature for about 20 minutes before breading
- Keep your fried chicken warm in a 200°F oven if you're frying in batches
- Leftovers reheat surprisingly well in a 375°F oven for 10 minutes
 Save to Pinterest
 There's nothing quite like pulling that first piece out of the oil and hearing the satisfying crunch. Hope this recipe becomes a regular in your rotation like it has in mine.
Common Questions
- → How long should I marinate the chicken?
-
Marinate for at least 1 hour to absorb the dill flavor, but up to 12 hours for maximum tenderness and taste penetration.
- → Can I bake this instead of frying?
-
Yes, bake at 400°F for 20-25 minutes, flipping halfway. The crust won't be quite as crispy but still delicious.
- → What type of pickles work best?
-
Classic dill pickles or kosher dills provide the most authentic flavor. Sweet pickles will change the profile significantly.
- → How do I know when it's done?
-
Use a meat thermometer to check for 165°F internally. The crust should be golden brown and chicken juices should run clear.
- → Can I use chicken breasts instead of thighs?
-
Absolutely. Pound breasts to even thickness first for consistent cooking. They may cook slightly faster than thighs.
- → What sides pair well?
-
Potato salad, coleslaw, roasted vegetables, or mashed potatoes complement the tangy, crispy chicken perfectly.
