 Save to Pinterest
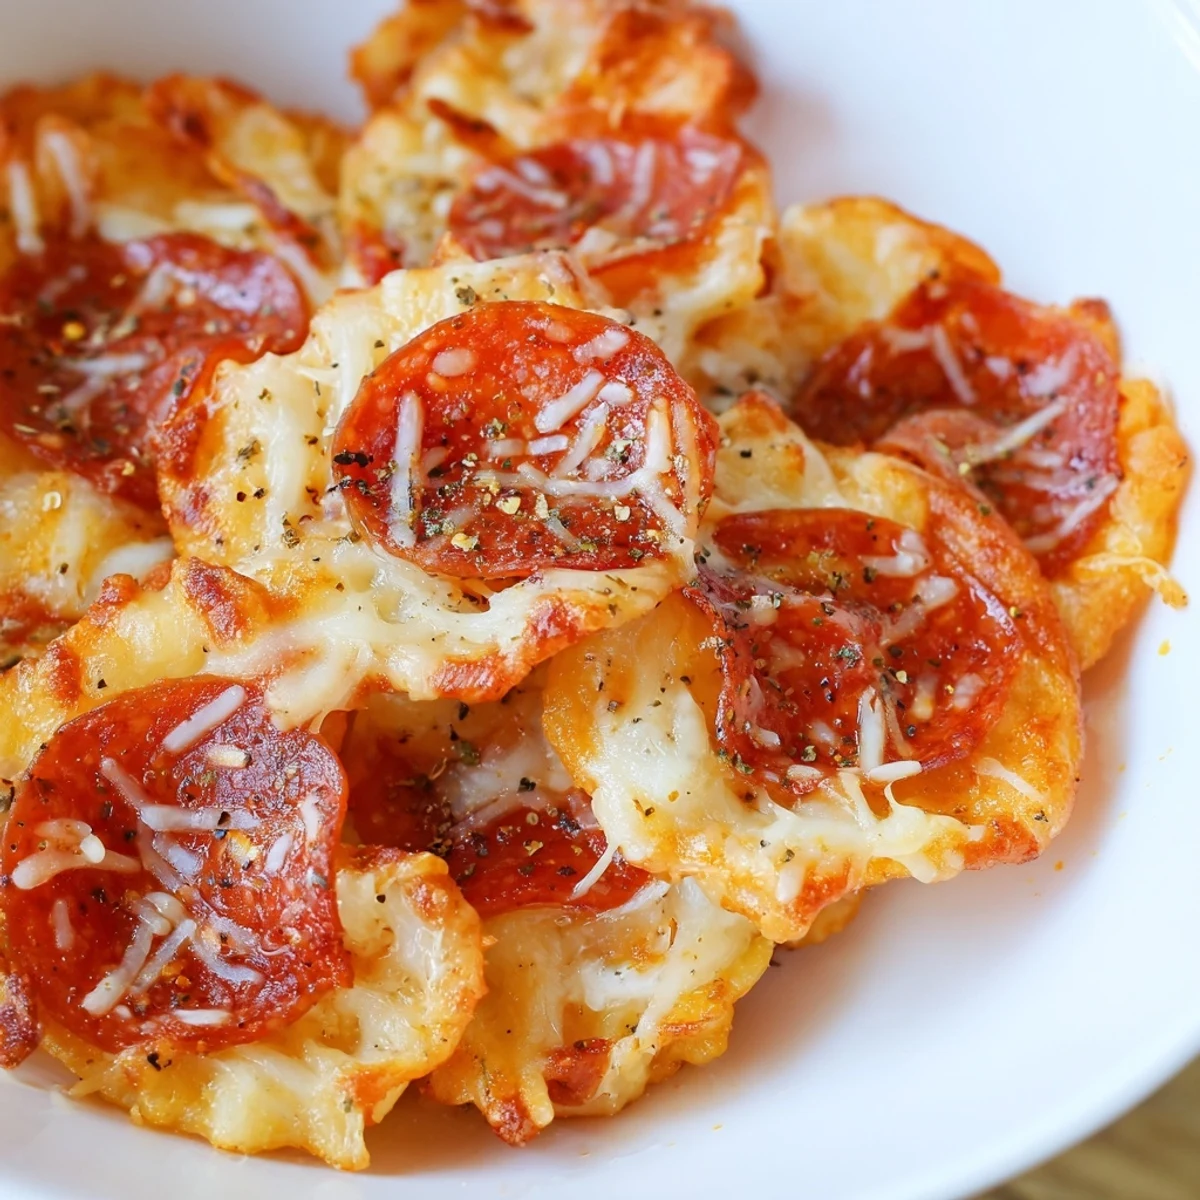
 These crispy pepperoni cheese chips combine savory pepperoni slices with a blend of melted cheddar and mozzarella cheese. The pepperoni becomes delightfully crisp while baking, creating a satisfying crunch that pairs perfectly with the gooey, golden cheese topping.
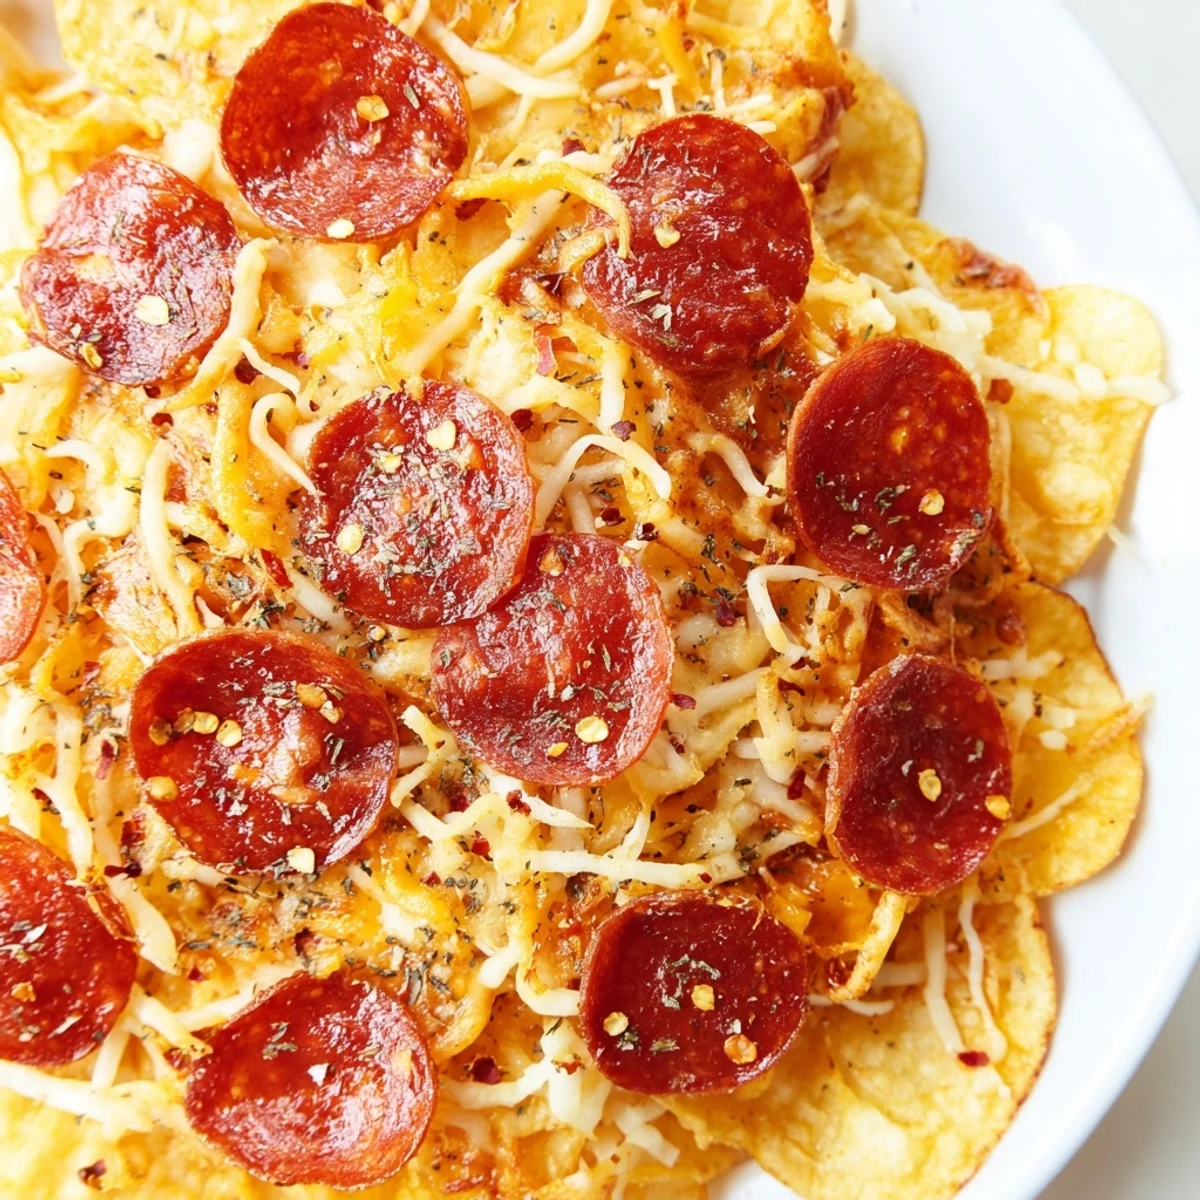
Ready in just 15 minutes with only 5 minutes of prep time, these make an excellent party appetizer or simple low-carb snack. The Italian herbs and red pepper flakes add optional layers of flavor that complement the natural spiciness of the pepperoni.
Each serving delivers 10 grams of protein with only 1 gram of carbohydrates, making them ideal for gluten-free and ketogenic diets. Serve warm with marinara or ranch dipping sauce for extra enjoyment.
Last Super Bowl Sunday, my friend Sarah showed up with a Ziploc bag of these crispy creations and completely hijacked the snack table. Within twenty minutes, people were ignoring the seven-layer dip I'd spent an hour assembling, just to get at these cheese-crusted pepperoni rounds. Now I keep pepperoni in the fridge specifically for emergency snack situations when cravings hit hard.
I made these for my book club last month, and someone actually asked if I'd ordered them from a restaurant. Watching everyone's faces when they bit into that first crunch—cheese mingling with the pepperoni's heat—was better than discussing the novel. They've become my go-to when I need to impress without actually trying.
Ingredients
- 24 slices pepperoni: Thick-cut works best here since they hold more cheese and get that perfect basket-like shape as they crisp up
- 1 cup (about 100 g) shredded cheddar cheese: Sharp cheddar gives you that tangy bite that cuts through the pepperoni richness
- 1 cup (about 100 g) shredded mozzarella cheese: This creates the gorgeous golden melt and helps hold everything together
- 1/2 teaspoon dried Italian herbs: Totally optional but adds a fresh note that makes these feel fancier than they are
- 1/4 teaspoon crushed red pepper flakes: For those who like their snacks with a little extra kick
Instructions
- Heat things up:
- Preheat your oven to 400°F and line a baking sheet with parchment paper—trust me, cleanup is so much easier this way
- Arrange the foundation:
- Lay out those pepperoni slices in a single layer, giving each one a little personal space so they can crisp up properly
- Pile on the cheese:
- Sprinkle a mix of both cheeses over each pepperoni slice, letting some fall onto the baking sheet for those crispy cheese edges everyone fights over
- Add some personality:
- If you're feeling fancy, scatter those Italian herbs and red pepper flakes across the top like you're finishing a dish at a restaurant
- Watch the magic happen:
- Bake for 8 to 10 minutes until the cheese is bubbling and golden brown and your whole kitchen smells like a pizzeria
- The patience test:
- Let them cool for 2 to 3 minutes on the tray so they firm up, then move them to paper towels to absorb any extra grease
- Serve them up:
- These are fantastic warm but honestly just as good at room temperature when you're grazing at a party
 Save to Pinterest
 My husband now requests these for Sunday football instead of his usual wings, which tells you everything about how addictive they are. Something about that combination of salty pepperoni and two cheeses just hits different.
Making Them Your Own
Swapping in turkey pepperoni works beautifully if you're watching your fat intake, though you might need an extra minute or two in the oven to get that same crunch. Salami makes an excellent substitute too, especially if you use the kind with those little pockets of white fat that render down and get incredibly crispy.
The Dip Situation
These chips are absolutely perfect on their own, but having something to dunk them in elevates the whole experience. A quick marinara sauce warmed up with some garlic powder takes them to pizza-flavored territory, while a simple ranch dip made with heavy cream and herbs feels indulgent without breaking your low-carb goals.
Storage and Revival
Leftovers store surprisingly well in an airtight container, though they do lose some of that fresh-from-the-oven crunch. If you're planning ahead, just pop them back in a 350°F oven for about 3 minutes and they crisp right back up. Never reheat them in the microwave unless you want sad, chewy pepperoni that's barely recognizable.
- Line your storage container with paper towels to absorb excess oil
- These freeze beautifully and can go straight from freezer to oven
- Double the batch immediately because they disappear faster than expected
 Save to Pinterest
 These ridiculous little pepperoni cheese cups have saved me more times than I care to admit when guests arrive unexpectedly or hunger strikes at midnight.
Common Questions
- → Can I make these pepperoni cheese chips ahead of time?
-
Yes, you can prepare these ahead and store them in an airtight container. To restore crispiness, simply reheat them in a 350°F oven for 3-5 minutes before serving.
- → What type of pepperoni works best for crispy results?
-
Regular pepperoni slices work well, but turkey pepperoni creates a lighter version. For extra crispiness, choose slightly thinner pepperoni slices as they'll become crunchier when baked.
- → Can I substitute the cheese blend?
-
Absolutely. While cheddar and mozzarella provide excellent melting and flavor, you can use provolone, Parmesan, or a Mexican cheese blend. Each cheese will bring its unique taste profile.
- → What dipping sauces pair well with these chips?
-
Low-carb marinara sauce, ranch dressing, or garlic aioli complement the savory flavors perfectly. For those who enjoy heat, a spicy arrabbiata sauce adds an extra kick.
- → How do I prevent the pepperoni from becoming too greasy?
-
After baking, transfer the chips to a paper towel-lined plate for 2-3 minutes. This absorbs excess oil while the cheese sets, resulting in a crispier, less greasy final product.
- → Can I use an air fryer instead of the oven?
-
Yes, air fry at 375°F for 5-7 minutes. Check halfway through cooking as air fryers vary. The results will be similarly crispy with potentially even less grease.
