 Save to Pinterest
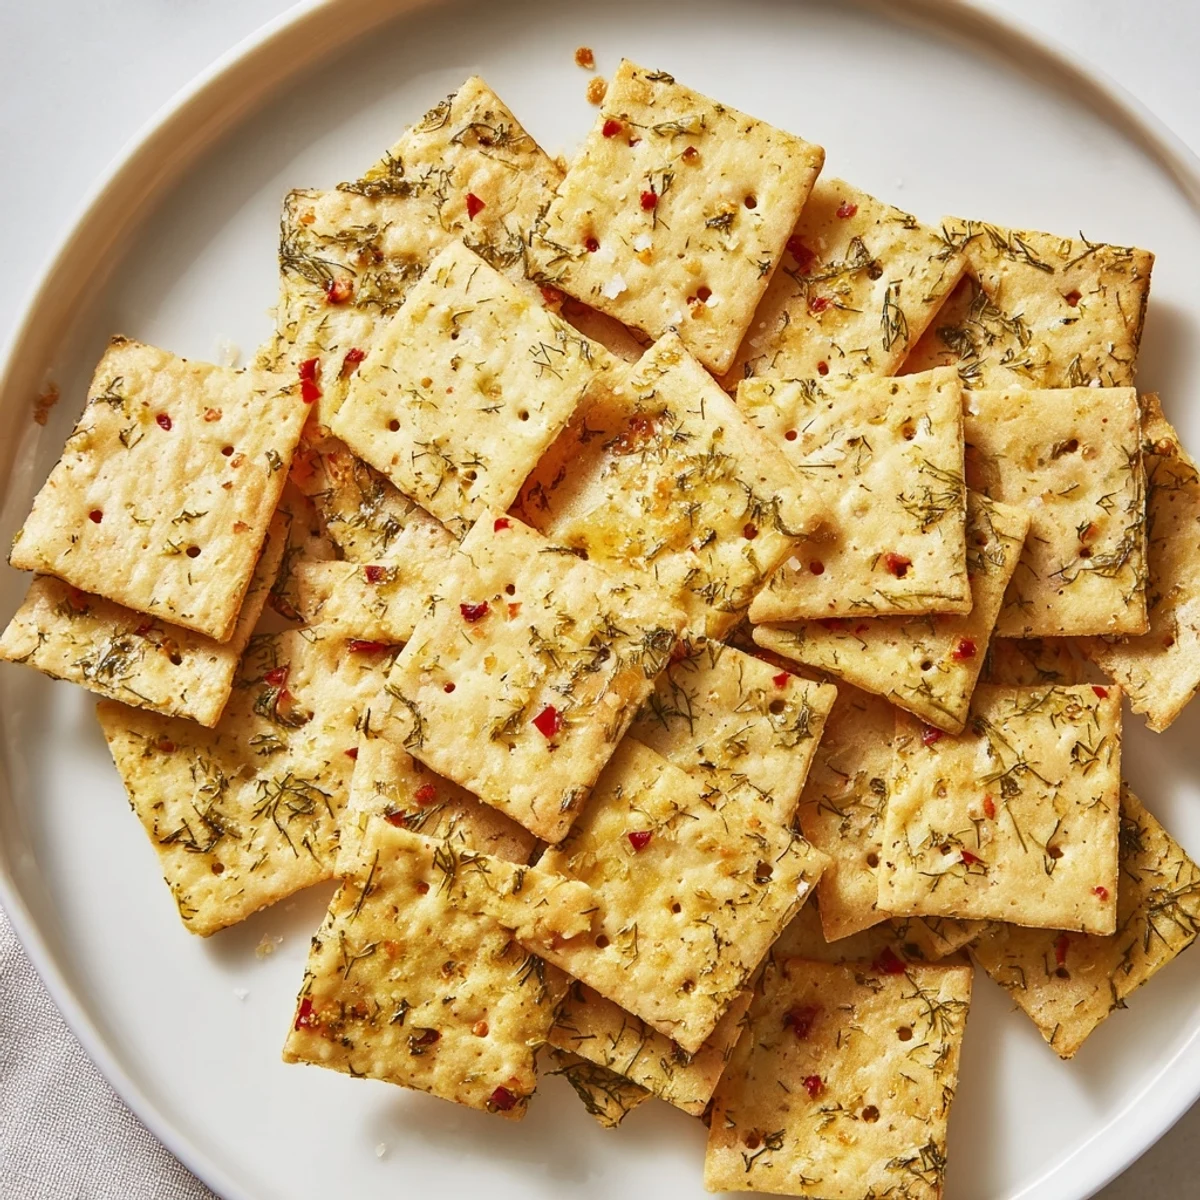
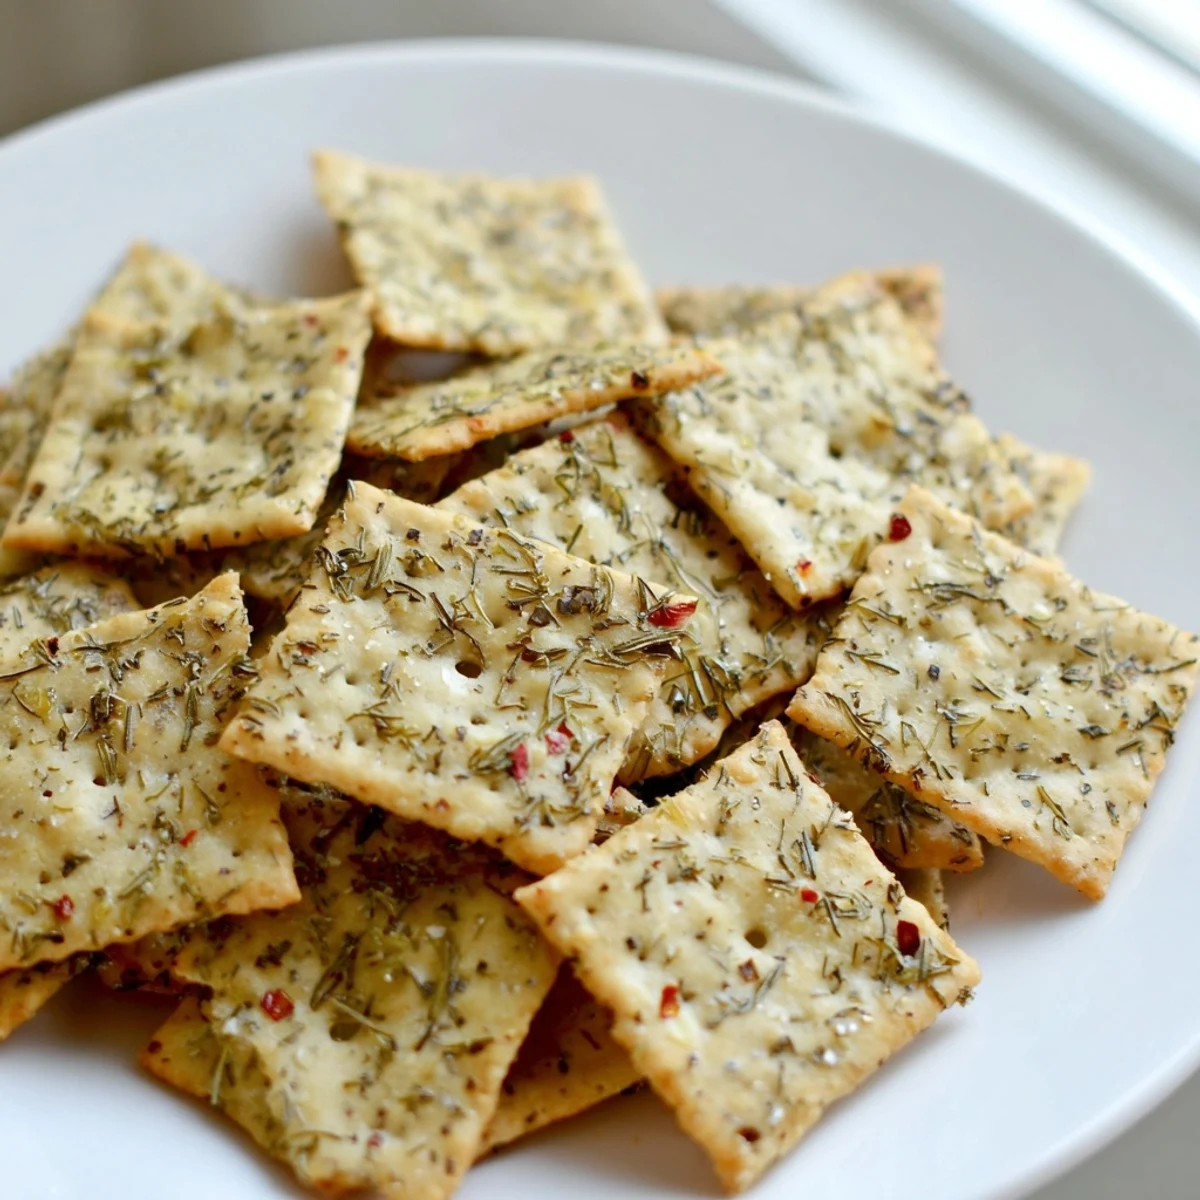
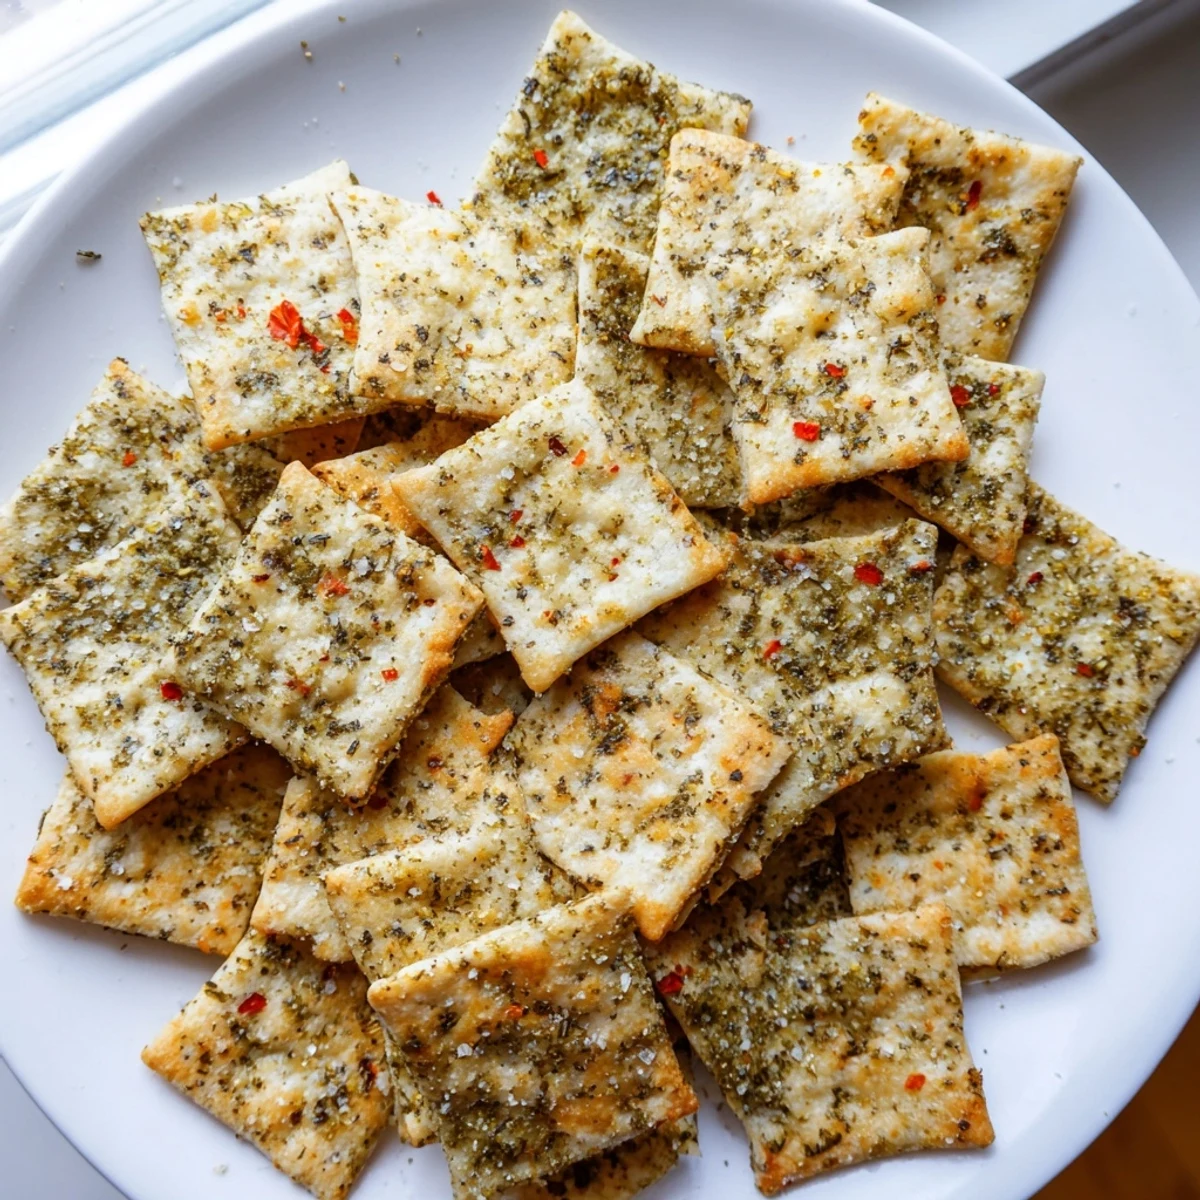
 Elevate ordinary saltine crackers into something extraordinary with a simple coating of melted butter, dill pickle juice, garlic powder, onion powder, and dried dill. These crispy, tangy snacks bake in just 15 minutes and develop an addictive flavor that keeps everyone coming back for more. The combination of savory butter and briny pickle creates the perfect balance, while optional red pepper flakes add subtle heat. Make a batch for your next gathering or keep a container handy for easy snacking throughout the week.
My college roommate used to keep a jar of pickle juice in the fridge just for seasoning popcorn, and I thought she was absolutely eccentric until the day I tried these crackers. Now I understand the obsession completely. The tangy, savory combination hits some primal snack craving that regular chips just can't touch. I've converted plenty of skeptics by leaving a bowl out during game night.
Last summer, I brought these to a neighborhood potluck and watched in amusement as people kept casually walking past the snack table, grabbing one, then doubling back for handful after handful. My neighbor's teenage son finally just admitted he'd eaten nearly half the bowl himself. That's when I knew this recipe was a keeper, not just a random experiment.
Ingredients
- Saltine crackers: One whole sleeve, about 40 crackers, because once you start making these, you'll want the full batch
- Unsalted butter: Melted and ready to carry all those dilly flavors into every cracker nook and cranny
- Dill pickle juice: The star of the show, straight from your favorite pickle jar
- Dried dill weed: Double up with fresh dill if you have it, but the dried works beautifully here
- Garlic powder and onion powder: This dynamic duo adds that savory depth that makes people ask what's in these
- Crushed red pepper flakes: Optional, but I never skip them because that tiny heat kick cuts through the richness
- Kosher salt: Adjust to taste since your pickle juice and crackers already bring salt to the party
Instructions
- Get your oven ready:
- Preheat to 300°F and line a baking sheet with parchment paper, because cleaning butter-coated sheets is nobody's idea of fun
- Arrange the crackers:
- Spread them in a single layer so every single one gets that glorious dill bath
- Whisk the magic mixture:
- Combine melted butter, pickle juice, dill, garlic powder, onion powder, red pepper flakes, and salt until everything's well blended
- Coat generously:
- Use a pastry brush or spoon to cover each cracker thoroughly, because skimpy coating makes sad crackers
- Bake to perfection:
- Pop them in for 12 to 15 minutes until they're crisp and the topping looks set and slightly golden
- Cool completely:
- Let them sit on the pan because they get even crunchier as they cool down
 Save to Pinterest
 My youngest daughter now requests these for every family movie night, and I've learned that making them in the afternoon fills the house with this incredible dilly aroma that has everyone wandering into the kitchen asking what time dinner is. They're always disappointed when I tell them it's just crackers.
Serving Suggestions
I've discovered these work best as the kind of snack that doesn't need anything else, but if you're feeling fancy, they're amazing alongside a cold beer or sparkling water. The carbonation cuts through the buttery coating perfectly. They also hold up surprisingly well on picnics, staying crisp longer than you'd expect.
Flavor Variations
Sometimes I'll add grated parmesan over the top during the last few minutes of baking, which creates this incredible salty, cheesy crust that people fight over. A friend of mine swaps half the dill for everything bagel seasoning and swears it's life-changing. I haven't tried that yet, but I trust her taste implicitly.
Make Ahead Tips
You can mix the coating up to a day ahead and keep it in the fridge, then just whisk it again before using since the butter will solidify. I wouldn't coat the crackers ahead of time though, because they get soggy and nobody wants a soggy saltine, no matter how good the seasoning is.
- Double the coating mixture if you're making multiple sleeves, because running out halfway through is heartbreaking
- Let them cool completely before storing, or they'll steam in the container and lose their crunch
- These freeze surprisingly well if you somehow have leftovers, though I've never personally tested this theory
 Save to Pinterest
 Every time I serve these, someone asks for the recipe, and I love watching their face when I explain how incredibly simple they are to make. That's the best kind of recipe, isn't it.
Common Questions
- → How long do these stay crispy?
-
When stored in an airtight container at room temperature, these remain perfectly crispy for up to 3 days. Any moisture exposure will make them lose their crunch, so ensure they're completely cooled before storing.
- → Can I use fresh dill instead of dried?
-
Absolutely. Use 2 tablespoons of chopped fresh dill in place of 1 tablespoon dried. Fresh dill provides a brighter, more vibrant flavor that pairs beautifully with the pickle juice.
- → What's the best way to coat the crackers evenly?
-
A pastry brush works best for even coating without breaking the delicate crackers. Gently brush the mixture over each cracker, or use a spoon to drizzle and spread carefully. Don't soak them—just a light, even layer is perfect.
- → Can I make these spicy?
-
The crushed red pepper flakes add gentle heat. For more spice, increase to 1/2 teaspoon, or add a pinch of cayenne. You could also use spicy pickle juice instead of regular for extra kick.
- → What should I serve these with?
-
These are perfect on their own as a snack, but pair wonderfully with cold beer, sparkling water, or as a crunchy accompaniment to soups and salads. They also work well as a base for appetizers topped with cheese or spreads.
- → Can I double this batch?
-
Yes, simply use two baking sheets or bake in batches. Keep the oven temperature the same and rotate the pans halfway through baking for even cooking. The mixture can be doubled or tripled easily.
