
 Save to Pinterest
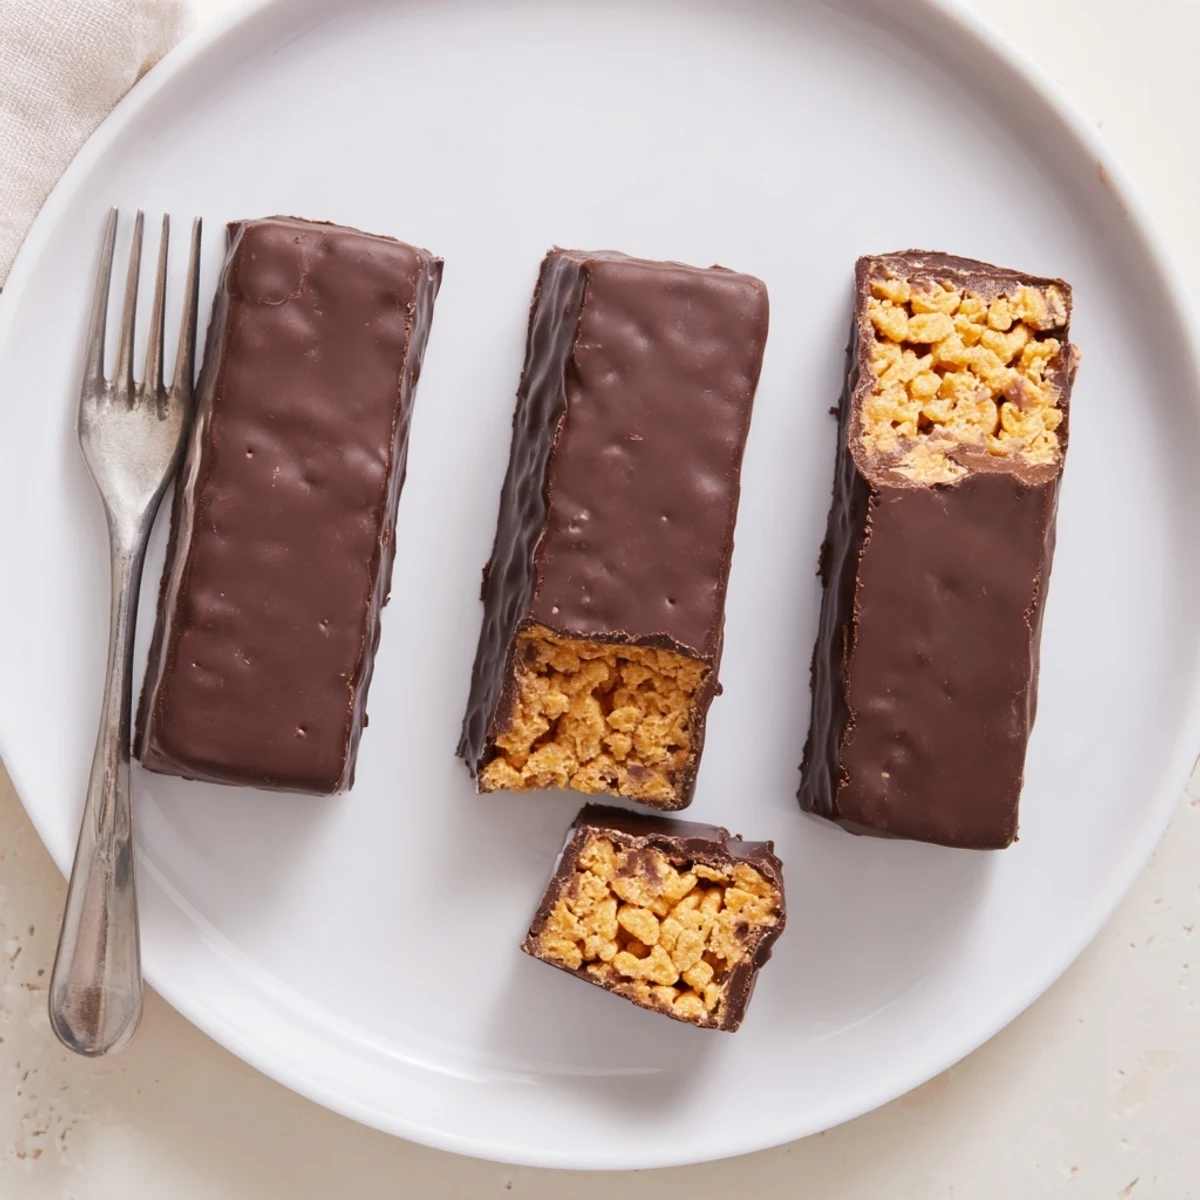
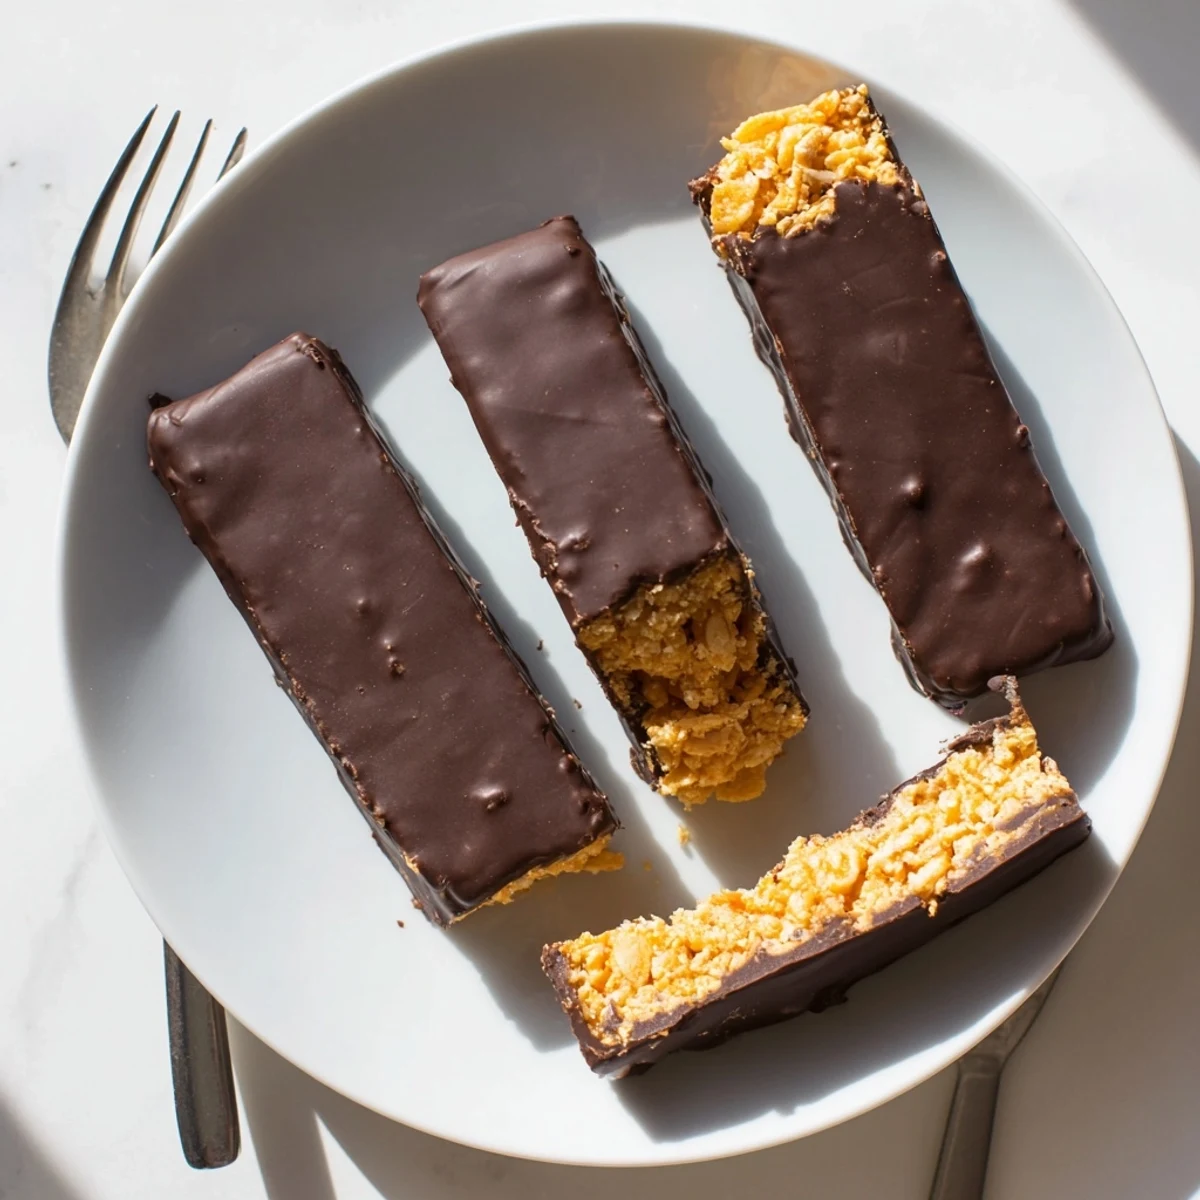
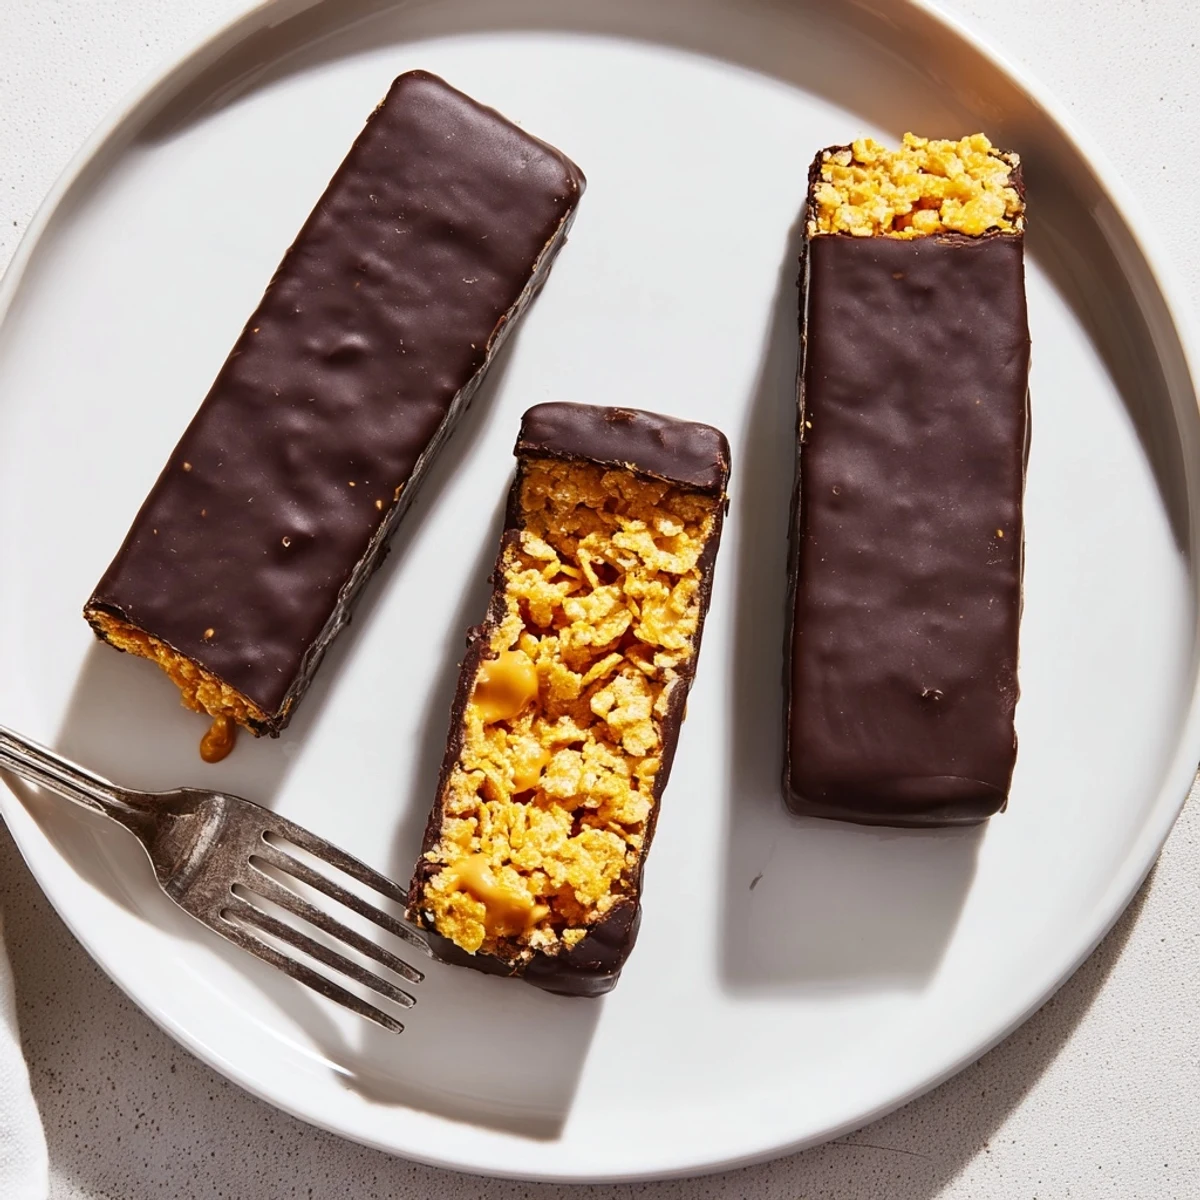
 These homemade Butterfingers capture everything you love about the iconic candy bar—a crisp, crunchy peanut butter center enrobed in smooth dark chocolate—but with wholesome, recognizable ingredients.
The filling comes together by folding lightly crushed corn flakes into a warm mixture of natural peanut butter and maple syrup. After a brief chill in the freezer, the firm slab gets sliced into bars and dipped in melted dark chocolate blended with a touch of coconut oil for that perfect snap.
Each bar delivers the signature brittle crunch and sweet-salty balance of the original, minus the artificial additives. They're naturally vegetarian and easily made vegan and gluten-free with simple ingredient swaps.
The candy aisle at the grocery store always tempts me, but one evening after reading the ingredient list on a Butterfinger wrapper, I decided right there in the aisle that I could do better at home.
I brought a batch of these to a movie night with friends and watched everyone try to guess the secret ingredient before the opening credits even rolled.
Ingredients
- Natural creamy peanut butter: Use the kind with just peanuts and salt on the label, because the stabilized spreads will not melt and bind the same way.
- Pure maple syrup or honey: This adds sweetness and helps create that chewy, caramel-like texture that holds the bars together without refined sugar.
- Corn flakes, lightly crushed: Do not crush them into dust, because you want irregular pieces that mimic the flaky, crispy center of a classic Butterfinger.
- Dark chocolate chips (at least 70% cacao): The higher cacao percentage balances the sweet peanut butter filling and gives each bar a snappy, glossy shell.
- Coconut oil: Just a tablespoon thins the melted chocolate so it coats evenly without being too thick or clumpy.
Instructions
- Prep your pan:
- Line an 8x8-inch baking dish with parchment paper, leaving some overhang on the sides so you can lift the whole block out cleanly later.
- Melt and marry:
- In a saucepan over low heat, stir the peanut butter and maple syrup together constantly for about two to three minutes until the mixture is silky and bubbling very gently around the edges.
- Fold in the crunch:
- Take the pan off the heat and gently fold in the crushed corn flakes with a spatula, trying not to break them down too much as you coat every flake in that golden peanut mixture.
- Press and freeze:
- Transfer the mixture into your lined dish and press it down firmly with the back of a spoon or your hands, then freeze for twenty to thirty minutes until it feels solid to the touch.
- Melt the chocolate:
- Set a heatproof bowl over a pan of barely simmering water and stir the chocolate chips with the coconut oil until the mixture is completely smooth and shiny with no lumps remaining.
- Cut and dip:
- Lift the frozen peanut butter slab out of the dish, cut it into twelve bars, and dip each one into the chocolate using a fork so the excess can drip through the tines.
- Chill until set:
- Place each coated bar on a fresh sheet of parchment and refrigerate for at least twenty minutes until the chocolate shell is firm and snaps slightly when you tap it with your fingernail.
 Save to Pinterest
 My neighbor stopped by unannounced one afternoon and I handed her one of these still slightly chilled from the fridge, and she stood in my kitchen doorway eating it in complete silence before asking for the recipe.
Storing Your Candy Bars
Keep these in an airtight container in the refrigerator and they stay perfectly crunchy for up to a week, though in my house they never last that long.
Making It Your Own
Almond butter works beautifully if someone in your home has a peanut allergy, and sunflower seed butter gives a surprisingly nutty flavor that tastes completely different but equally addictive.
A Few Final Thoughts
Sometimes the simplest recipes are the ones that surprise you the most, and this one rewards a bit of patience during the chilling steps without demanding any real skill.
- A tiny sprinkle of flaky sea salt on top of each bar right after dipping takes the flavor from great to unforgettable.
- For a vegan version, stick with maple syrup instead of honey and double check that your chocolate is dairy free.
- Always taste your peanut butter before starting, because the saltiness varies wildly between brands and affects the final balance of the whole candy.
 Save to Pinterest
 There is something deeply satisfying about making your own candy bars with ingredients you can actually pronounce, and once you try this method you will start wondering what other store treats you can recreate at home.
Common Questions
- → Can I make these Butterfingers vegan?
-
Yes. Use maple syrup instead of honey and choose a dairy-free dark chocolate with at least 70% cacao. Most high-quality dark chocolates are naturally vegan, but always verify the label for milk solids or butterfat.
- → Why do my corn flakes lose their crunch?
-
Corn flakes soften if the peanut butter mixture is too hot or if the bars sit at room temperature for extended periods. Fold the flakes in off the heat, and store finished bars in the refrigerator to maintain maximum crunch.
- → What can I substitute for peanut butter?
-
Almond butter, sunflower seed butter, or cashew butter all work well. Keep in mind that natural, unsweetened nut butters yield the best texture—avoid varieties with added oils or sugars, which can make the filling too soft.
- → How should I store the finished bars?
-
Place bars in an airtight container and refrigerate for up to one week. For longer storage, freeze them for up to three months. Let frozen bars thaw in the refrigerator for about 30 minutes before eating for the best texture.
- → Can I use milk chocolate instead of dark chocolate?
-
Absolutely. Milk chocolate will give you a sweeter, creamier coating closer to the traditional candy bar. Just note that milk chocolate is softer at room temperature, so refrigerating the bars becomes even more important for maintaining their shape.
- → Do I need a double boiler to melt the chocolate?
-
A double boiler gives the most controlled, even melt, but you can also use a microwave in 20-second bursts, stirring between intervals. The key is keeping the chocolate below 120°F to prevent seizing, especially with high-cacao dark chocolate.