 Save to Pinterest
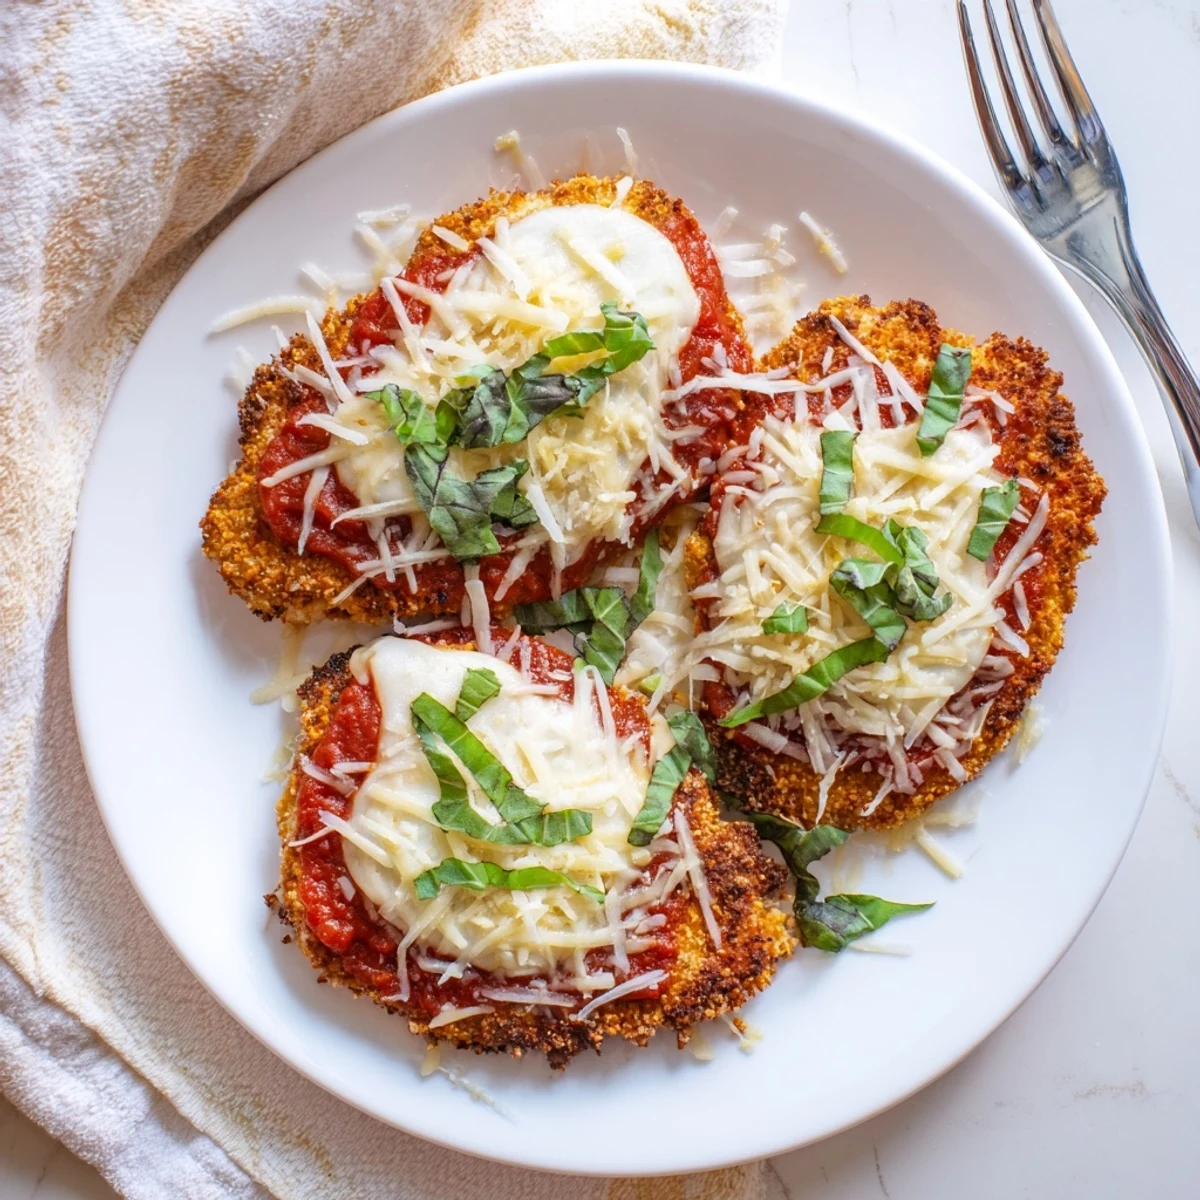
 This Italian classic transforms into a keto-friendly masterpiece featuring triple-crispy coating options. The tender pounded chicken gets dredged in beaten eggs, then pressed into a golden blend of almond flour, crushed pork rinds, and Parmesan seasoned with garlic and Italian herbs.
After quick pan-searing for crunch, each piece smothered in sugar-free marinara and blanketed with mozzarella bakes to bubbly perfection. The result delivers all the comfort of traditional chicken Parmesan while keeping carbs at just 3 grams per serving.
The smell of chicken parm baking was my Italian grandmother's signature welcome home from school. When I started keto, I mourned that crispy, breadcrumb-dipped comfort food until a late-night kitchen experiment proved the low-carb version could actually rival the original. My husband, a carb-loving skeptic, took one bite and admitted he might prefer this version with its three-crunch approach.
Last winter, I served this at a dinner party where two guests were doing keto and three weren't. The non-keto eaters didn't even notice the difference they were too busy fighting over the last piece. That night taught me the best diet food doesn't taste like diet food at all.
Ingredients
- Chicken breasts: Pounding them to even thickness isn't just about presentation it ensures every piece cooks at the same speed so you don't end up with dried-out edges while waiting for the center to finish
- Almond flour: Creates a nutty, golden base that browns beautifully in the oven and mimics traditional breadcrumbs' texture without the carbs
- Crushed pork rinds: The secret weapon for authentic crunch I pulse them in my food processor until they're finer than sand to distribute evenly
- Grated Parmesan: Adds savory depth and helps the crust adhere to the chicken while contributing to that golden-brown finish
- Italian seasoning and garlic powder: Don't skip these they're what transforms the coating from plain crunchy into something that actually tastes like Italian comfort food
- Beaten eggs: Your glue use them at room temperature so they coat more evenly and keep your crust from sliding off during cooking
- Sugar-free marinara: I've learned the hard way that regular marinara can hide up to 12 grams of sugar per half-cup Rao's is my go-to for the cleanest ingredient list
- Shredded mozzarella: Low-moisture, part-skim melts into that ideal stretchy layer without making the coating soggy like fresh mozzarella sometimes does
- Fresh basil: Even if you think it's just garnish, that bright hit of basil cuts through all the rich cheese and ties everything together
Instructions
- Prep your station:
- Set up three shallow bowls one for beaten eggs, one for your crust mixture, and an empty plate for breaded chicken. Trust me, this assembly-line setup prevents the messy chaos of washing egg-coated hands between every piece.
- Pound the chicken:
- Place each breast between plastic wrap and use a meat mallet or rolling pin to pound to an even 1/2-inch thickness. Season both sides generously with salt and pepper this is your only chance to season the meat itself.
- Make the crust mixture:
- Whisk together almond flour, crushed pork rinds, 1/2 cup Parmesan, Italian seasoning, and garlic powder until thoroughly combined. The smell should make your kitchen smell like an Italian restaurant already.
- Dredge like a pro:
- Dip each chicken breast in the beaten eggs, letting excess drip off, then press firmly into the crust mixture. Use your fingers to pat the coating everywhere it should look like a snowy, even blanket on the chicken.
- Sear for crunch:
- Heat olive oil in your oven-safe skillet over medium heat until shimmering. Fry chicken for 3-4 minutes per side until deep golden and crisp. Don't crowd the pan work in batches if necessary so each piece gets proper contact with the hot oil.
- Transfer to the oven:
- Move your seared chicken to the parchment-lined baking sheet. At this stage, it should look like restaurant chicken parm already resist the urge to taste it now.
- Add the toppings:
- Spoon marinara over each piece, spreading to the edges but not quite to the crust. Top generously with mozzarella and the remaining Parmesan the cheese should almost completely cover the sauce.
- Bake until bubbly:
- Bake for 15-18 minutes until the cheese is bubbling and starting to brown in spots. The chicken should reach 165°F internally if you're unsure, cut into the thickest piece to check that the juices run clear.
- Finish with basil:
- Let the chicken rest for 5 minutes before sprinkling with fresh basil. This resting period is crucial it keeps the cheese from sliding right off when you cut into it.
 Save to Pinterest
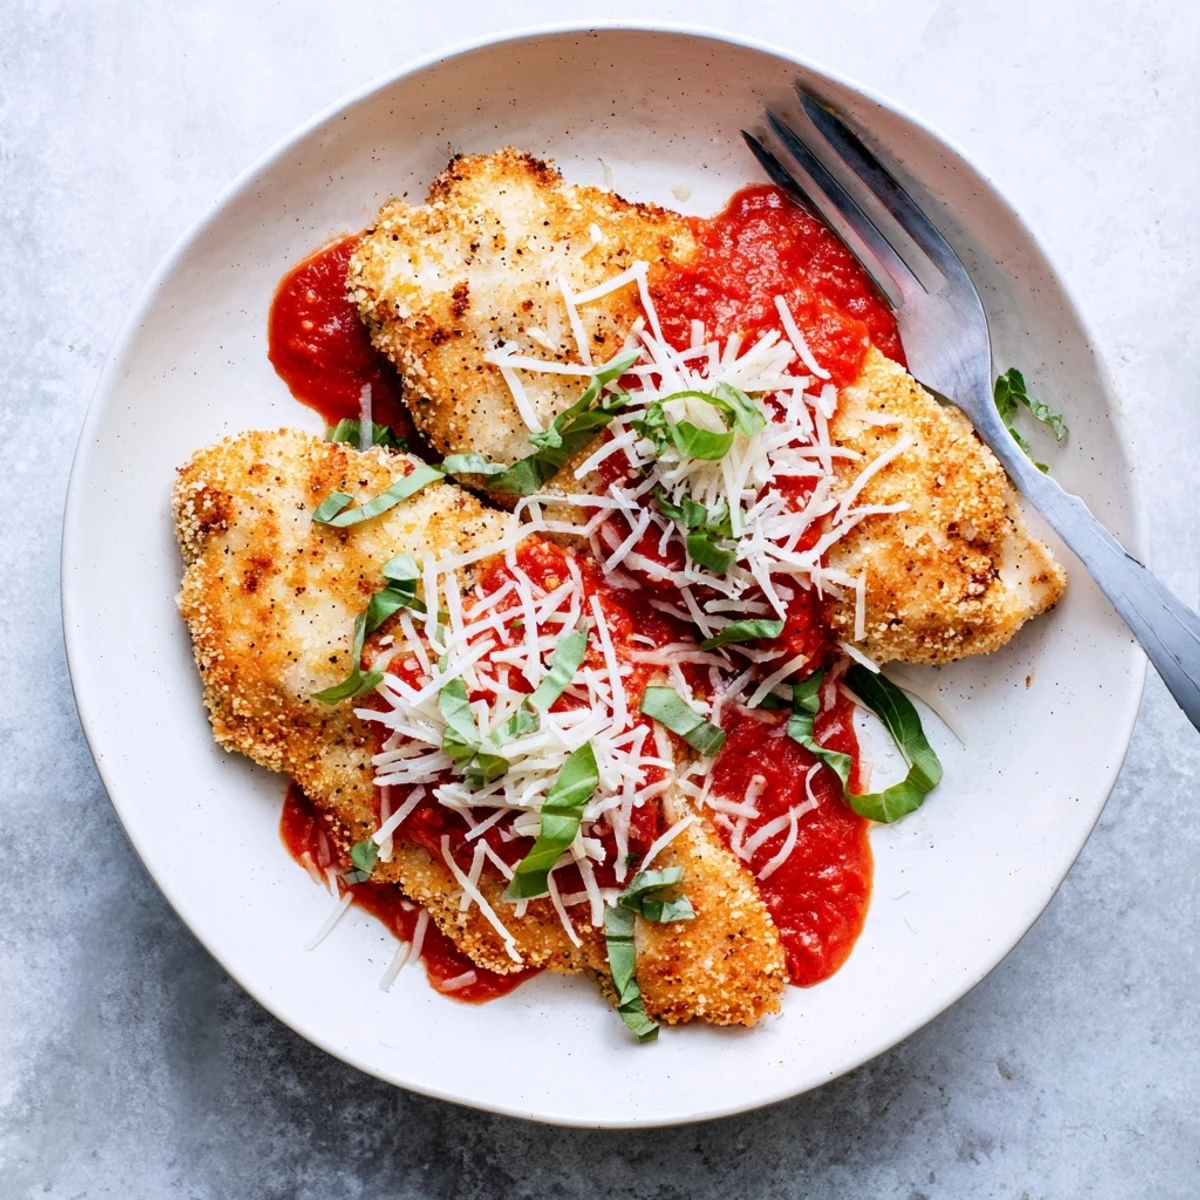
 This recipe has become my go-to for Sunday family dinners, and my dad still can't believe it's keto-friendly. There's something about pulling that bubbling, cheese-covered chicken out of the oven that makes a house feel like a home.
Make-Ahead Magic
You can bread the chicken up to 24 hours ahead and store it layered between parchment paper in the refrigerator. The crust actually benefits from this brief rest it adheres even better to the meat after chilling. Just add an extra minute or two to the searing time if cooking from cold.
Serving Suggestions
I serve this over zucchini noodles with garlic butter, but a crisp arugula salad with lemon vinaigrette cuts through the richness beautifully. For non-keto eaters, a side of spaghetti works too though I've found most people don't miss the pasta when the chicken is this good.
Storage And Reheating
Leftovers keep remarkably well in the refrigerator for up to 4 days stored in an airtight container. Reheat in a 350°F oven for 10-12 minutes until heated through the microwave will make your coating soggy and I won't be responsible for that tragedy. You can also freeze cooked portions for up to 3 months just thaw overnight before reheating.
- Freeze unbreaded chicken breasts in a single layer before breading for longer storage
- Reheat under the broiler for 1-2 minutes to recrisp the coating if it's lost its crunch
- Add extra marinara when reheating since it tends to absorb into the chicken over time
 Save to Pinterest
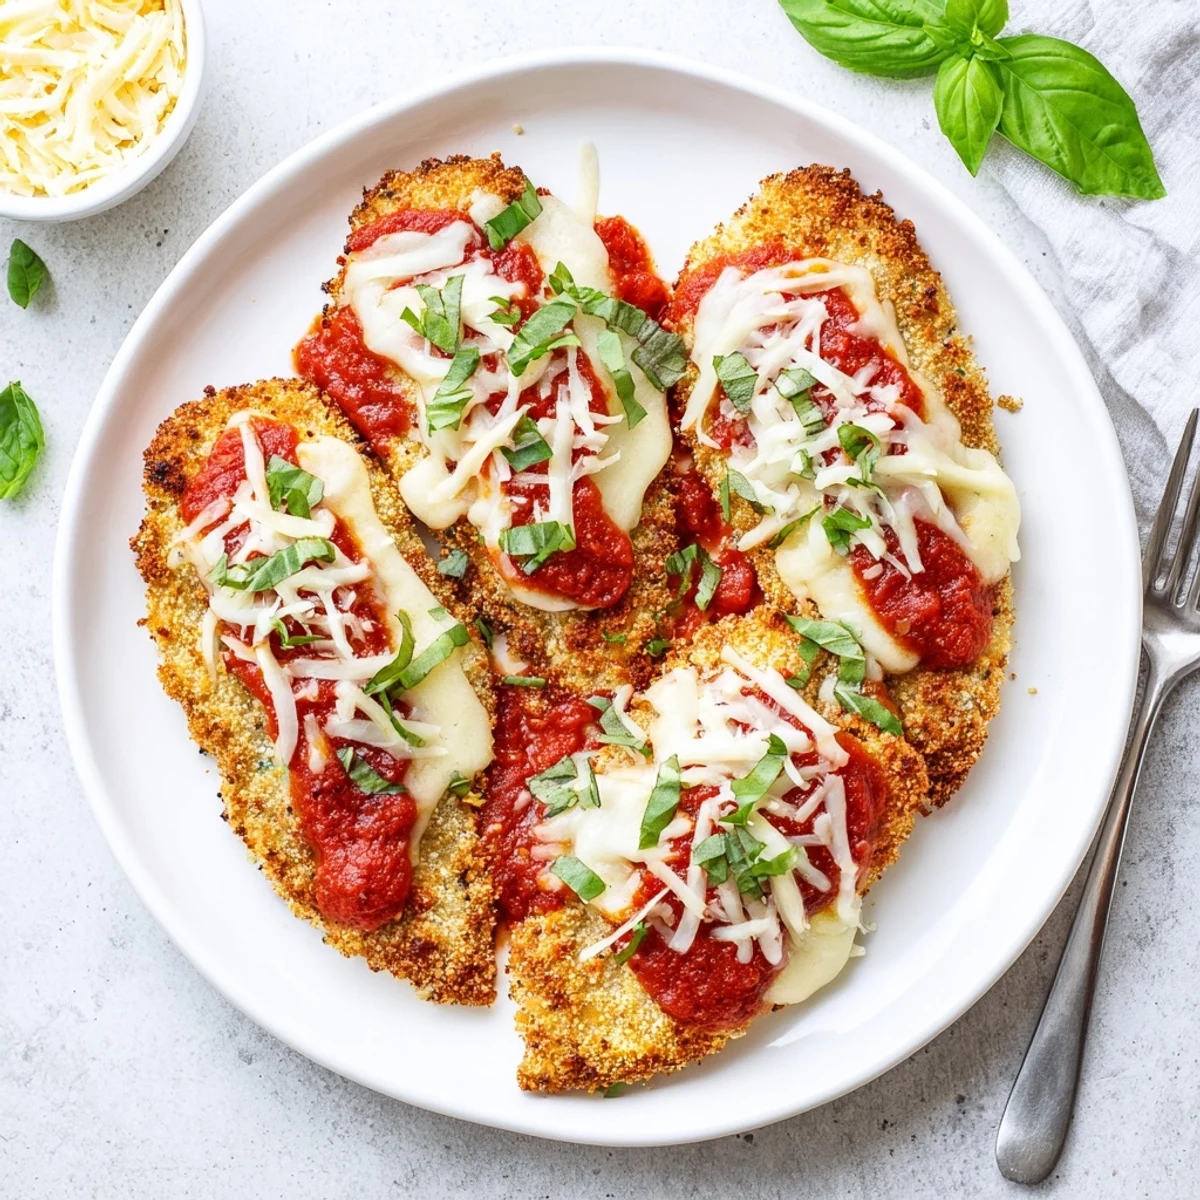
 This keto chicken parm proved to me that dietary restrictions don't mean sacrificing comfort. Now I make it whenever I need a reminder that good food is good food, no matter what ingredients you use.
Common Questions
- → What makes the crust crispy without breadcrumbs?
-
The combination of almond flour, finely crushed pork rinds, and grated Parmesan creates an ultra-crispy coating that browns beautifully. Pan-searing before baking locks in the crunch while the oven finish melts the cheese toppings to perfection.
- → Can I make this dairy-free?
-
Substitute the Parmesan in the crust with nutritional yeast or additional almond flour. Use dairy-free mozzarella-style shreds and replace the marinara with a homemade version omitting any cheese. The coating will still achieve excellent crispiness.
- → How do I store and reheat leftovers?
-
Refrigerate cooled portions in airtight containers for up to 4 days. Reheat in a 350°F oven for 10-12 minutes to restore crispiness, or microwave for 2-3 minutes. The crust may soften slightly but remains delicious.
- → What sides pair well with this dish?
-
Zucchini noodles tossed with garlic butter, roasted broccoli with parmesan, or a crisp arugula salad with lemon vinaigrette complement perfectly. Steamed asparagus or cauli-rice also work beautifully for keeping carbs low.
- → Can I use an air fryer instead?
-
Absolutely. After coating the chicken, air fry at 375°F for 12-14 minutes, flipping halfway. Add toppings and cook 3-4 more minutes until cheese melts. Spray lightly with oil for best browning results.
- → Is this suitable for meal prep?
-
Yes, the chicken holds up well for meal prep. Prepare through step 6, cool completely, then refrigerate untopped portions for up to 3 days. Add marinara and cheese when ready to bake, or freeze cooked portions for up to 3 months.
