 Save to Pinterest
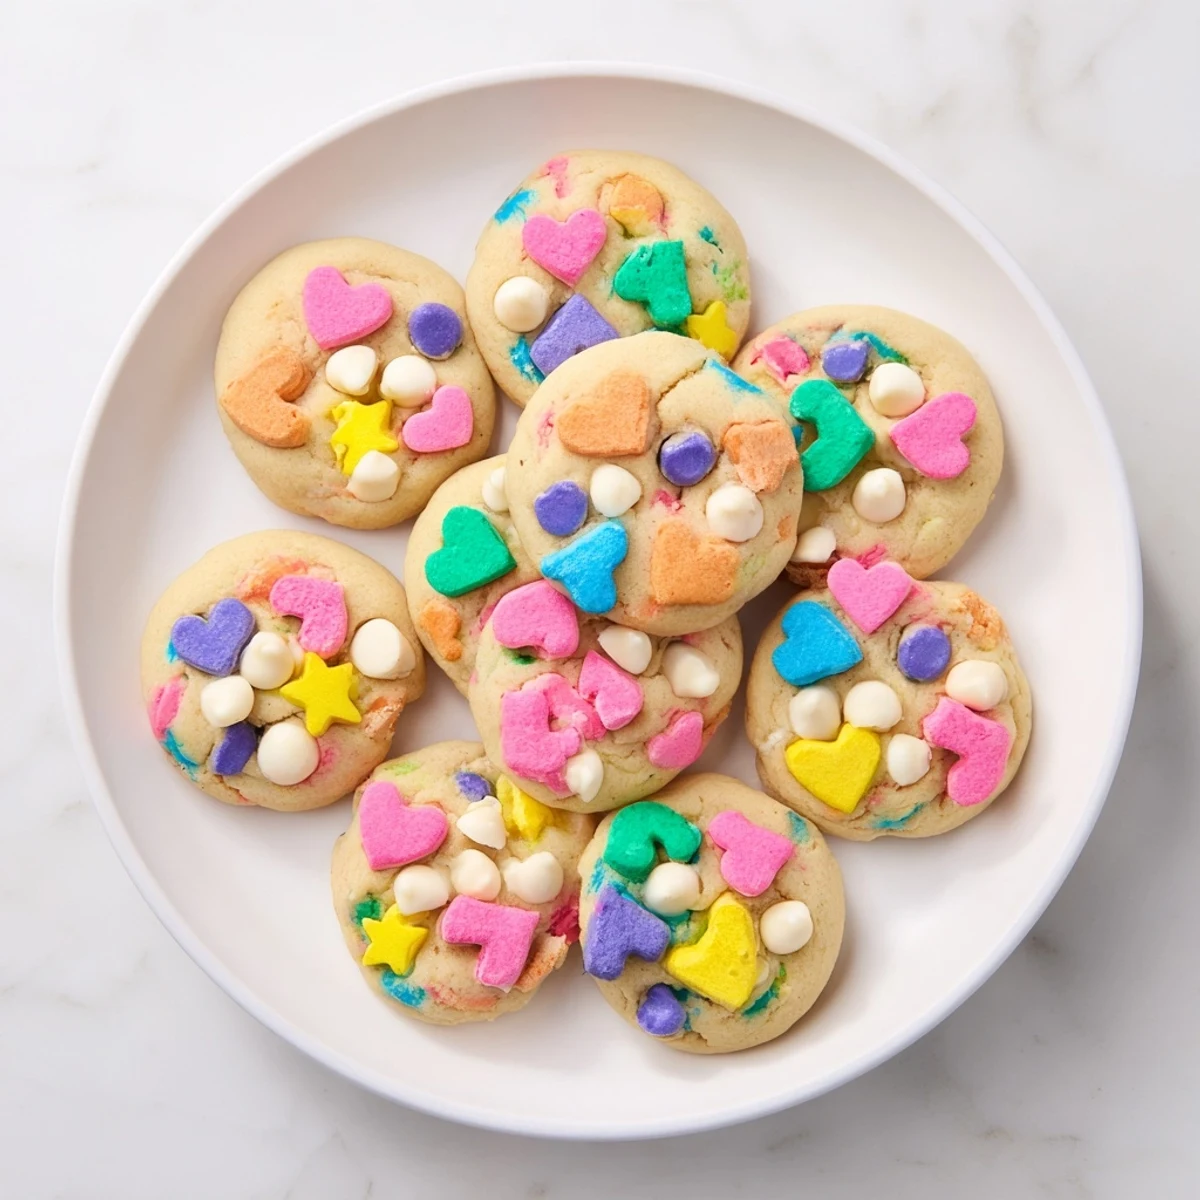
 These soft, chewy cookies feature the iconic colorful marshmallows from Lucky Charms cereal, creating a fun and whimsical treat that appeals to both children and adults. The dough comes together quickly with melted butter for extra chewiness, while white chocolate chips add an optional layer of sweetness. After just 10 minutes in the oven, you'll have perfectly golden cookies with slightly crisp edges and tender centers. The reserved marshmallows pressed on top create a festive appearance and ensure every bite is packed with colorful charm.
The smell of these cookies baking transports me straight back to childhood Saturday mornings, watching cartoons and picking out all the marshmallows from my cereal bowl first. I'd completely forgotten about that little ritual until my niece mentioned she does the exact same thing. That's when it hit me, why not reclaim those colorful bits for something even better than breakfast?
Last summer I brought a batch to a neighborhood potluck, expecting them to be a cute side note among more sophisticated desserts. Within twenty minutes, parents were practically fighting over the last one while their kids looked on confused. Someone actually asked for the recipe right then and there, standing there with cookie crumbs on their chin.
Ingredients
- 2 1/4 cups all-purpose flour: The foundation that holds all those marshmallow dreams together
- 1/2 teaspoon baking soda: Gives these cookies just the right amount of lift
- 1/2 teaspoon salt: Balances out all that sugar so every bite tastes complete
- 3/4 cup unsalted butter, melted and cooled: Using melted butter makes them extra chewy and gives that homemade cookie texture we all crave
- 3/4 cup packed light brown sugar: Adds deep caramel notes and moisture
- 1/2 cup granulated sugar: Creates crisp edges while keeping centers soft
- 1 large egg plus 1 egg yolk: The extra yolk makes these cookies incredibly tender and rich
- 2 teaspoons pure vanilla extract: Don't skimp here, it's the backbone that makes everything taste like a proper cookie
- 1 1/4 cups Lucky Charms marshmallows: The star of the show, carefully picked from the cereal or bought separately if you can find them
- 3/4 cup white chocolate chips: Optional but highly recommended, they melt into little creamy pockets throughout
Instructions
- Get your oven ready:
- Preheat to 350°F and line two baking sheets with parchment paper, because nobody wants to scrub baked-on marshmallow later
- Whisk the dry team:
- In a medium bowl, combine the flour, baking soda, and salt until everything's evenly distributed
- Mix the sugars and butter:
- Combine melted butter with both sugars in a large bowl, stirring until completely smooth and no sugar crystals remain
- Add the eggs and vanilla:
- Beat in the whole egg first, then the yolk, followed by vanilla, mixing until everything's glossy and well incorporated
- Bring it all together:
- Gradually stir in the dry ingredients just until you no longer see streaks of flour, being careful not to overwork the dough
- Fold in the fun stuff:
- Gently fold in the white chocolate chips if you're using them, along with 1 cup of marshmallows, saving the prettiest colored ones for topping
- Scoop and space:
- Drop rounded tablespoons onto your prepared sheets, leaving about 2 inches between each dough ball
- Add the crowning glory:
- Press a few reserved marshmallows onto the top of each cookie so they get beautifully toasted in the oven
- Bake to perfection:
- Slide them in for 9 to 11 minutes, pulling them out when edges are set but centers still look slightly underdone
- The hardest part:
- Let them cool on the baking sheets for exactly 5 minutes before moving them to a wire rack
 Save to Pinterest
 My daughter now requests these for every school bake sale, and her teacher actually emailed to ask if I'd consider making them for the staff meetings. I never thought something born from a childhood cereal obsession would become my most requested recipe, but here we are.
The Marshmallow Situation
Picking marshmallows out of Lucky Charms takes way longer than you'd expect. Settle in with a good show or recruit some help. The upside is you get to eat all the cereal pieces while you work, which isn't exactly a punishment.
Getting That Perfect Texture
Underbaking slightly is absolutely the way to go here. The marshmallows continue to cook on the hot baking sheet during those crucial 5 minutes of cooling time. Pull them out too early and they'll collapse, too late and you lose that gooey center we're all chasing.
Make Them Your Own
Sometimes I switch up the white chocolate for dark chocolate when I'm feeling sophisticated, or add rainbow sprinkles for over-the-top birthday vibes. The base cookie is so forgiving it happily accommodates whatever you're in the mood for.
- Try drizzling melted white chocolate over the cooled cookies for extra wow factor
- Sprinkle a little flaky sea salt on top before baking to cut through all that sweetness
- Roll the dough balls in extra marshmallows for maximum marshmallow coverage
 Save to Pinterest
 Whether you're making them for a birthday party, a bake sale, or just because Tuesday needs more color in it, these cookies have a way of making everyone smile. Sometimes the most unexpected combinations are the ones that become family traditions.
Common Questions
- → Can I use regular Lucky Charms cereal instead of just the marshmallows?
-
While you could mix in some cereal pieces, the texture becomes much crunchier and less uniform. For the best soft and chewy texture, stick with using just the colorful marshmallows. If you want extra crunch, consider adding 1/2 cup of the actual cereal pieces along with the marshmallows.
- → Why do I need to melt and cool the butter?
-
Melted butter creates a denser, chewier cookie texture compared to creamed softened butter, which produces fluffier results. Cooling the butter prevents it from cooking the eggs when mixed in and helps the dough hold its shape better while baking.
- → How do I prevent the marshmallows from melting completely in the oven?
-
The marshmallows will soften and slightly melt, which is part of their charm. Pressing them into the top of the dough balls rather than folding them completely inside helps maintain their shape. Don't overbake—removing them when centers look slightly underbaked preserves the marshmallow texture.
- → Can I make the dough ahead of time?
-
Yes! You can refrigerate the dough for up to 48 hours before baking. Actually, chilling the dough for at least 30 minutes can enhance flavor and prevent excessive spreading. If refrigerating longer, let the dough sit at room temperature for about 15 minutes before scooping and baking.
- → What's the best way to separate marshmallows from the cereal?
-
The most efficient method is to pour the cereal into a large shallow bowl and gently shake side to side. The heavier cereal pieces settle to the bottom while the lighter marshmallows rise to the top. You can also use a slotted spoon to scoop out marshmallows or simply pick them out by hand while enjoying a snack.
- → Can I freeze these cookies?
-
Both baked cookies and unbaked dough freeze well. Baked cookies last up to 3 months in the freezer—thaw at room temperature. For dough, scoop onto a baking sheet, freeze until solid, then transfer to a freezer bag. Bake frozen dough balls, adding 1-2 minutes to the baking time.
