 Save to Pinterest
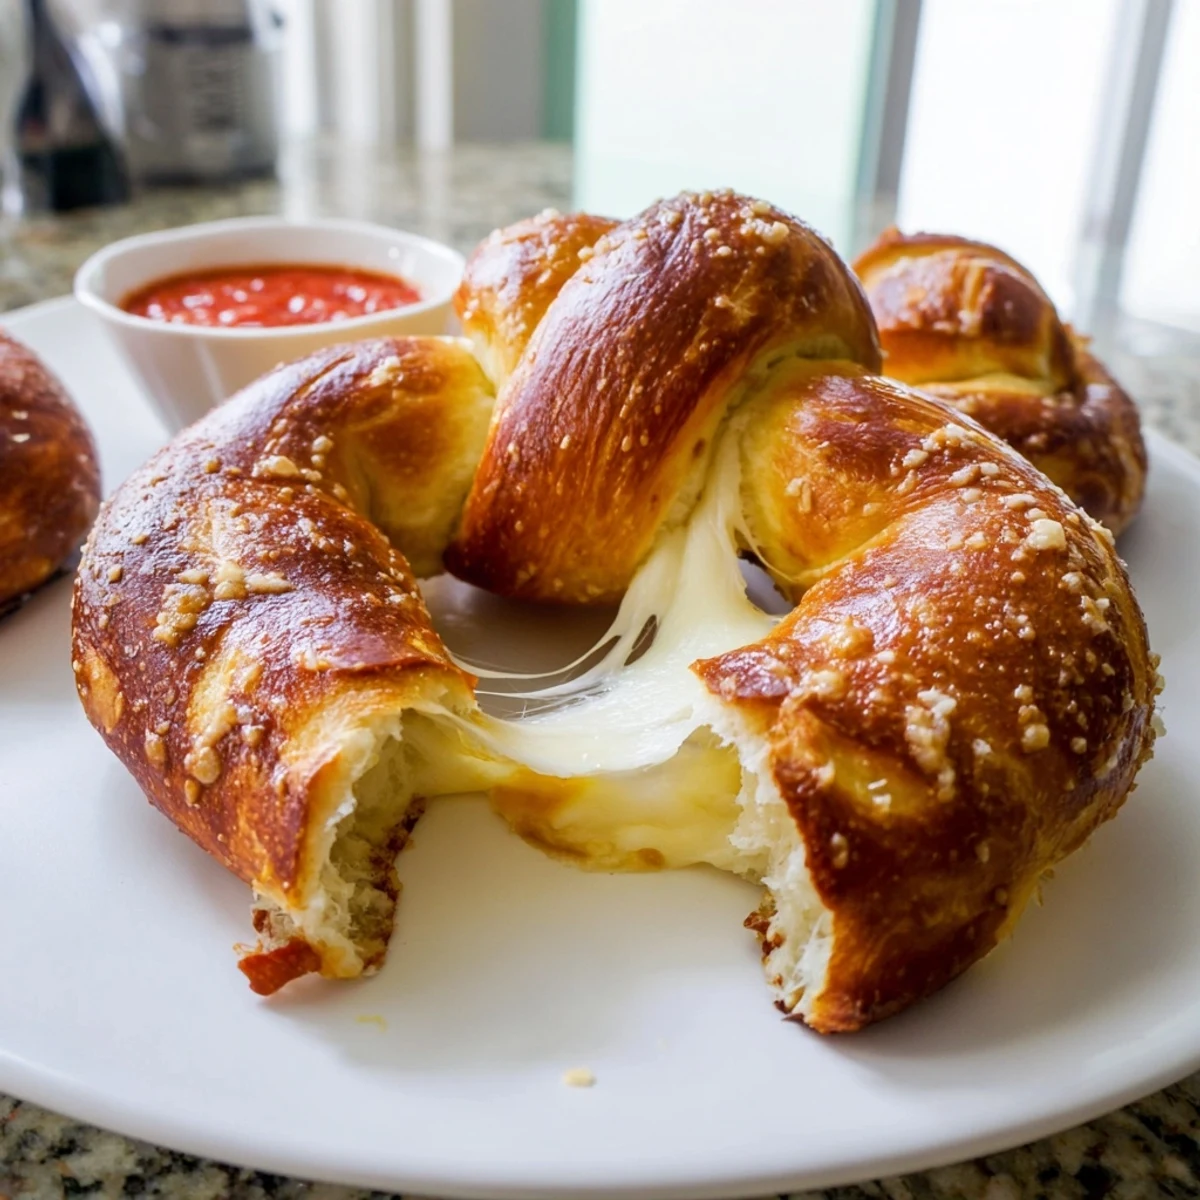
 These soft pretzels feature a chewy, golden exterior with a rich mozzarella core. The dough gets its signature texture from a baking soda bath before baking, creating that classic pretzel flavor and deep brown color. Each pretzel takes about 30 seconds to poach before hitting the oven at high heat.
The dough requires an hour rise time, making this a perfect weekend project. You'll knead the dough until smooth, then wrap it around mozzarella sticks before shaping into traditional pretzel forms. The baking soda dip is essential—it's what gives pretzels their distinctive taste and glossy finish.
Brush with egg wash and coarse salt before baking for 12-15 minutes until deep golden. An optional butter brushing while hot adds extra richness. Serve warm with marinara, ranch, or garlic butter for dipping.
There is something almost magical about pulling pretzels fresh from the oven, especially when molten cheese awaits inside. The smell alone stops everyone in my kitchen tracks. I started making these on a whim during a snowed-in weekend, and they have since become the most requested snack for movie nights.
I once made twelve of these for a small dinner party, thinking we would have leftovers. By the time the third batch came out, people were literally standing by the oven. Now I know to double the recipe if I want any chance of saving a few for myself.
Ingredients
- All-purpose flour: Forms the structure of your pretzel dough, creating that signature chewy texture when baked at high heat
- Active dry yeast: Essential for the dough to rise and develop those beautiful air pockets inside
- Warm water: Activates the yeast, but keep it around body temperature to avoid killing the yeast
- Granulated sugar: Feeds the yeast and helps the pretzels achieve that perfect golden brown color
- Fine sea salt: Balances the sweetness and enhances the overall flavor of your dough
- Unsalted butter: Adds richness to the dough and creates an extra luxurious finish when brushed on hot pretzels
- Mozzarella sticks: The star filling that becomes irresistibly gooey and stretchy when baked
- Baking soda: Creates the classic pretzel crust through the alkaline bath process
- Egg wash: Gives your pretzels that shiny, deep golden finish and helps salt adhere
- Coarse salt: The essential finishing touch that makes these pretzels authentic
Instructions
- Wake up the yeast:
- Dissolve the sugar in warm water, then sprinkle yeast on top and let it foam for about 5 minutes
- Build the dough:
- Mix in melted butter and salt, then gradually incorporate flour until a shaggy dough forms, kneading for 5 to 7 minutes until smooth and elastic
- Let it rest:
- Place your dough in a greased bowl, cover, and let rise in a warm spot for about an hour until it has doubled in size
- Prepare your station:
- Preheat oven to 450°F and line baking sheets with parchment paper before diving into shaping
- Shape and stuff:
- Divide dough into 8 pieces, roll each into an 18-inch rope, flatten, place a mozzarella stick in the center, and pinch edges tightly to seal
- Form pretzels:
- Carefully shape each stuffed rope into a classic pretzel form, double-checking that no cheese is peeking through
- Prepare the bath:
- Bring 8 cups of water and baking soda to a boil, then reduce to a gentle simmer
- Dip for perfection:
- Gently lower each pretzel into the baking soda bath for 30 seconds, then remove with a slotted spatula to your prepared baking sheets
- Finish and bake:
- Brush each pretzel with beaten egg, sprinkle generously with coarse salt, and bake for 12 to 15 minutes until deep golden brown
- Final flourish:
- While still hot, brush with melted butter for extra flavor and serve immediately
 Save to Pinterest
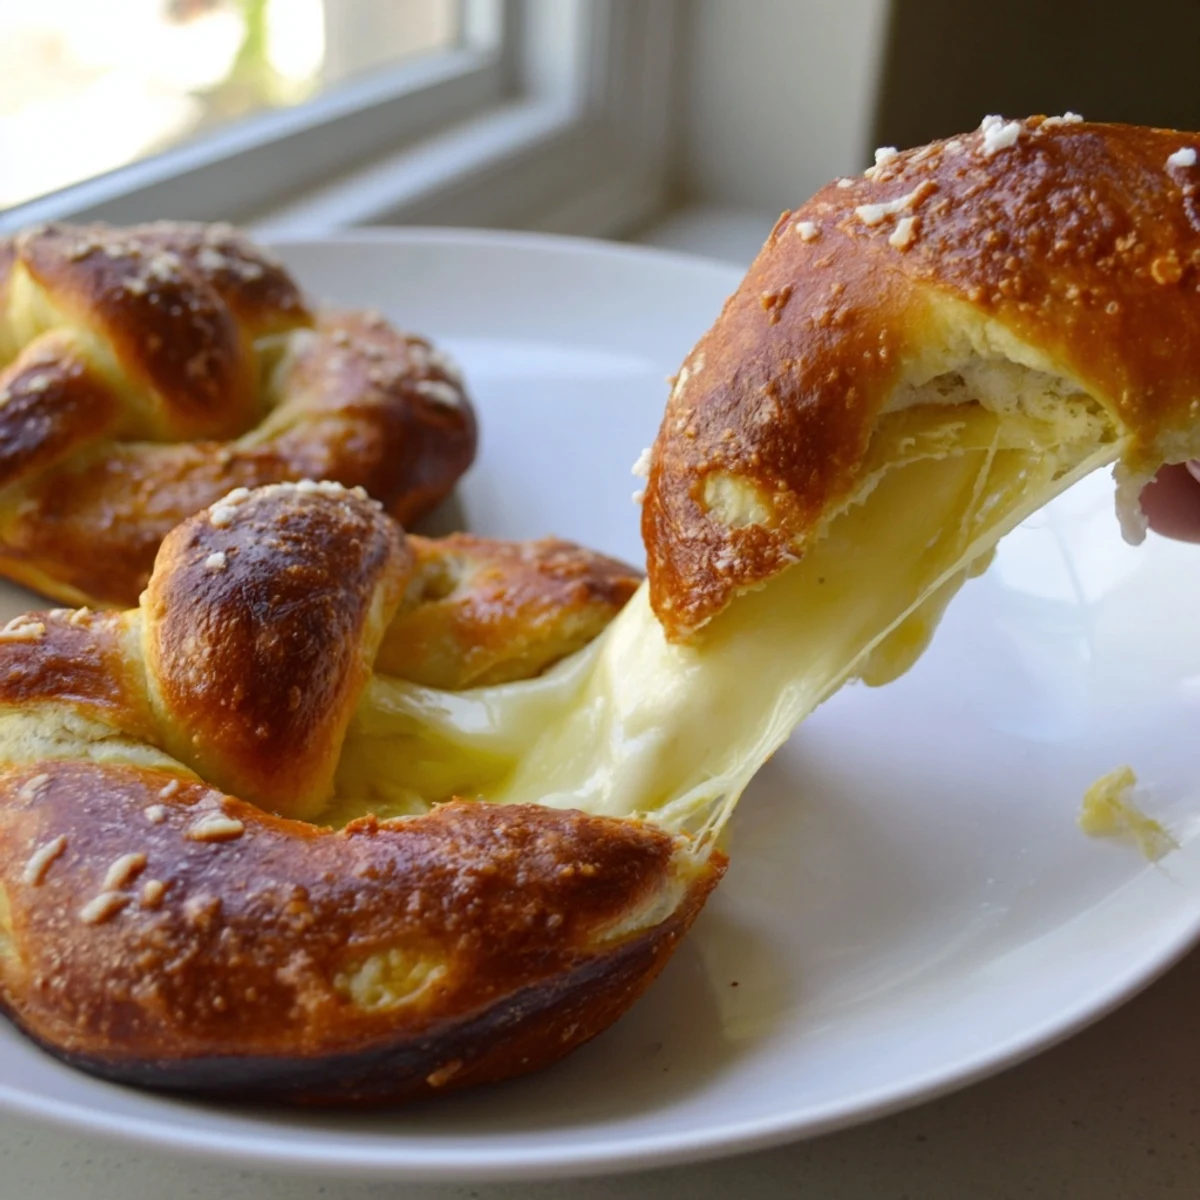
 These have become my go-to when friends come over, especially during colder months. There is something deeply satisfying about the process of twisting and dipping each pretzel, then watching them transform in the oven.
Getting the Shape Right
I spent my first few attempts making ugly blobs before I learned the trick. Create a U shape with your rope, cross the ends twice, then fold them down to press onto the bottom curve. It takes a little practice, but even the imperfect ones taste amazing.
Cheese Variations
While mozzarella is classic, I have experimented with cheddar for a sharper bite and pepper jack for heat. Just remember that harder cheeses might not melt as quite as beautifully, so stick to varieties known for their melting properties.
Make-Ahead Strategy
You can prepare these through the shaping step and freeze them raw on a baking sheet. Once frozen solid, transfer to a bag and bake directly from frozen, adding just a couple extra minutes to your baking time.
- Let frozen pretzels thaw in the refrigerator overnight before the baking soda bath
- Never skip the poaching step even when baking from frozen
- Brush with butter immediately after baking while still hot for maximum flavor absorption
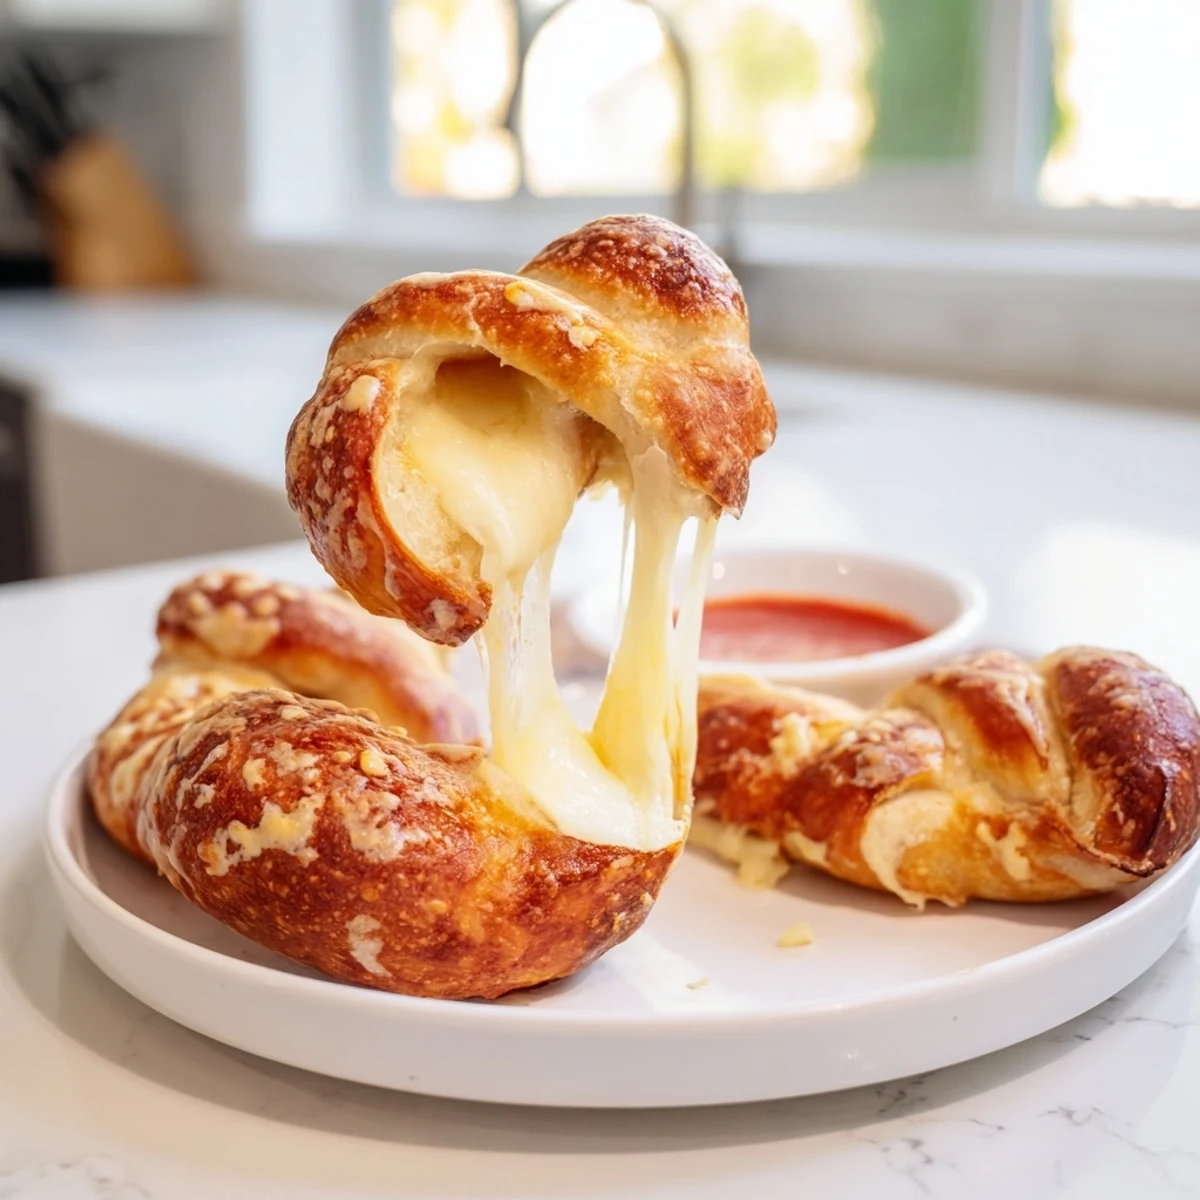 Save to Pinterest
 Grab one while they are still warm and watch the cheese stretch. That first bite is everything.
Common Questions
- → Can I make the dough ahead of time?
-
Yes, prepare the dough and refrigerate after the first rise for up to 24 hours. Let it come to room temperature before shaping and stuffing with cheese.
- → What type of mozzarella works best?
-
String cheese sticks are ideal because they're perfectly portioned and hold shape during baking. You can also cut block mozzarella into sticks, just pat them dry to prevent excess moisture.
- → Why is the baking soda bath necessary?
-
The baking soda bath creates the classic pretzel flavor and deep golden color. It alkalizes the dough surface, causing it to brown rapidly and develop that distinctive taste we associate with traditional pretzels.
- → Can I freeze these pretzels?
-
Bake completely, cool, then freeze in an airtight container for up to 3 months. Reheat in a 350°F oven for 10-15 minutes until heated through and crispy again.
- → What dipping sauces pair well?
-
Classic marinara is always a hit. Try ranch dressing, garlic butter, or spicy mustard. For something different, serve with jalapeño popper dip or a cheese sauce made with extra mozzarella.
- → How do I prevent cheese from leaking out?
-
Pinch the dough edges tightly together to seal completely around the cheese stick. Overlap slightly and press firmly. If you see gaps, patch with small pieces of dough before shaping.
