 Save to Pinterest
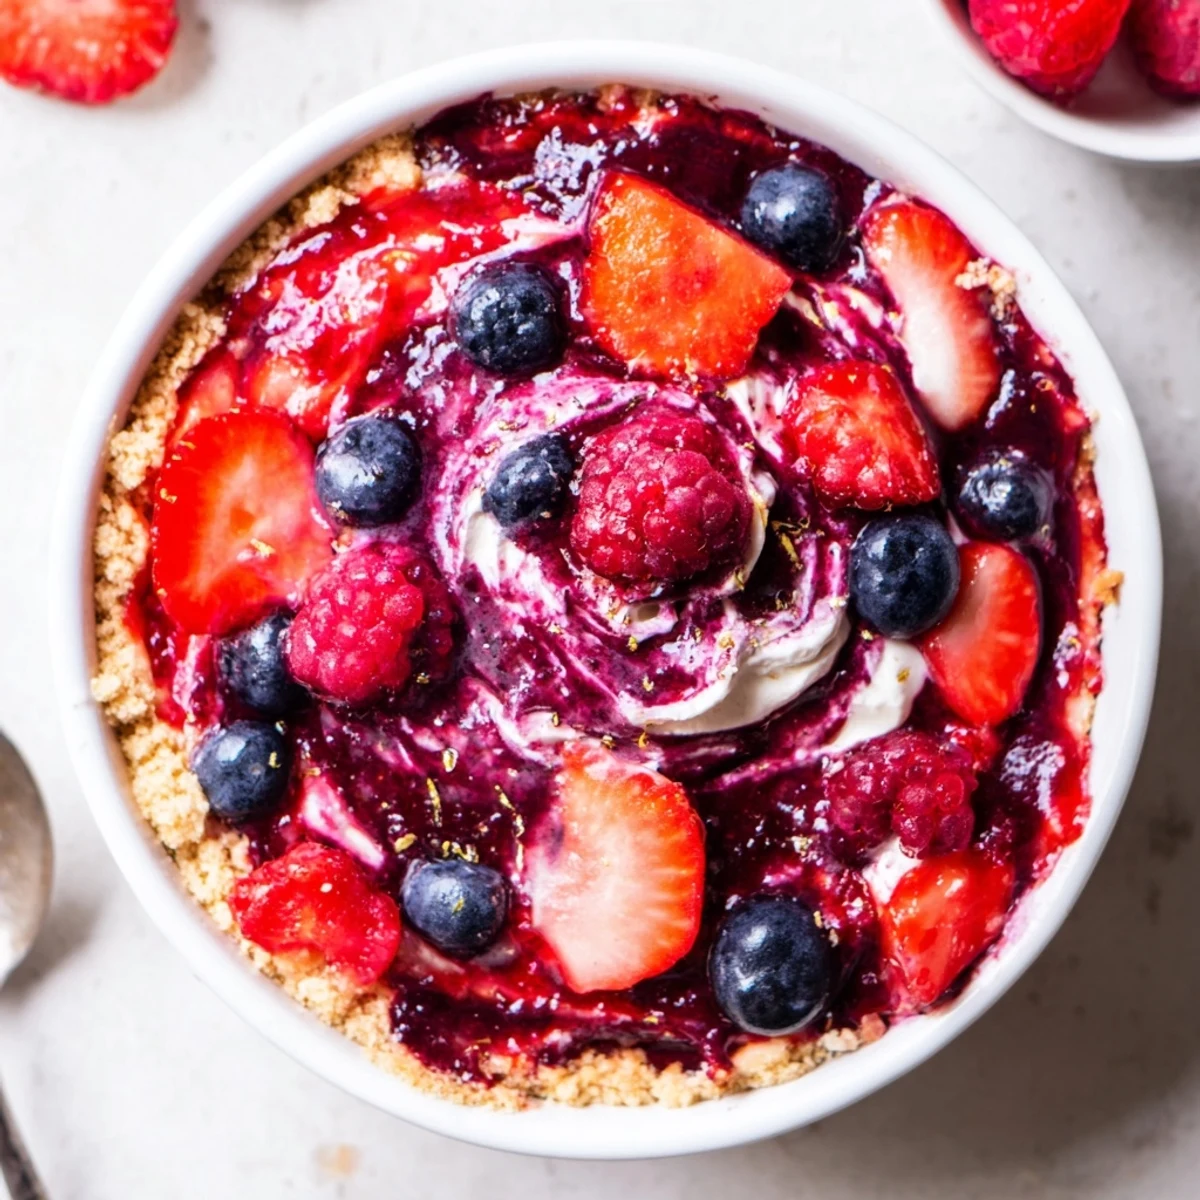
 These no-bake berry cheesecakes combine a crunchy biscuit base with a lemon-kissed cream cheese filling folded with whipped cream, then finished with macerated mixed berries. Assemble in glasses, chill at least 3 hours to set. Ideal for make-ahead gatherings; use gluten-free biscuits or a splash of berry liqueur for extra depth.
The first time I whipped up these berry no bake cheesecakes, it was spurred purely by a lack of oven space during a family get-together. Sunlight streamed through the kitchen window, and the scent of fresh berries mingled with the buttery biscuit base had me sneaking a taste before they even set. There’s something so gratifying about layering everything together, knowing dessert will be ready without breaking a sweat. No oven, no fuss—just sweet anticipation as they chill quietly.
I remember assembling these for a late summer picnic, hands sticky with crushed biscuits and strawberries. One of my friends offered to layer the glasses, only to get distracted by a story and pile nearly all the berries into the first two. We laughed, redistributed, and decided that there’s no wrong way to stack good things in a glass. Every scoop tasted like summer confessions and easy happiness.
Ingredients
- Graham crackers or digestive biscuits: Choose your favorite, but crushing them finely gives a nicely packed and crunchy base.
- Unsalted butter: Melt just enough to coat the crumbs so the base sets well—don’t skimp or it can crumble.
- Cream cheese, softened: Let it come to room temperature for the smoothest, lump-free filling; cold cheese is stubborn to mix.
- Heavy cream, cold: Whipping well-chilled cream creates that fluffy, cloudlike texture in the cheesecake layer.
- Powdered sugar: This dissolves instantly, so your filling stays velvety.
- Vanilla extract: Gives warmth to the creamy filling; real extract makes a difference.
- Lemon zest (optional): Brightens every bite—scrape directly over the bowl for aromatic oils.
- Mixed fresh berries: Use whatever’s in season; the fresher, the juicier the topping.
- Sugar: Just enough to coax out the juices in the berries, not so much that it masks them.
- Lemon juice: A squeeze over the berries sharpens and lifts their flavor.
Instructions
- Mix the biscuit base:
- Stir together the biscuit crumbs and melted butter until every crumb’s glossy. Press the mixture gently into the bottom of each glass or ramekin, aiming for a flat, well-packed layer.
- Whip up the cheesecake filling:
- Your cream cheese, once soft, should blend easily—add the sugar, vanilla, and optional zest, mixing until silky. In a separate bowl, whip cold heavy cream until it holds peaks, then gently fold it into the cream cheese mixture so you don’t lose any airiness.
- Layer the glasses:
- Spoon or pipe the creamy cheesecake mixture over each biscuit base, smoothing the tops for even layers.
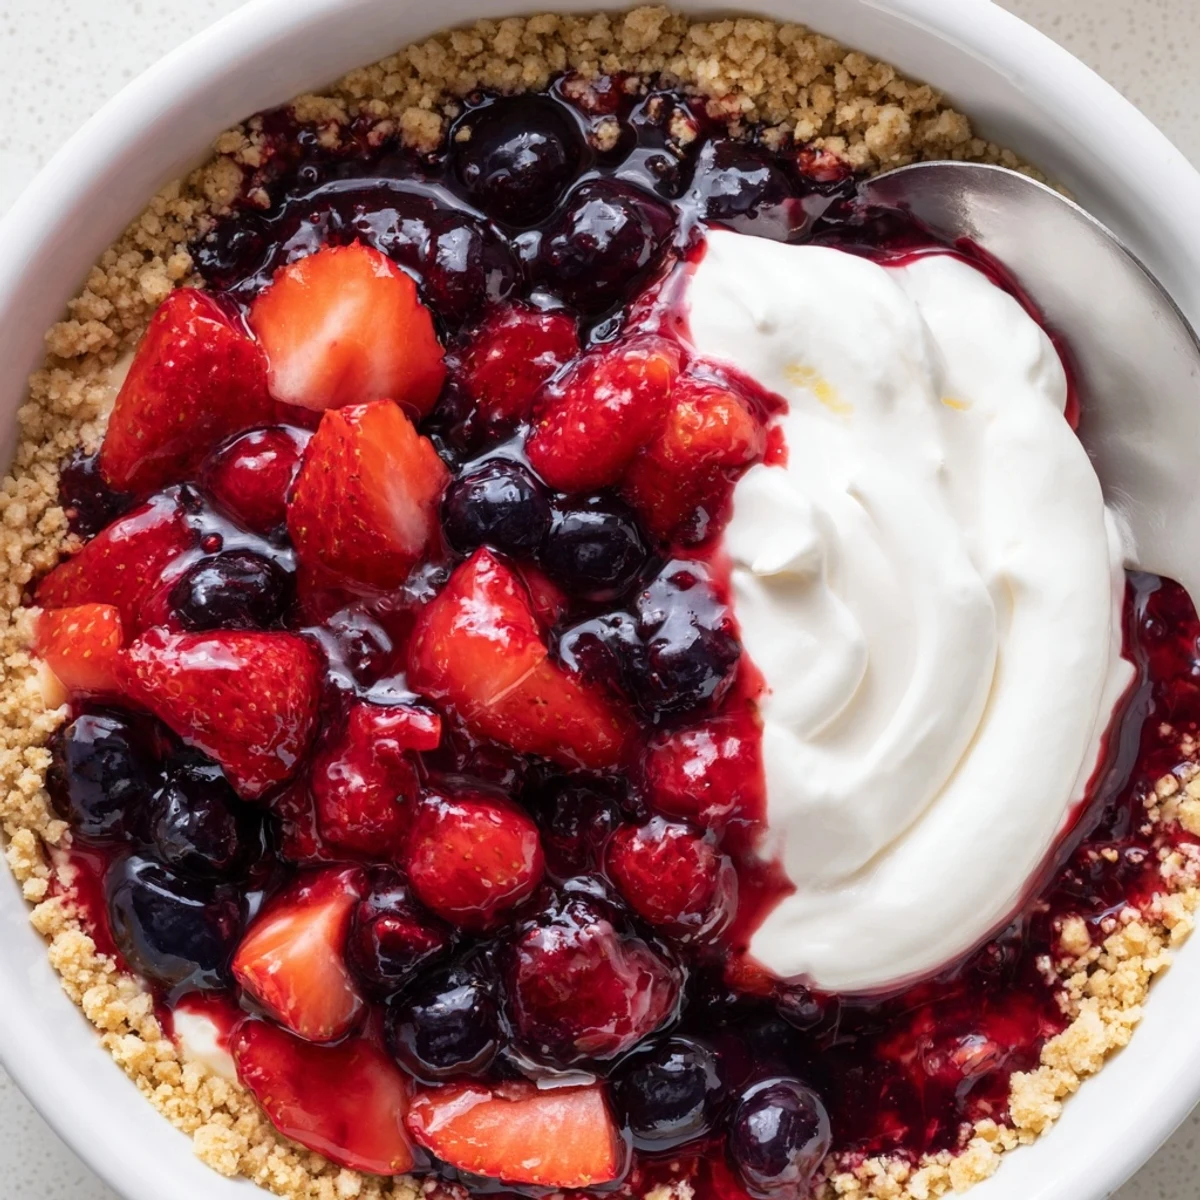
- Prepare the berry topping:
- Toss the berries with sugar and lemon juice and let them hang out a bit until their juices start to pool. Spoon the glistening berries and juices over the cheesecake layers.
- Chill and serve:
- Set the desserts in the fridge for at least three hours—or overnight if patience allows—until firm and cold. Serve straight from the fridge for the best texture and taste.
 Save to Pinterest
 There was a birthday when I made six of these little jars, topped with every kind of berry I could find. Each guest picked their favorite layers, lingering over teaspoons and conversation, and for a moment, dessert became the centerpiece of the table, pulling us all together in laughter and happy debates over which berry was best.
When to Use Different Berries
Switching up the berries is my favorite way to make this dessert fit the season. Use tart raspberries in spring, or go wild with sun-warmed strawberries all summer. Frozen berries work in a pinch but thaw and drain them first for the best layers.
Making Gluten-Free or Vegan Versions
I’ve learned you can easily swap in gluten-free biscuits to keep everyone happy and safe. If you need to go dairy free, try a thick vegan cream cheese and coconut cream—they whip up surprisingly well together and still feel indulgent.
Serving and Decorating Ideas
Sometimes I like to serve these in mismatched jam jars or vintage glasses for a bit of charm. A little zest or a handful of mint leaves scattered on top makes them feel special, even if you’re just treating yourself after a long week.
- Add a dusting of powdered sugar just before serving for a pretty finish.
- Pile on extra berries if you have a sweet tooth.
- Always chill your glasses before layering for extra cold and creamy results.
 Save to Pinterest
 These berry no bake cheesecakes turn everyday moments into something to savor. Sharing them is half the joy, but sneaking a spoonful straight from the fridge is its own reward.
Common Questions
- → How do I get a smooth, airy filling?
-
Beat the softened cream cheese until completely smooth before adding sugar and vanilla. Whip the cold heavy cream to stiff peaks separately, then gently fold it into the cream cheese in batches to keep the filling light and airy.
- → How long should they chill to set properly?
-
Chill for at least 3 hours, though overnight gives a firmer set and better texture. Keeping them cold stabilizes the whipped cream and allows flavors to meld.
- → Can I use different biscuits for the base?
-
Yes. Graham crackers or digestive biscuits give a classic crunch; for gluten-free use a certified gluten-free biscuit. Press crumbs firmly into glasses for an even, compact base.
- → How do I macerate the berries?
-
Toss mixed berries with sugar and a little lemon juice and let sit 10–15 minutes. The sugar draws out juices, creating a glossy compote that tops the filling without additional cooking.
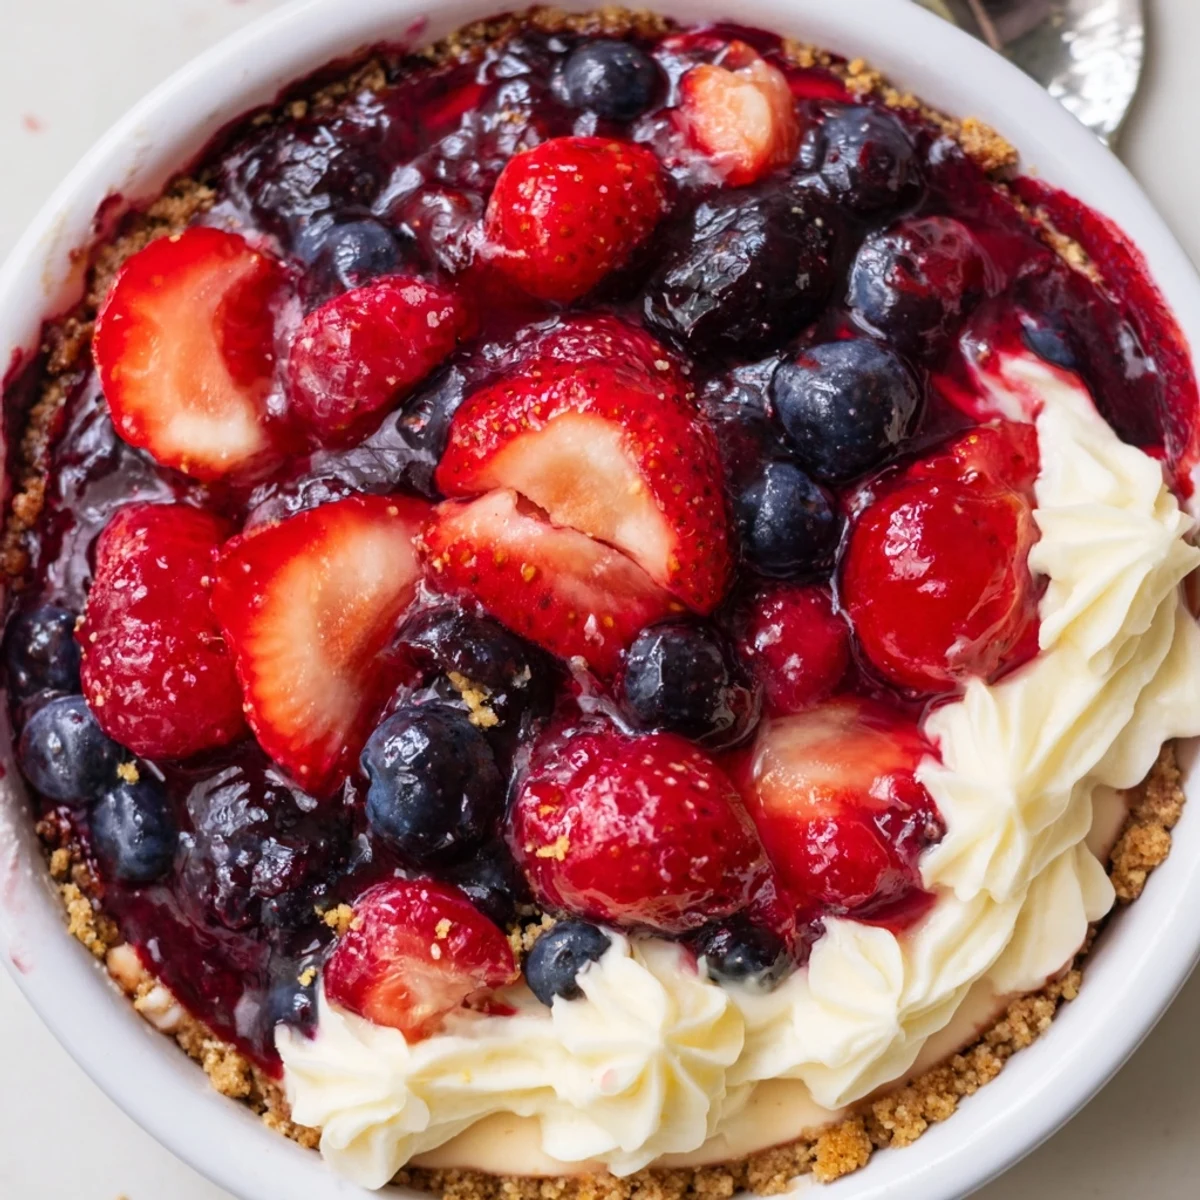
- → Any tips for piping the filling neatly?
-
Use a large star or plain tip and fill a piping bag for clean layers. Chill briefly between layers if needed to prevent the filling from sliding in the glasses.
- → How should leftovers be stored?
-
Cover individual servings and refrigerate up to 3 days. Avoid freezing, as the whipped texture and fruit will degrade after thawing.
