 Save to Pinterest
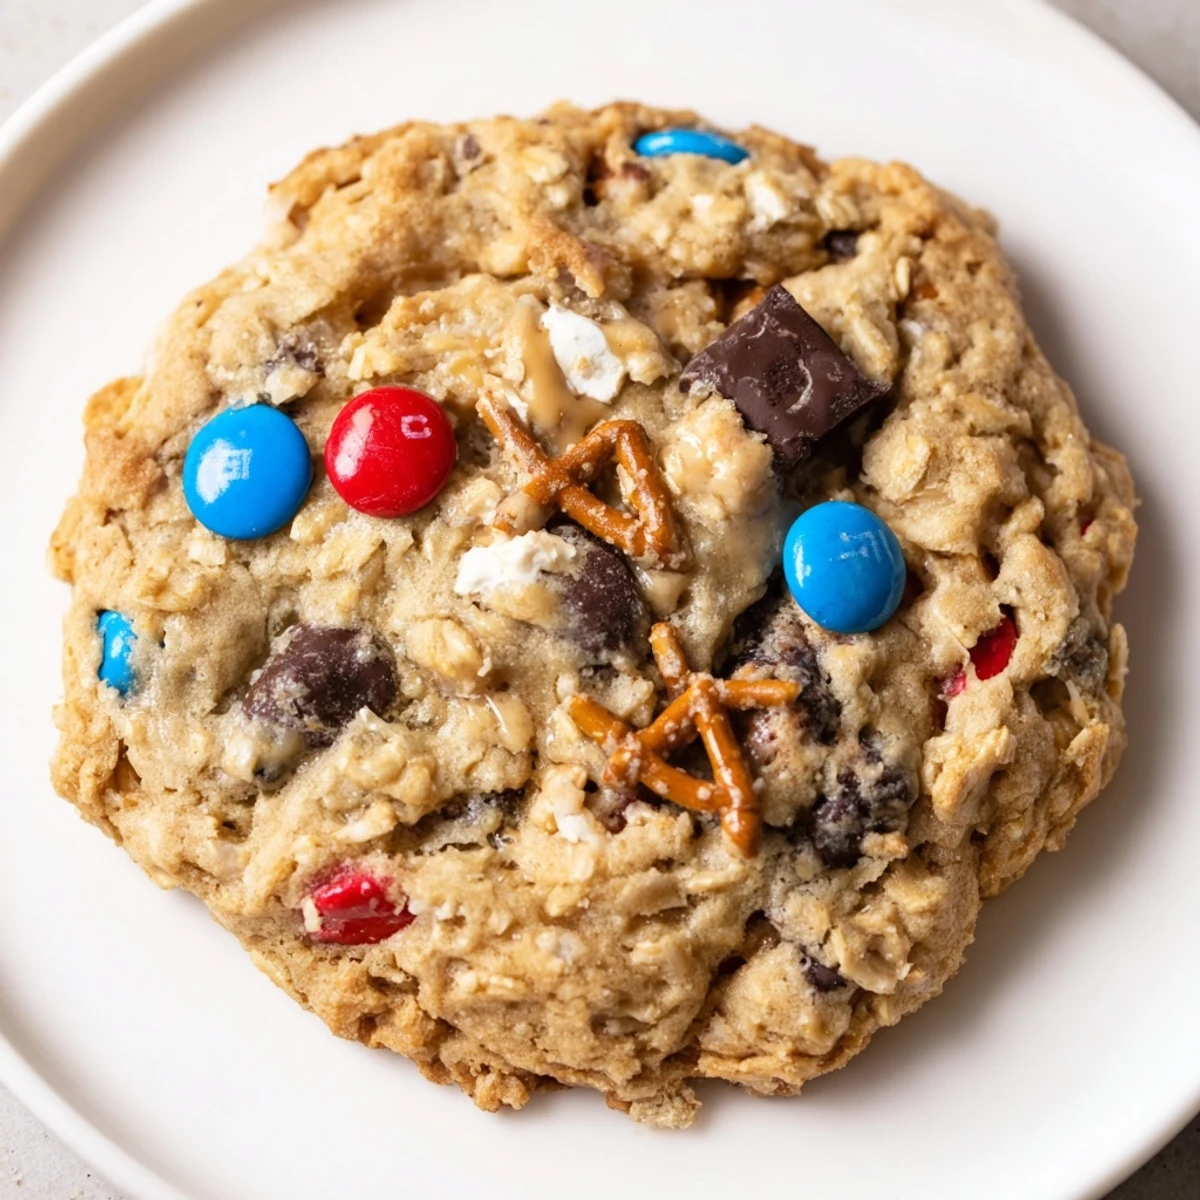
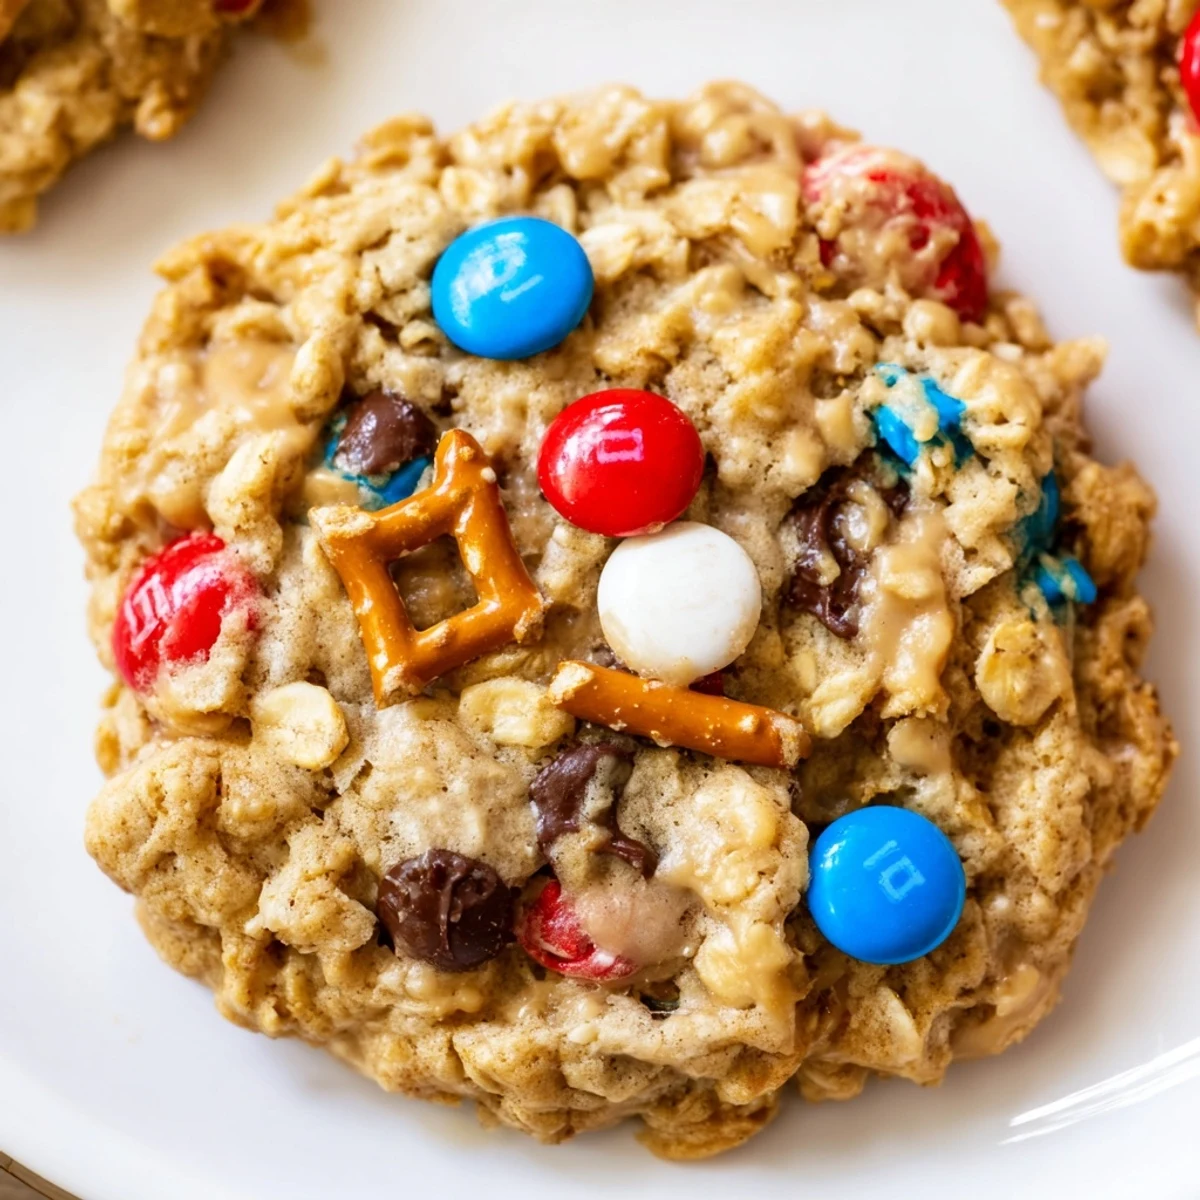
 These patriotic monster cookies turn out chewy and loaded with old-fashioned oats, creamy peanut butter, semisweet chips and red-white-blue chocolate candies. Cream butter and sugars, beat in peanut butter and eggs, fold in dry oats, flour and baking soda, then stir in chips and candies. Scoop onto parchment-lined sheets and bake 10–12 minutes until edges are golden; cool briefly for soft, chewy centers.
The unmistakable smell of peanut butter mingled with melting chocolate fills my kitchen every time I whip up these Patriotic Monster Cookies. The crunch of mini pretzels under my knife always brings a little chaos to the calm, and the playful scatter of red, white, and blue candies makes me smile no matter the season. I’ve learned not to resist licking a sticky finger clean while scooping dough, especially as the colors start to streak across the spoon. There’s something cheerfully rebellious about decorating a dessert in stars-and-stripes style without waiting for July.
I brought a plate of these to a summer campfire last year, and everyone—from messy toddlers to grownups angling for a late-night snack—went wild for the sweet-salty combo. One friend tried to guess all the add-ins in the dark, laughing every time she bit into a pretzel chunk instead of a candy. That moment reminded me how a silly twist can turn a classic into something unforgettable. It’s the kind of recipe that quietly starts a tradition.
Ingredients
- Unsalted butter: Starting with softened butter gives that billowy, creamy base—let it sit on the counter while you pull out the rest of the ingredients.
- Granulated sugar: Adds that sweet snap on the edges when baked; don’t rush creaming it in to get fluffy cookies.
- Light brown sugar: The secret to irresistible chewiness and a hint of caramel flavor.
- Creamy peanut butter: Not all brands mix the same—stir first if it’s separated, and always use creamy for best texture.
- Large eggs: I crack them one by one straight into the bowl so there are never any shells to fish out.
- Vanilla extract: A splash ties all the warm notes together; use real vanilla if you can.
- Old-fashioned oats: Choose the thick-cut ones for a more satisfying cookie, and don’t substitute instant because they disappear into mush.
- All-purpose flour: This balances the oats, keeping things soft but not too dense; spoon the flour into your cup so you don’t accidentally pack it down.
- Baking soda: Essential for lift and spreading—double check your box isn’t expired!
- Salt: Brings all the flavors up a notch and counteracts the sweetness in just the right way.
- Red, white, and blue chocolate candies: Use plenty for bright pops of color; press a few more on top before baking for that bakery look.
- Semisweet chocolate chips: Trust me, chocolate chips tucked in among the candies are a must for little bursts of melty goodness.
- Mini pretzels, lightly crushed: These are optional, but the salty crunch keeps people guessing—just smash gently so they stay chunky.
Instructions
- Get Your Pans Ready:
- Line two big baking sheets with parchment paper so cookies lift off easily and you avoid stuck-on bits.
- Cream the Sugars and Butter:
- In your largest mixing bowl, beat the softened butter with granulated and brown sugars until the mixture looks pale and billowy—don’t rush this step, it’s what makes the cookies tender.
- Add Peanut Butter and Eggs:
- Stir in peanut butter until completely smooth, then blend in the eggs one by one; the batter will look glossy and thick, just right for monster cookies.
- Splash of Vanilla:
- Mix in vanilla to scent the dough—sometimes I pause here just to smell the magic.
- Mix the Dry Ingredients:
- Whisk the oats, flour, baking soda, and salt together in another bowl so everything spreads out nice and even.
- Combine Wet and Dry:
- Add dry ingredients to wet ingredients gradually—switch to a sturdy spatula for the final mix, scraping down the sides to catch sticky pockets.
- Add the Fun Stuff:
- Gently fold in chocolate candies, chips, and pretzel bits if you’re using them; the dough should be packed with color and texture.
- Scoop the Dough:
- Use a cookie scoop or rounded tablespoon to portion dough, spacing each mound a couple of inches apart so they’ve got room to spread.
- Bake Until Golden:
- Bake for 10 to 12 minutes—edges will look set and golden while the middles stay slightly underdone, which is exactly what you want for chewiness.
- Cool and Enjoy:
- Let cookies rest on the baking sheet for about five minutes so they firm up, then slide them onto a rack to cool completely (if you can wait!).
 Save to Pinterest
 One Fourth of July, I packed a tin of these into the car for a picnic and found our dog had managed a taste-test of his own when we stopped for gas. From then on, I started stashing a few for myself before sharing, because these really do disappear fast. Sometimes, a recipe isn’t just dessert—it’s an event in motion. Watching everyone reach for their favorite color candy never gets old.
Baking for a Crowd
Monster cookies are nearly foolproof for gatherings because the dough doubles easily—just rotate your trays halfway through baking for even coloring. If you’re ever short on time, chilling the dough isn’t required but does keep the cookies from spreading too much on a hot day. I like to leave a bowl of extra candies nearby so anyone can press a few onto their cookie before baking. The sprinkles of color spark little kitchen debates over ‘which ones look most patriotic.’
Allergy-Friendly Twists
If your guests can’t do peanuts or gluten, a jar of almond butter and that gluten-free flour will save the day—nobody ever notices the swap, so don’t worry about missing out on chew. Even seed butter works in a pinch but go heavier on vanilla to brighten it up. When allergies are a question, I love baking these ‘safe’ so everyone can enjoy unreservedly.
Getting the Perfect Chewy Texture
Through trial and error, I found that pulling the cookies early and letting them cool on the pan makes them irresistibly soft inside without being the least bit doughy.
- Don’t skip resting them on the baking sheet after they come out of the oven.
- Mix the dough until just combined so your cookies stay tender, not tough.
- Resist the urge to overbake, even if the tops look a bit shiny.
 Save to Pinterest
 No matter the occasion, these cookies always bring smiles on parade day or rainy nights at home. Baking them is my little reminder to celebrate the every day.
Common Questions
- → How do I achieve chewy centers?
-
Slightly underbake by removing from the oven when edges are set but centers still look soft. Let cookies cool on the baking sheet for 5–10 minutes to finish cooking gently; this helps retain moisture and chewiness.
- → Can I make these gluten-free?
-
Yes. Use certified gluten-free old-fashioned oats and swap all-purpose flour for a 1:1 gluten-free baking flour. Chill the dough briefly if the texture seems too wet before scooping.
- → How can I prevent excessive spreading?
-
Chill the dough for 15–30 minutes before scooping to firm up the fats. Use well-measured flour and bake on parchment or a silicone mat; avoid over-creaming the butter and sugars to reduce thin spreading.
- → What are good storage methods?
-
Store cooled cookies in an airtight container at room temperature for up to 4 days. Layer with parchment to prevent sticking. For longer storage, freeze baked cookies in a sealed container for up to 3 months.
- → Can I freeze the dough or mix-ins?
-
Yes. Portion dough into scoops and freeze on a tray, then transfer to a bag; bake from frozen adding 1–2 minutes to bake time. Store chocolate candies and chips separately if you expect melting during long freezes.
- → What swaps work for peanut allergies?
-
Replace creamy peanut butter with almond butter, sunflower seed butter, or soy nut butter, adjusting consistency if needed. Note that flavor and texture will vary slightly, so consider chilling dough to firm it up before baking.
