 Save to Pinterest
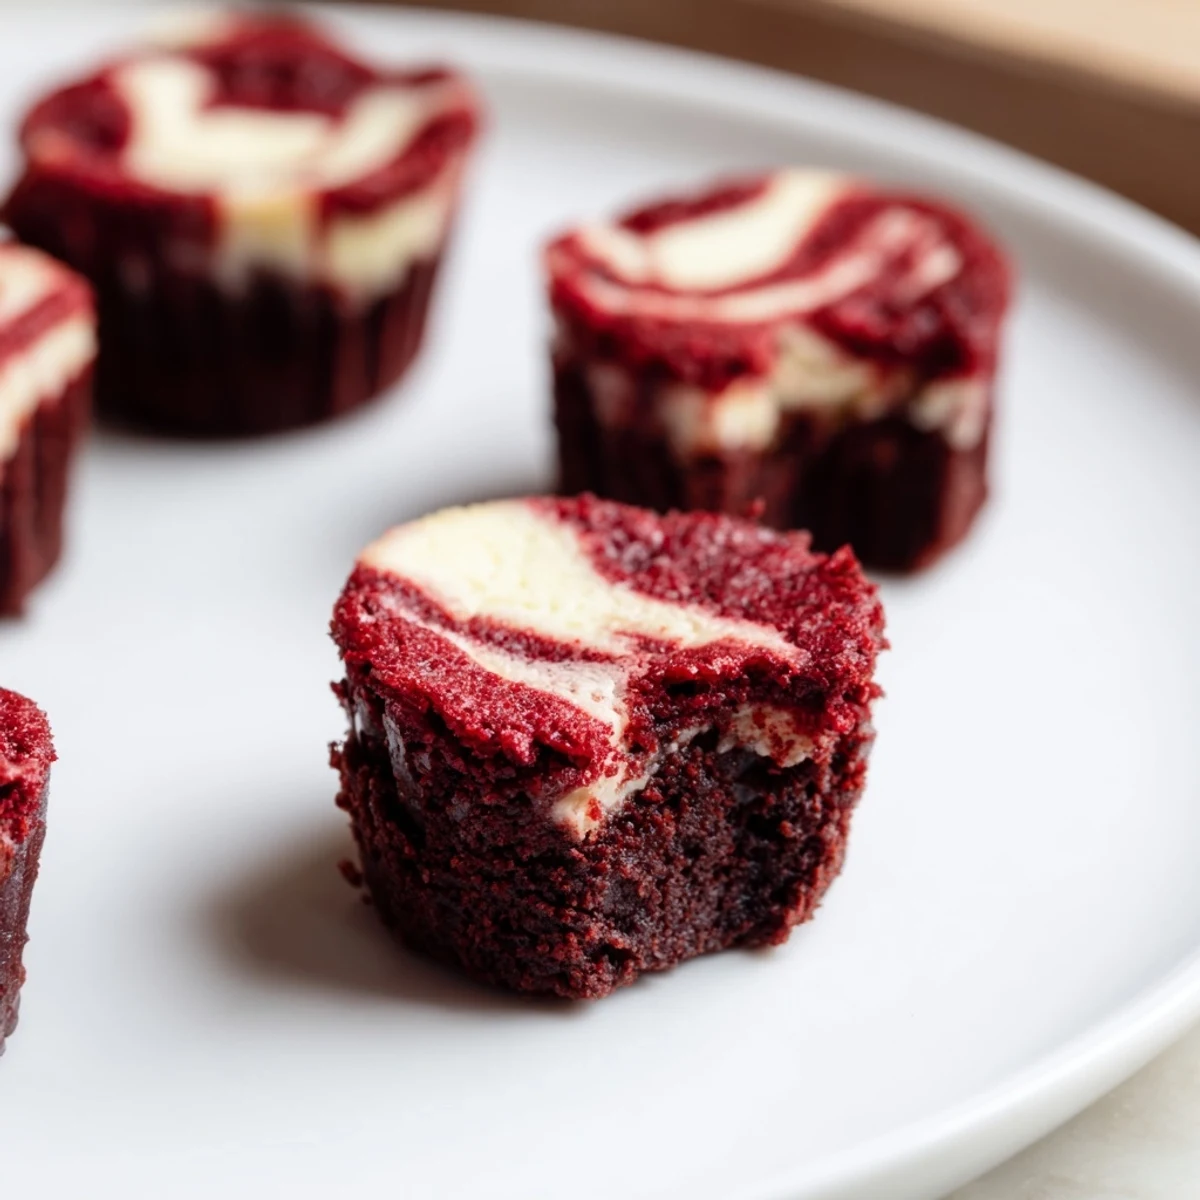
 These red velvet brownie bites combine moist, fudgy cocoa-rich batter with a smooth, tangy cheesecake swirl for a delightful treat. Perfectly portioned into bite-sized pieces, they offer a balance of textures and flavors that make for an irresistible dessert or snack. The marbled effect is achieved by gently swirling the cheesecake mixture atop the red velvet batter before baking. Cool before serving to let the flavors set beautifully.
The first time I made these little treats was for a coworker's birthday, and I honestly wasn't expecting much from myself. I'd always been intimidated by red velvet anything—the color seemed so demanding, like it needed to be PERFECT or not at all. But watching that creamy white swirl get dragged through the vibrant red batter felt like making tiny edible marble statues, and I ended up burning my finger on the pan because I kept opening the oven to stare at them.
My sister called me halfway through my first batch, demanding to know what smelled so incredible in my apartment. I had to explain that no, I wasn't hosting a dinner party, I was just aggressively sniffing my own oven. These have since become my go to for every gathering because people literally hover around the platter until they're gone, and I've learned to make a double batch just to keep any for myself.
Ingredients
- Unsalted butter: Melt it completely and let it cool slightly so it doesnt cook your egg when you mix everything together
- Granulated sugar: This creates that crackly, shiny top on the brownie bites that makes them look professionally made
- Large egg: Bring it to room temperature first for better incorporation into your batter
- Vanilla extract: Dont be shy here because the vanilla balances out the cocoa and creates that classic red velvet flavor profile
- Red food coloring: Gel coloring gives you that deeper, more professional red without adding extra liquid
- All purpose flour: Measure by spooning into your measuring cup and leveling off, not scooping directly
- Unsweetened cocoa powder: Dutch process cocoa gives you that smoother, less acidic chocolate flavor that red velvet is known for
- Salt: A tiny pinch makes all the chocolate flavors pop and prevents these from tasting too sweet
- Cream cheese: Make sure this is completely softened or youll end up with lumpy swirls instead of smooth ribbons
- Granulated sugar: This sweetens the cheesecake layer and balances the tanginess of the cream cheese
- Egg yolk: Using just the yolk gives you that extra rich, creamy texture in the swirl
- Vanilla extract: This creates that familiar cheesecake flavor everyone loves in the white layer
Instructions
- Preheat your oven:
- Get your oven to 175°C (350°F) and line a 24 cup mini muffin tin with paper liners, or give each cup a quick swipe of butter if you prefer going liner free.
- Make the red velvet base:
- Whisk the melted butter and sugar in a medium bowl until theyre completely smooth, then beat in the egg, vanilla, and red food coloring until the mixture is a uniform, gorgeous red.
- Add the dry ingredients:
- Sift in the flour, cocoa powder, and salt, then gently fold everything together until you cant see any dry flour anymore—be careful not to overmix or youll lose that fudgy texture.
- Prepare the cheesecake swirl:
- In a separate bowl, beat the cream cheese until its completely smooth, then add the sugar, egg yolk, and vanilla and keep mixing until the mixture is creamy and there are absolutely no lumps.
- Assemble the bites:
- Drop about 1 tablespoon of red velvet batter into each muffin cup, then add 1 teaspoon of cheesecake mixture on top and use a toothpick to swirl it around for that beautiful marbled effect.
- Bake to perfection:
- Bake for 22 to 25 minutes until the centers are just set and the edges have started to pull away from the sides of the pan—underbaked is better than overbaked for that fudgy texture.
- Cool completely:
- Let them sit in the pan for 10 minutes before carefully transferring to a wire rack, because they need this time to finish setting up.
 Save to Pinterest
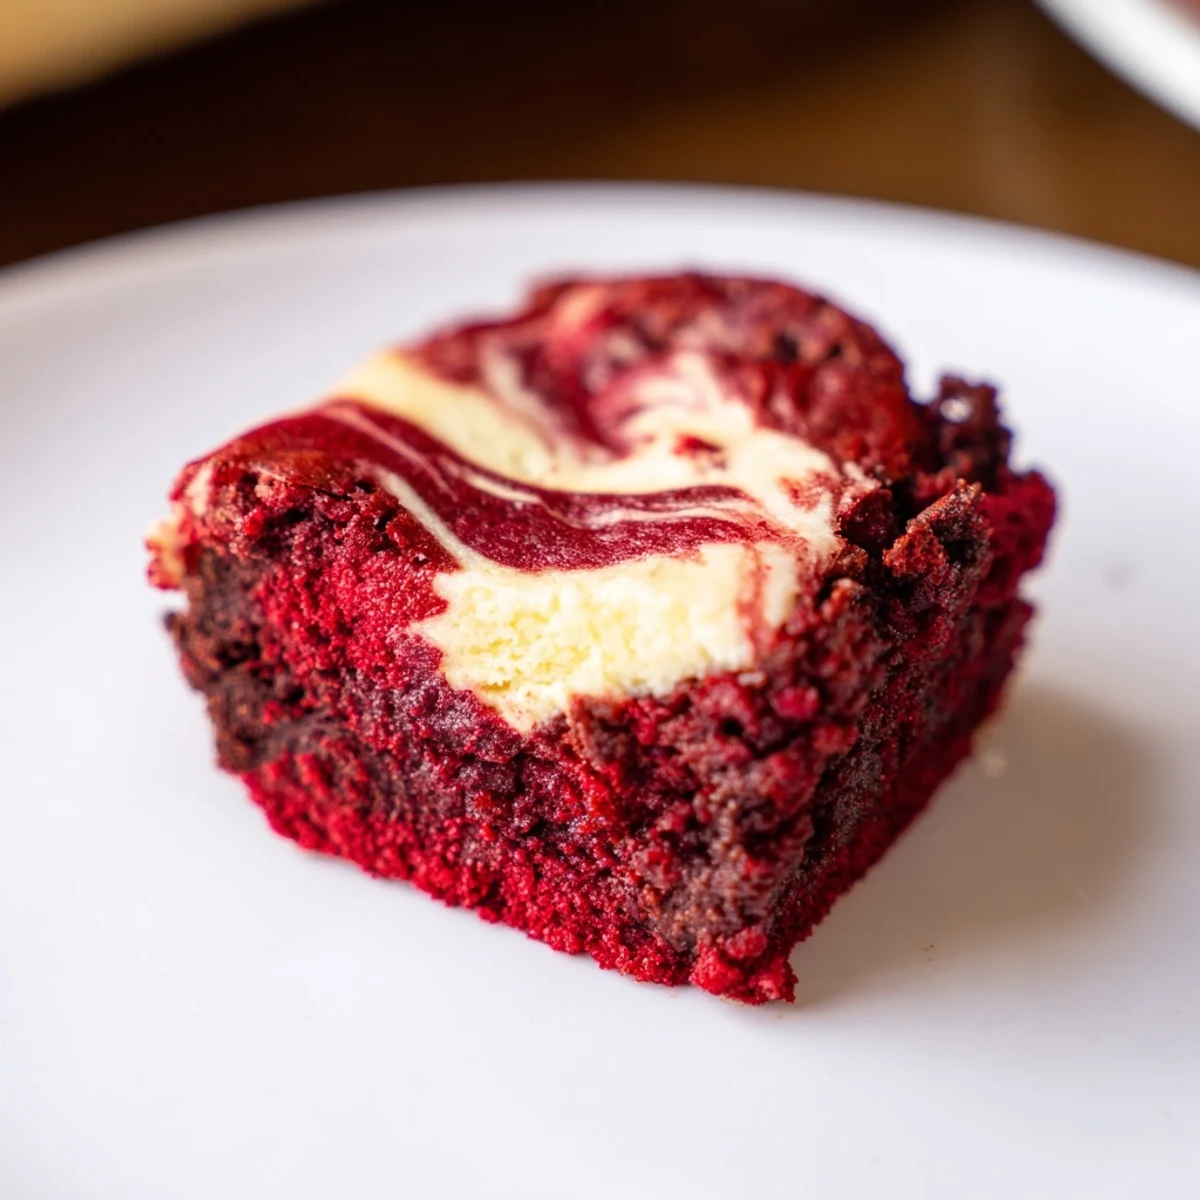
 I brought these to a friend's dinner party last month and her husband actually asked if I'd bought them from a bakery. Watching people's faces when they bite into that first creamy, chocolatey swirl has become one of my favorite things about hosting.
Getting The Perfect Swirl
The trick to that beautiful marbled pattern is gently dragging your toothpick through the center of each bite just once or twice. I used to go crazy swirling and ended up with muddy looking brownies until I learned that less is more—just one simple circle or figure eight motion gives you that restaurant quality presentation.
Make Ahead Strategy
These actually taste better after sitting in the fridge overnight, which makes them perfect for party planning. The flavors deepen and the texture becomes even more fudgy, so I always try to make them the day before I need them and let them come to room temperature for about 20 minutes before serving.
Serving Ideas
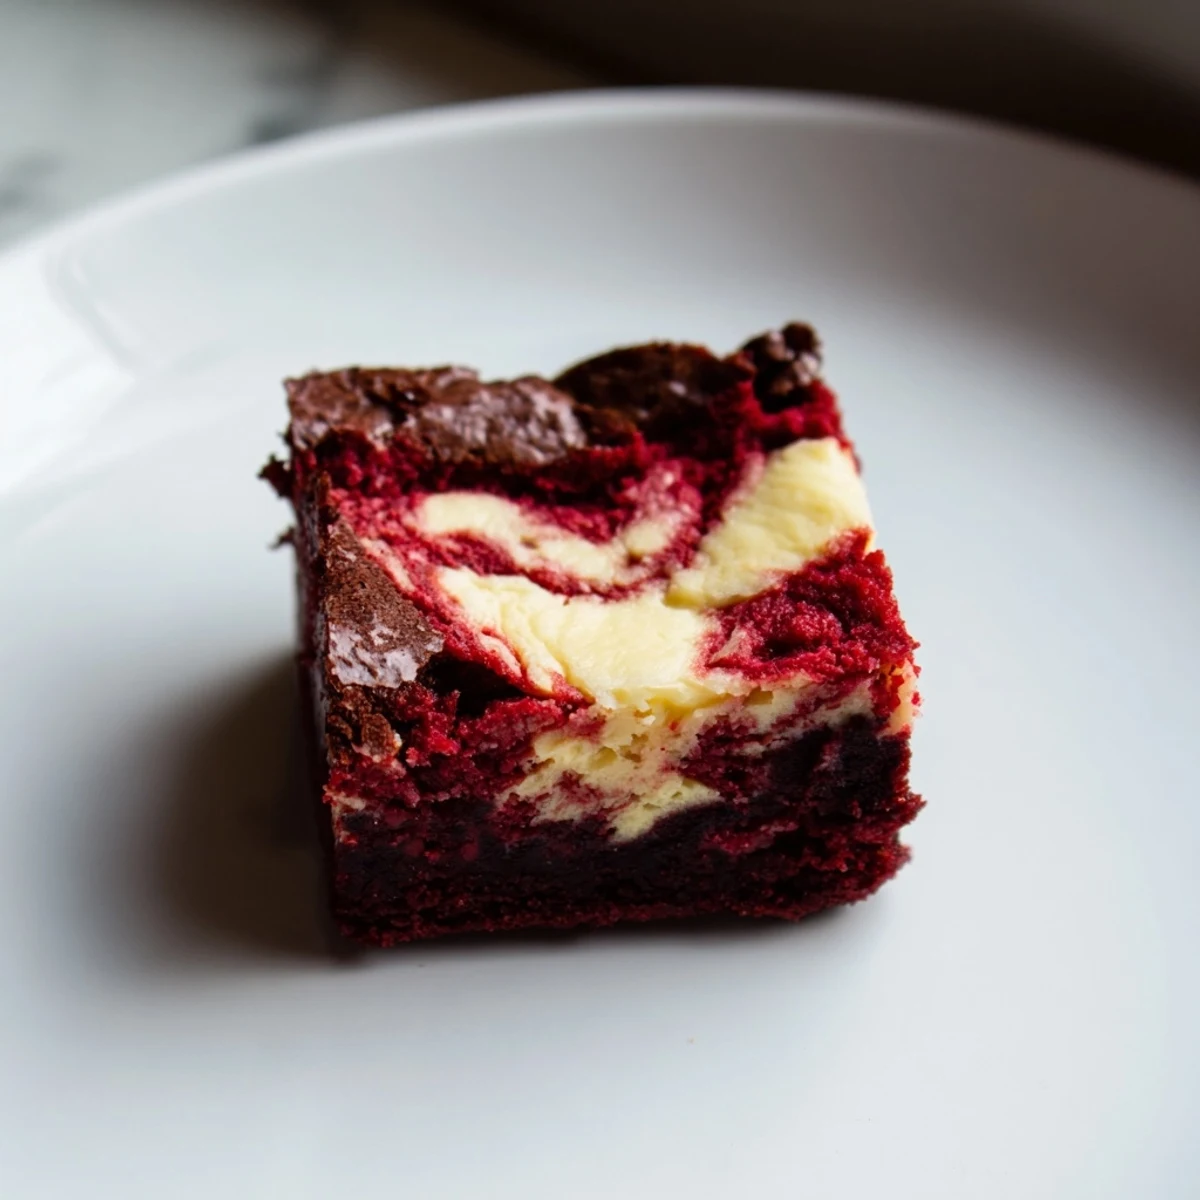
I love serving these on a white platter because that red and white marble pattern really pops against a clean background. They're perfect for everything from holiday cookie exchanges to casual movie nights.
- Sprinkle a little powdered sugar right before serving for that snow dusted look
- Add a chocolate covered strawberry on the side if youre feeling extra fancy
- Keep them chilled until the last minute because the cold cheesecake layer tastes amazing
 Save to Pinterest
 Theres something so satisfying about cutting into these and seeing that perfect marble pattern inside—they might just become your most requested treat.
Common Questions
- → What makes these bites red velvet?
-
The vibrant red color comes from red food coloring combined with cocoa powder in the batter, creating the classic red velvet flavor and appearance.
- → Can I use gel food coloring instead of liquid?
-
Yes, gel food coloring can be used for a brighter, more vibrant red shade without altering the batter's consistency.
- → How do I create the cheesecake swirl effect?
-
Spooning cheesecake mixture over the brownie batter and gently swirling with a toothpick before baking creates a marbled pattern.
- → What is the best way to cool these bites after baking?
-
Allow them to cool in the pan for about 10 minutes, then transfer to a wire rack to cool completely for optimal texture.
- → How should I store leftover bites?
-
Store in an airtight container in the refrigerator for up to 5 days to maintain freshness and flavor.
