 Save to Pinterest
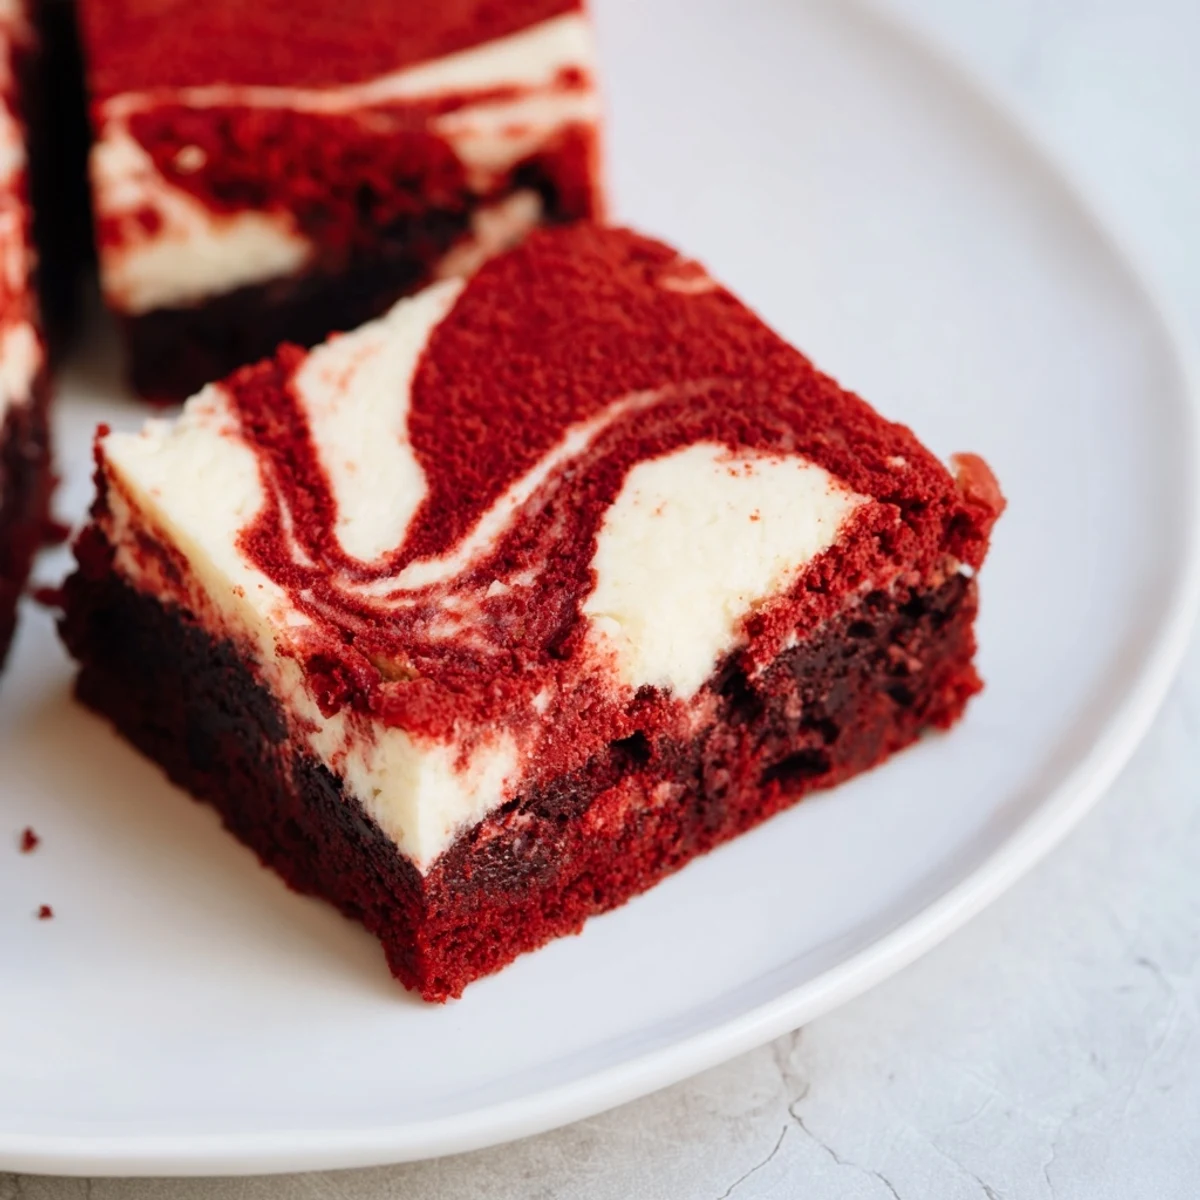
 These red velvet cheesecake brownies combine the best of both worlds—fudgy, cocoa-rich red velvet layers meets tangy, creamy cheesecake in beautiful marbled swirls. The vibrant red color against the white cream cheese creates a showstopping visual appeal that's perfect for holidays, Valentine's Day, or anytime you want to impress.
The brownie base is incredibly moist and tender, using just enough cocoa powder for subtle chocolate depth. The cheesecake layer adds a luxurious creaminess that balances the sweetness perfectly. They're easy to make in one pan and taste even better chilled, making them ideal for make-ahead desserts.
I made these brownies on a rainy Sunday afternoon just because my kitchen felt too quiet. The red batter looked so stunning against the cream cheese swirl that I almost did not want to bake them. My roommate walked in and asked if I was making Valentine's Day treats in November. We ended up eating them warm from the oven while watching old movies and the whole house smelled like chocolate.
I took a batch to a dinner party last winter and watched them disappear in ten minutes flat. My friend Sarah who claims she does not even like dessert went back for seconds. Someone actually asked for the recipe before they even finished their first square. Now they are my go to whenever I need to bring something that makes people feel truly spoiled.
Ingredients
- Unsalted butter: Melting this first creates the fudgy texture that makes these brownies so irresistible and prevents the cakey texture you get from creaming butter
- Granulated sugar: This amount sweetens both layers while letting the cocoa and cream cheese flavors shine through
- Large eggs: Room temperature eggs incorporate better into both batters for a smoother texture
- Vanilla extract: Pure vanilla extract amplifies the chocolate flavor while adding warmth to the cheesecake layer
- Red food coloring: Gel coloring works best but liquid will do the job just add it slowly until you reach that signature red velvet shade
- All purpose flour: Measuring this by weight gives consistent results every time because flour settles differently depending on how you scoop it
- Unsweetened cocoa powder: Dutch process cocoa creates that deep red color and mellower chocolate flavor red velvet is known for
- Salt: Just a pinch enhances all the flavors and keeps these from tasting too sweet
- Cream cheese: Full fat cream cheese softened to room temperature creates that luscious swirl that sets up perfectly
Instructions
- Get your oven ready:
- Preheat to 350°F and line an 8x8 inch pan with parchment paper letting the ends hang over the sides like handles
- Make the red velvet base:
- Whisk melted butter and sugar until completely smooth then beat in eggs vanilla and red food coloring until the mixture turns a vibrant red
- Add the dry ingredients:
- Sift flour cocoa powder and salt into the wet ingredients then fold gently with a spatula until the flour streaks just disappear
- Prepare for swirling:
- Scoop out about 1/4 cup of the red batter and set it aside then spread the remaining batter evenly in your prepared pan
- Whip up the cheesecake layer:
- Beat softened cream cheese with sugar until no lumps remain then add the egg and vanilla mixing until completely smooth and creamy
- Layer it up:
- Pour the cheesecake mixture over the brownie batter and spread it gently so the layers stay distinct
- Create the swirl:
- Drop spoonfuls of your reserved red velvet batter onto the cheesecake layer then run a knife through both batters in a figure eight pattern being careful not to over swirl
- Bake to perfection:
- Bake for 33 to 36 minutes until the center is just set and a toothpick comes out with a few moist crumbs but not wet batter
- Let them cool completely:
- Cool in the pan on a wire rack for at least two hours before lifting out using the parchment paper and cutting into squares
 Save to Pinterest
 These have become my comfort food of choice when the world feels overwhelming. Something about cutting into that marbled pattern makes everything feel a little more magical. Last week I made them just for myself and ate one while standing at the counter in my pajamas feeling completely content.
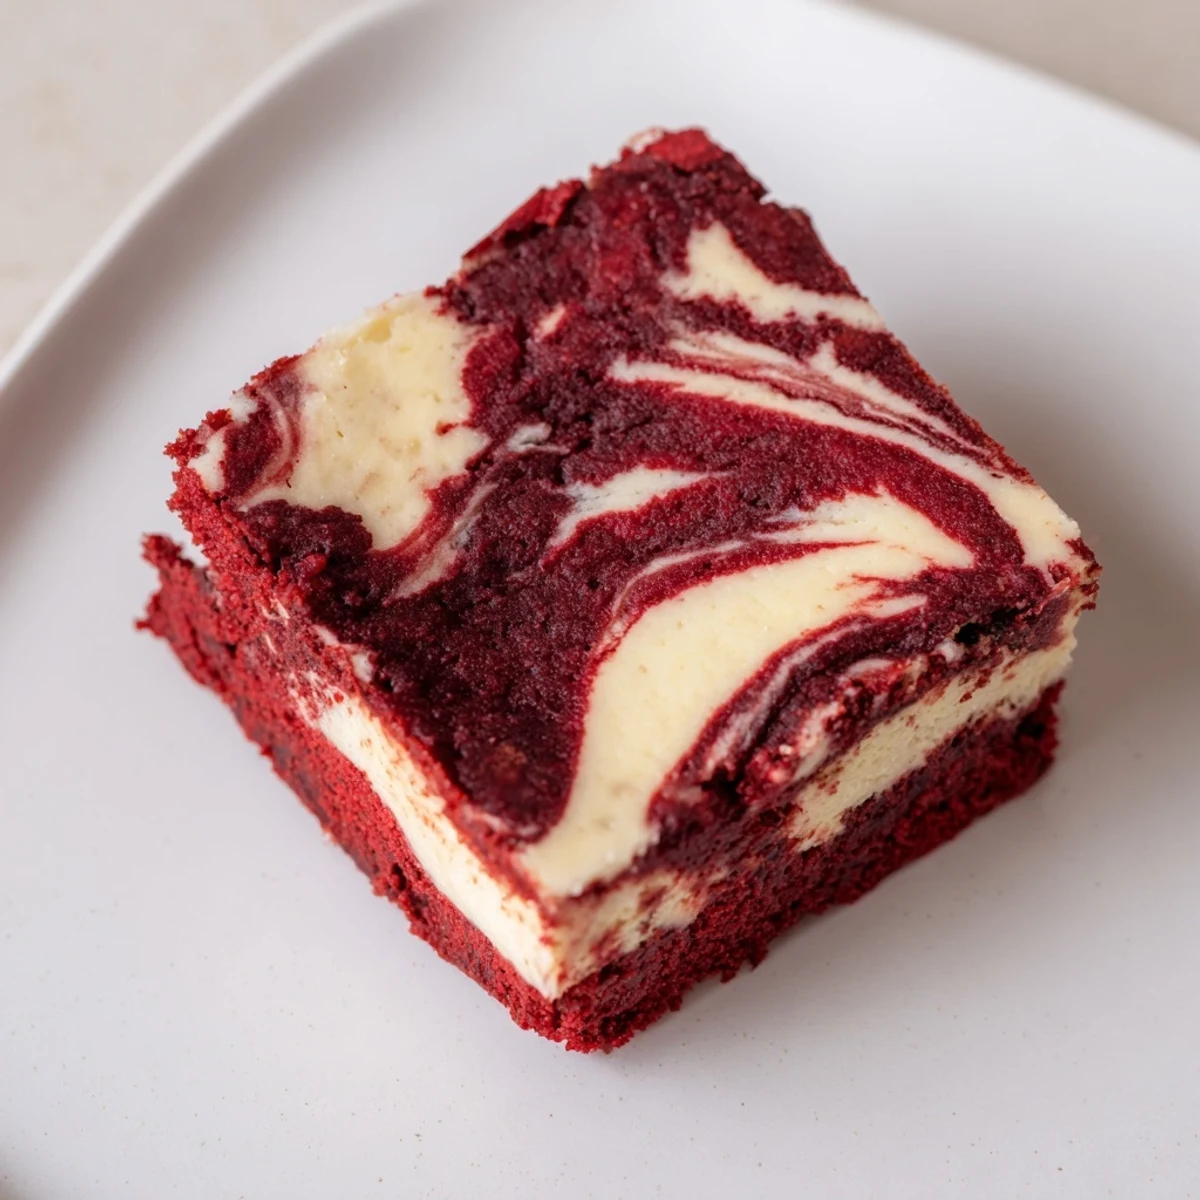
Getting That Perfect Swirl
The marble effect looks complicated but it only takes a few seconds with the right technique. Do not swirl too many times or you will lose the distinct red and white patterns that make these so gorgeous. A single figure eight motion or three quick straight lines in alternating directions usually gives the prettiest result.
Pan Size Matters
An 8x8 inch pan creates the ideal thickness for these two tone brownies. Using a larger pan makes them too thin and the cheesecake layer can overcook while a smaller pan leaves the center underbaked. If you only have a 9x9 pan reduce the baking time by about 4 minutes and check early.
Serving And Storage
These brownies taste completely different depending on the temperature so you can choose your own adventure. Cold from the refrigerator they become dense and fudge like while room temperature gives you a softer cakier texture. They keep well for up to five days but honestly they have never lasted that long in my house.
- Use a hot knife wiped clean between cuts for the cleanest squares
- Let them sit at room temperature for 30 minutes before serving if you have stored them in the fridge
- These freeze beautifully wrapped individually in plastic and then placed in a freezer bag
 Save to Pinterest
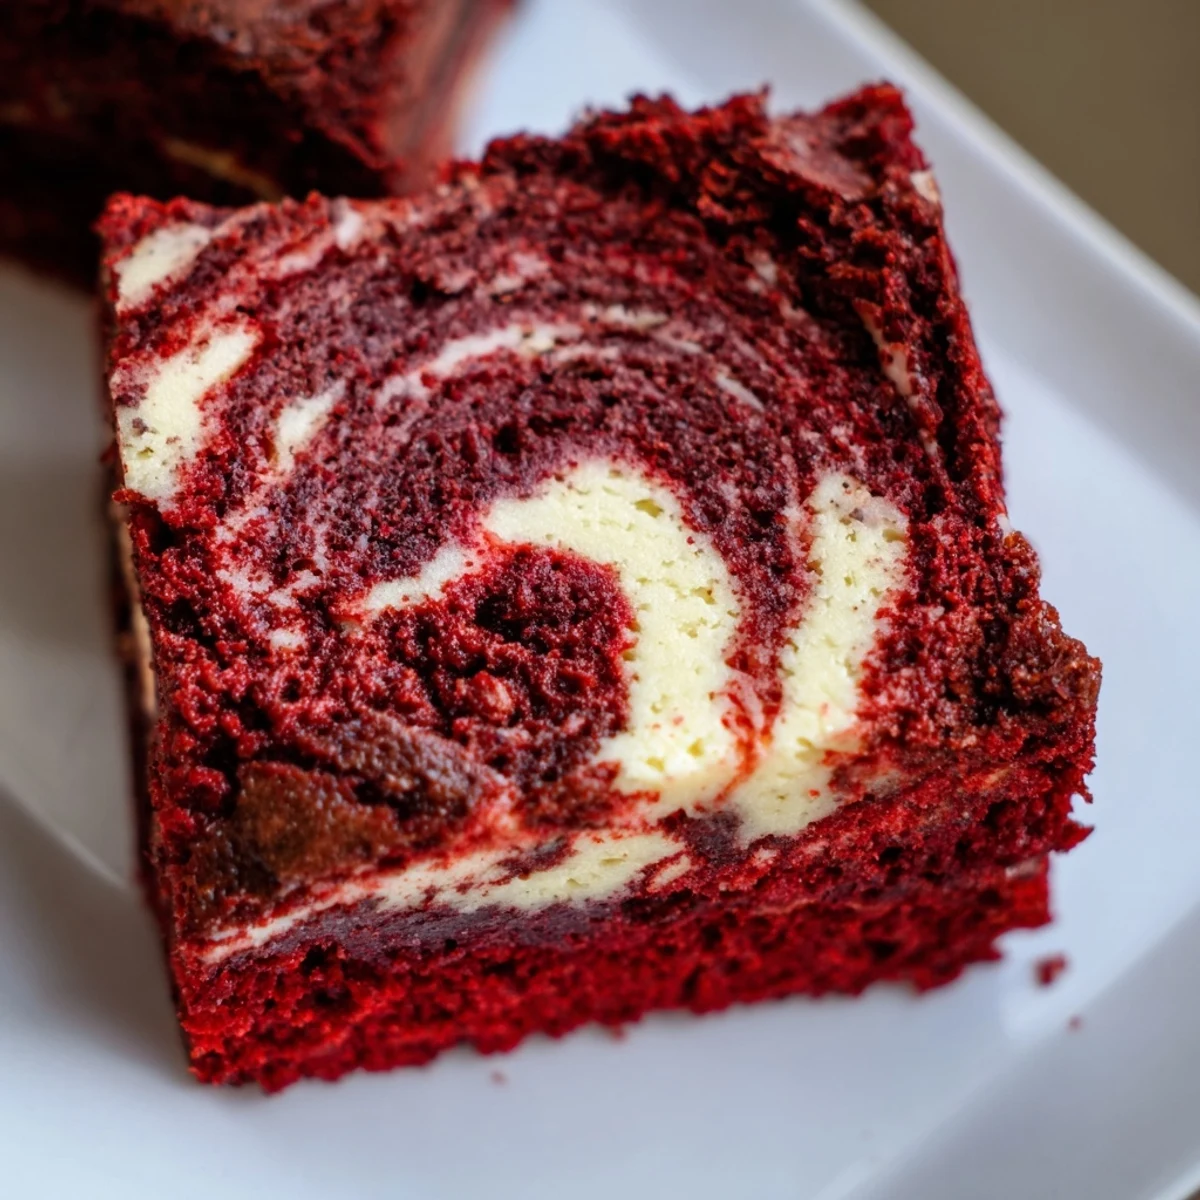
 There is something joyful about cutting into these and seeing that beautiful marble pattern. Hope they bring as much happiness to your kitchen as they have to mine.
Common Questions
- → Can I use liquid red food coloring instead of gel?
-
Yes, liquid food coloring works perfectly fine. You may need to add slightly more than the tablespoon called for to achieve the vibrant red hue since liquid coloring is typically less concentrated than gel varieties.
- → Why did my brownies sink in the middle?
-
Sinking usually indicates underbaking. The center should be just set when you remove them from the oven—a toothpick should come out with moist crumbs, not wet batter. If they're still jiggly, bake for another 3-5 minutes.
- → Can I freeze these brownies?
-
Absolutely! Wrap individual squares or the whole uncut slab tightly in plastic wrap and foil. They'll freeze well for up to 3 months. Thaw overnight in the refrigerator before serving.
- → How do I get clean cuts when slicing?
-
Chill the brownies completely before cutting—overnight refrigeration works best. Use a sharp knife wiped clean between cuts, or try running the knife under hot water and drying it before each slice for extra clean edges.
- → Can I reduce the sugar in this recipe?
-
You can reduce the granulated sugar by up to 25% without significantly affecting texture. However, keep in mind that sugar provides moisture and tenderness, so reducing too much may result in a drier, cakier texture.
- → What's the best way to achieve the swirl effect?
-
Drop spoonfuls of reserved batter randomly over the cheesecake layer, then use a butter knife or skewer to drag through both layers in a circular or S-pattern motion. Don't over-swirl or you'll lose the distinct marbled effect.
