 Save to Pinterest
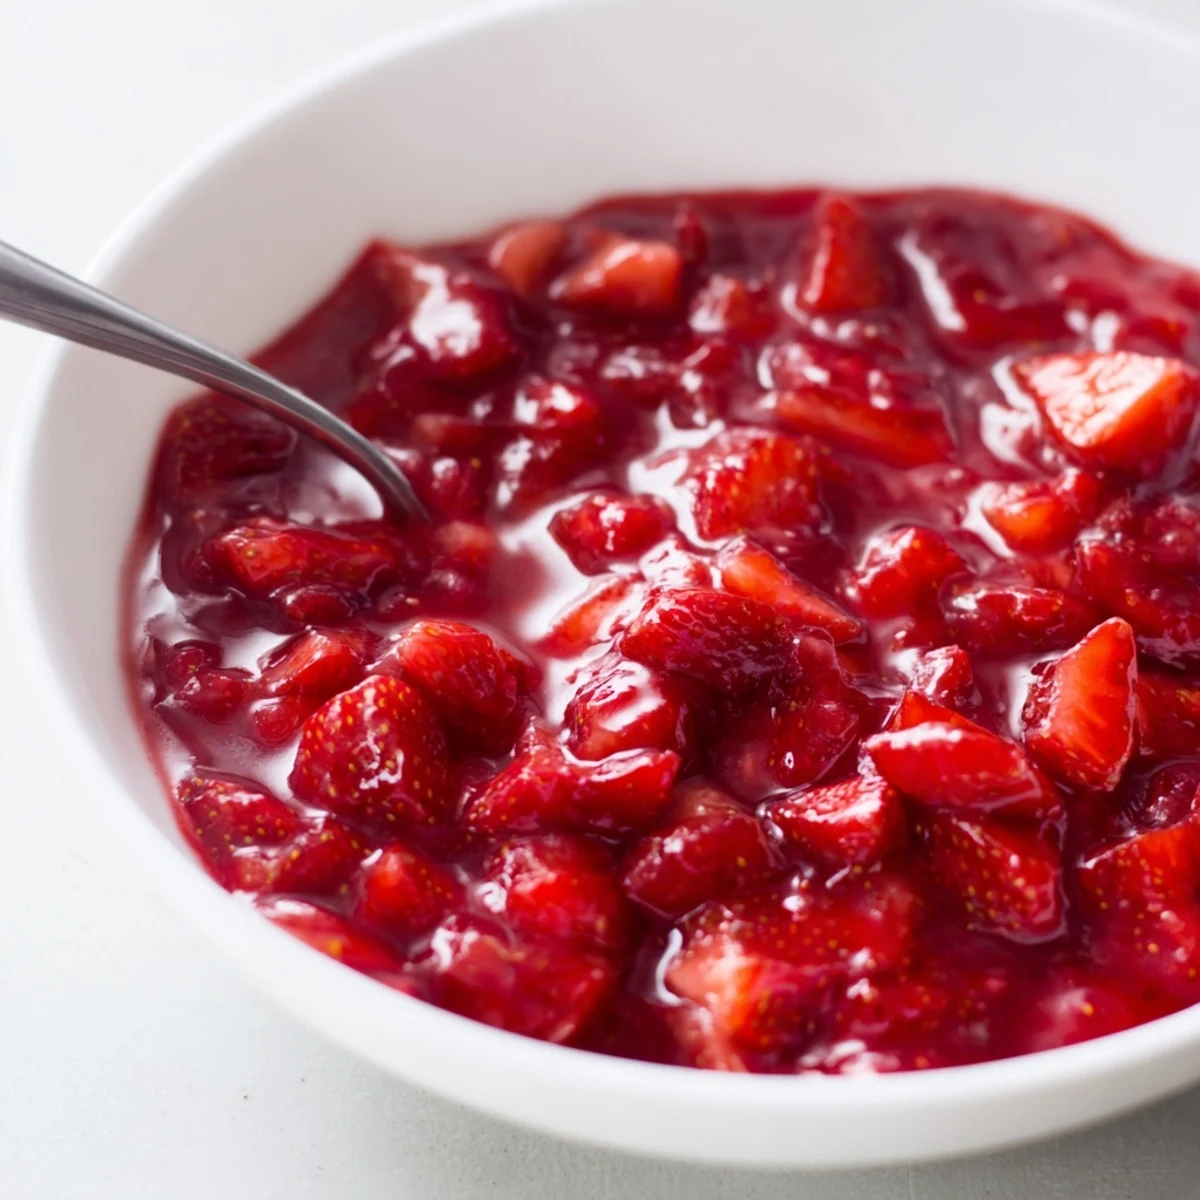
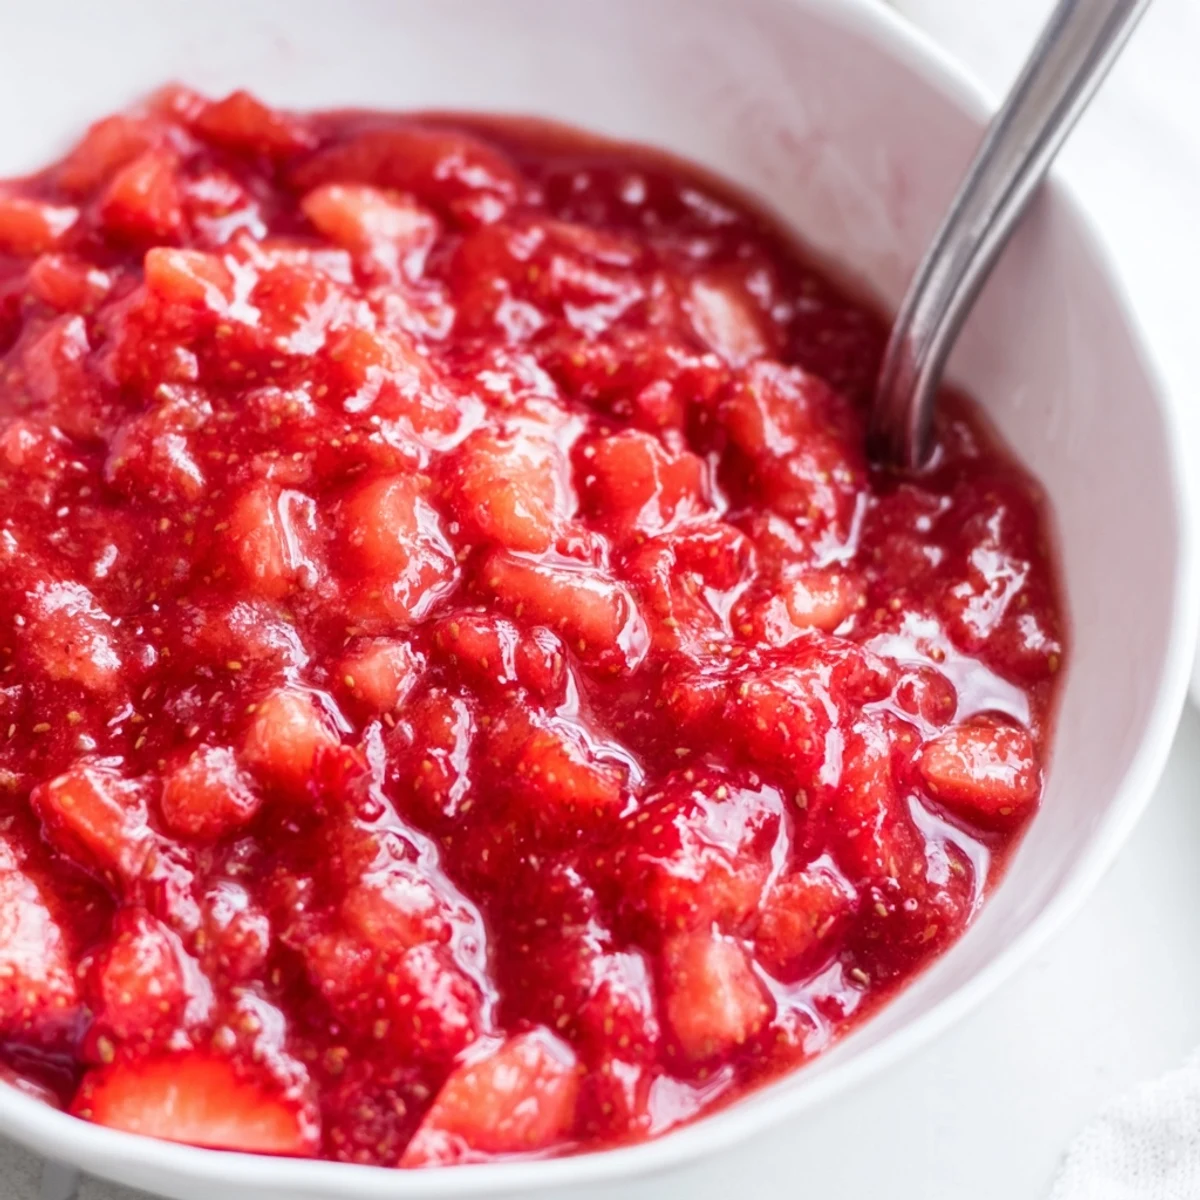
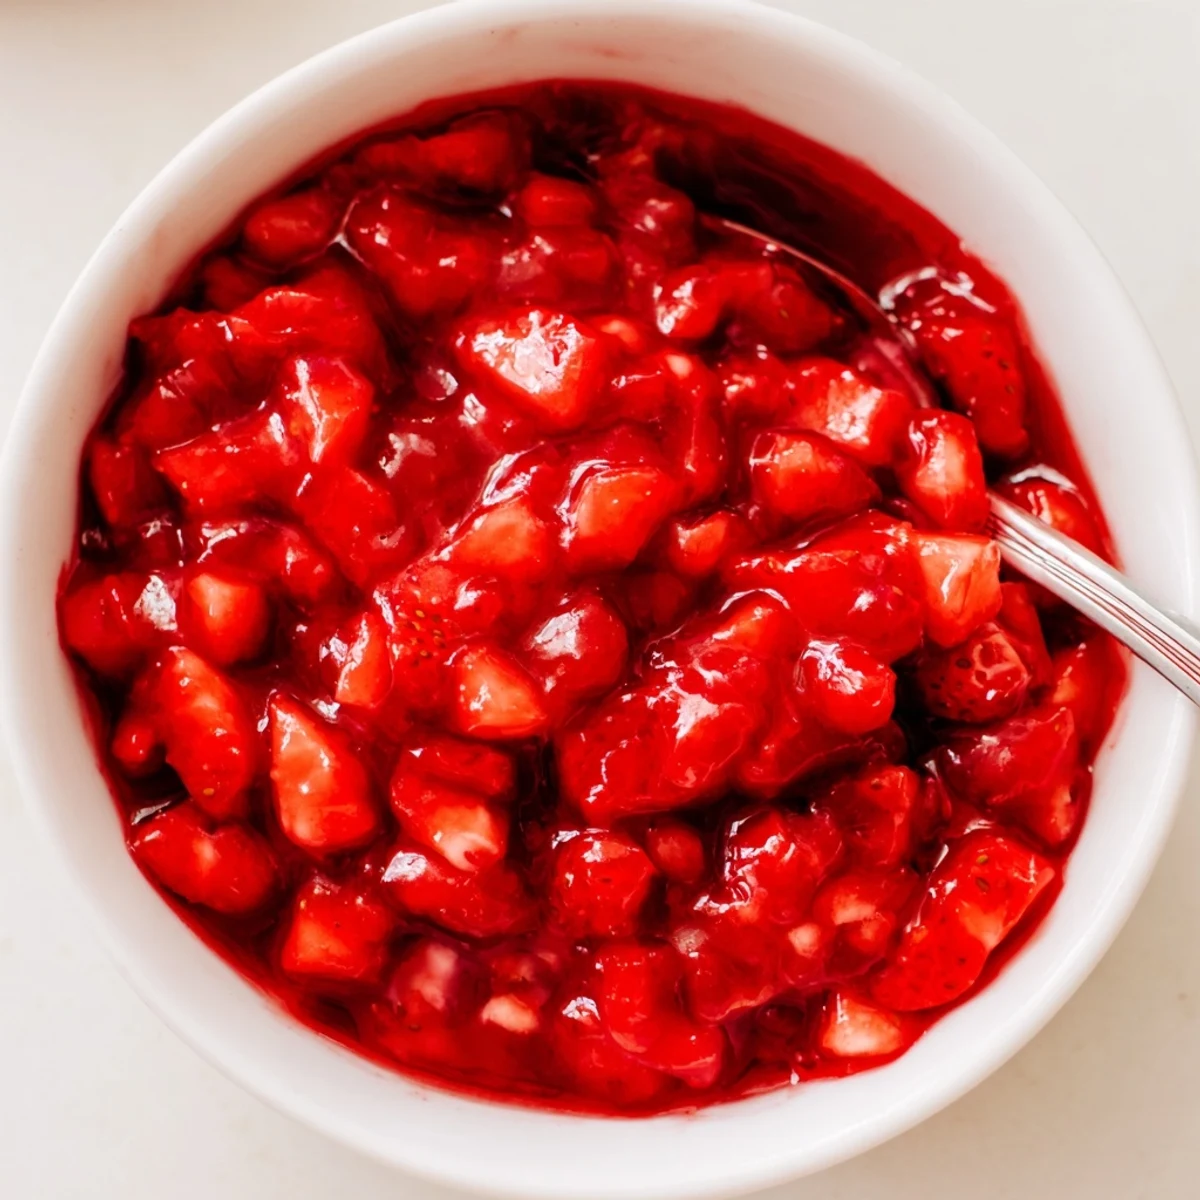
 In about 25 minutes, fresh strawberries are cooked with sugar and lemon, then thickened with a cornstarch slurry to yield a glossy, spreadable filling that firms as it cools. Use a fork or immersion blender for a smoother texture, or leave chunks for rustic layers. Keeps up to five days refrigerated in an airtight container.
The scent of simmering strawberries always brings a small smile to my face, but the first time I tried making this cake filling, it was less about nostalgia and more about curiosity in my own kitchen. I was experimenting with leftover berries one quiet afternoon, tempted by their color and fragrance to turn them into something that could brighten up a simple cake. The kitchen grew warm as the strawberries melted into a vivid, syrupy promise of something sweet. I couldn't help but sneak a taste before it even cooled, feeling like I'd just unlocked a baker's secret.
I once made this filling for my friend's birthday cake, and the kitchen turned lively with laughter as we debated whether to keep tasting from the pot. When we finally layered it between soft vanilla cake, even the skeptical dessert-haters asked for seconds. I love how it has become a little celebration in itself, just waiting under the frosting.
Ingredients
- Fresh strawberries: Choosing ripe, sweet strawberries is crucial here; I always give them a gentle sniff and look for berries that are fragrant and vibrantly red.
- Granulated sugar: I start with the listed amount but usually sneak a taste after simmering to dial in the sweetness to my mood.
- Lemon juice: A splash brightens the berry flavor and keeps the filling from tasting flat; I've learned it also helps the color stay punchy.
- Cornstarch: This is your thickener; just make sure to whisk it smoothly with water so you don't end up with little lumps.
- Water: It helps dissolve the cornstarch—simple but necessary for a glossy finish.
- Pure vanilla extract (optional): When I'm feeling decadent, I stir this in at the end for a soft, floral lift.
Instructions
- Combine the berries:
- Add the diced strawberries, sugar, and lemon juice to a medium saucepan and give everything a nice even stir, listening for the gentle sound of sugar crunching against fruit.
- Gently simmer:
- Place the pan over medium heat and cook for 5 to 7 minutes, stirring occasionally as your kitchen fills with the scent of warm berries; their juices will start to pool and the color deepens.
- Mix up the slurry:
- In a small bowl, whisk the cornstarch and water until there are no white streaks left—smooth is key for a silky filling.
- Thicken and shine:
- Pour in the slurry while stirring, then keep mixing for another 3 to 5 minutes; as soon as it transforms into a glossy, thick mixture, you’re done.
- Finish and cool:
- Pull the pan off the heat and stir in vanilla if you like—inhale that aroma—then let the filling cool in the pan where it will thicken even more as it sits.
- Store for later:
- Spoon any leftovers into an airtight container and tuck them in the fridge for up to 5 days or until your next pastry project beckons.
 Save to Pinterest
 One spring, I made this for a picnic layer cake, and as we sat under the trees eating slices with sticky fingers, someone said it tasted like the first day of summer. In that moment, it felt like the filling had got its own spotlight, more than just a supporting layer. Sometimes, it’s the simplest recipes that anchor memories the longest.
Customizing Your Fruit Filling
What I love most is how this recipe invites little experiments. Try swapping half the strawberries for raspberries, or stirring in a handful of blueberries for a more complex flavor. I've even added a pinch of black pepper once for a surprising twist—each version brings its own kind of excitement to a plain cake.
What to Do with Leftovers
Leftover filling rarely lasts long in my fridge, but I never run out of ways to use it. Swirl it gently into yogurt, spoon over pancakes, or pipe it into donuts for an unexpected burst. It’s the happy accident that makes breakfast feel a bit like dessert.
Troubleshooting and Final Touches
Sometimes the filling can look a little too jiggly or pale—don’t worry, it’ll settle and turn glossy as it cools. If you want it perfectly smooth, just mash with a fork or give it a quick whizz with an immersion blender. Trust your senses: sight, smell, and a quick taste go a long way here.
- If you over-thicken the filling, just loosen it with a spoonful of water stirred in off heat.
- Don’t skip the lemon—it brightens everything, even if you’re tempted to leave it out.
- Always let the filling cool completely before layering into your cake for neat, even slices!
 Save to Pinterest
 This strawberry cake filling has become a little kitchen ritual for brightening special days. Here’s to many slices—and sticky fingers—shared ahead.
Common Questions
- → How do I thicken the filling?
-
Whisk a cornstarch slurry (cornstarch + cold water) into the simmering strawberries and cook until glossy and thickened; it will set further as it cools.
- → Can I make it smooth or chunky?
-
Mash with a fork or pulse with an immersion blender for a smooth texture, or leave diced berries and stir gently for chunky layers.
- → How do I adjust sweetness and acidity?
-
Taste as you cook; increase sugar for sweetness or add a splash more lemon juice to brighten and balance the fruit.
- → How long does it keep?
-
Store in an airtight container in the refrigerator for up to five days; chilling helps the filling firm and develop flavor.
- → Can I swap other berries?
-
Yes — raspberries or blueberries work well with the same method, though seeds and water content may change texture and thickening time.
- → Best way to use in layered desserts?
-
Cool completely before spreading between cake layers or piping into cupcakes; warm filling will run, while chilled filling holds its shape for neat layers.
