 Save to Pinterest
 Transform raw almonds into silky, plant-based milk with this straightforward technique. Soak nuts overnight, blend with fresh water, and strain through a nut milk bag for the smoothest results. Customize with maple syrup, vanilla, or sea salt to taste. The process yields approximately one liter of fresh, preservative-free beverage that stays fresh for 4-5 days when refrigerated. Leftover almond pulp can be repurposed into energy bites or baked goods for zero-waste cooking.
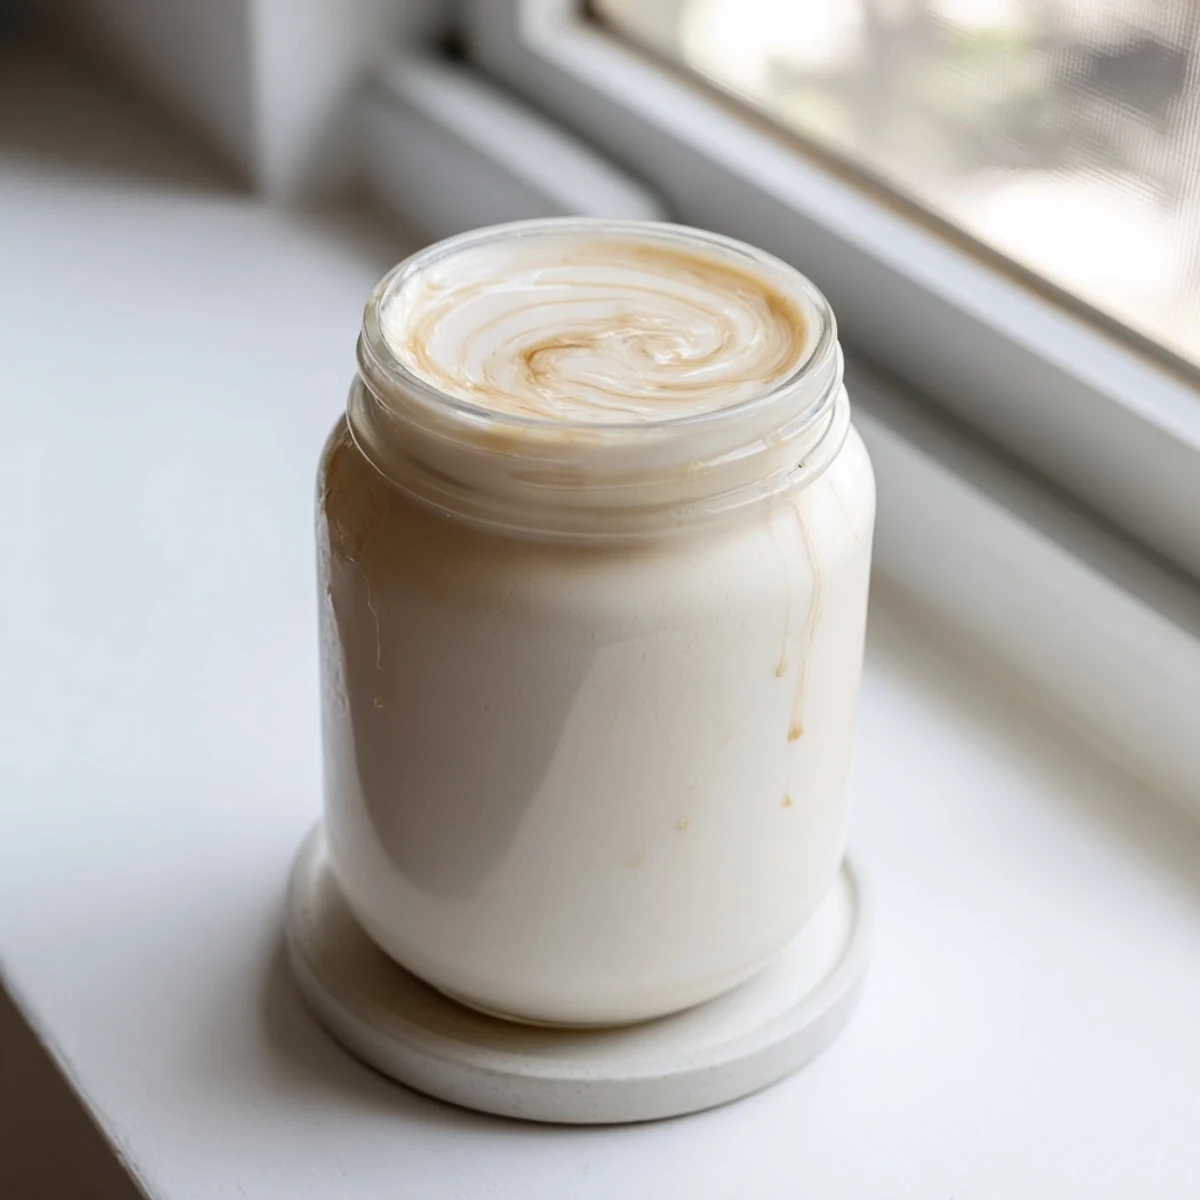
There is something deeply satisfying about watching cloudy white liquid pour from a nut milk bag into a glass jar, knowing you made it yourself with nothing more than almonds and water. My blender used to sit dusty on a shelf until a Tuesday evening when the grocery store was out of every carton of the unsweetened brand I liked. That small inconvenience turned into a weekly ritual I genuinely look forward to now.
One Saturday morning my neighbor walked over while I was squeezing the last drops from the bag and asked if I was making cheese. We laughed about it over coffee, and I sent her home with a jar that she now refills every week at my door.
Ingredients
- 1 cup raw almonds: Use truly raw, unsalted almonds because roasted ones will give the milk an entirely different, heavier flavor.
- 4 cups filtered water: Filtered water lets the delicate almond taste shine without chlorine or mineral interference.
- 1 to 2 tablespoons maple syrup or honey (optional): A light sweetener rounds out the flavor and mimics the taste of store bought versions.
- 1 teaspoon vanilla extract (optional): Vanilla adds warmth and depth, especially lovely if you drink this straight or pour it over granola.
- Pinch of sea salt (optional): Salt may seem odd in a beverage but a tiny amount makes every other flavor pop.
Instructions
- Soak the almonds overnight:
- Drop the almonds into a bowl, cover them generously with water, and tuck them into the fridge for at least eight hours. You will know they are ready when they look plump and you can pinch one easily between your fingers.
- Blend until velvety:
- Drain and rinse the soaked almonds, then pile them into your blender with four cups of fresh filtered water. Run the blender on high for one to two minutes until the mixture looks frothy and uniformly creamy.
- Add optional flavorings:
- If you want a hint of sweetness or warmth, drop in maple syrup, vanilla, and salt, then blend for just a few seconds to fold them through.
- Strain through a nut milk bag:
- Drape your nut milk bag or a cheesecloth lined strainer over a large bowl and pour the blended mixture straight in. Gather the cloth and squeeze firmly with both hands until the pulp feels nearly dry.
- Bottle and chill:
- Pour the strained milk into a clean glass bottle or jar, seal it, and refrigerate. Give it a hearty shake before each use because natural separation is completely normal.
 Save to Pinterest
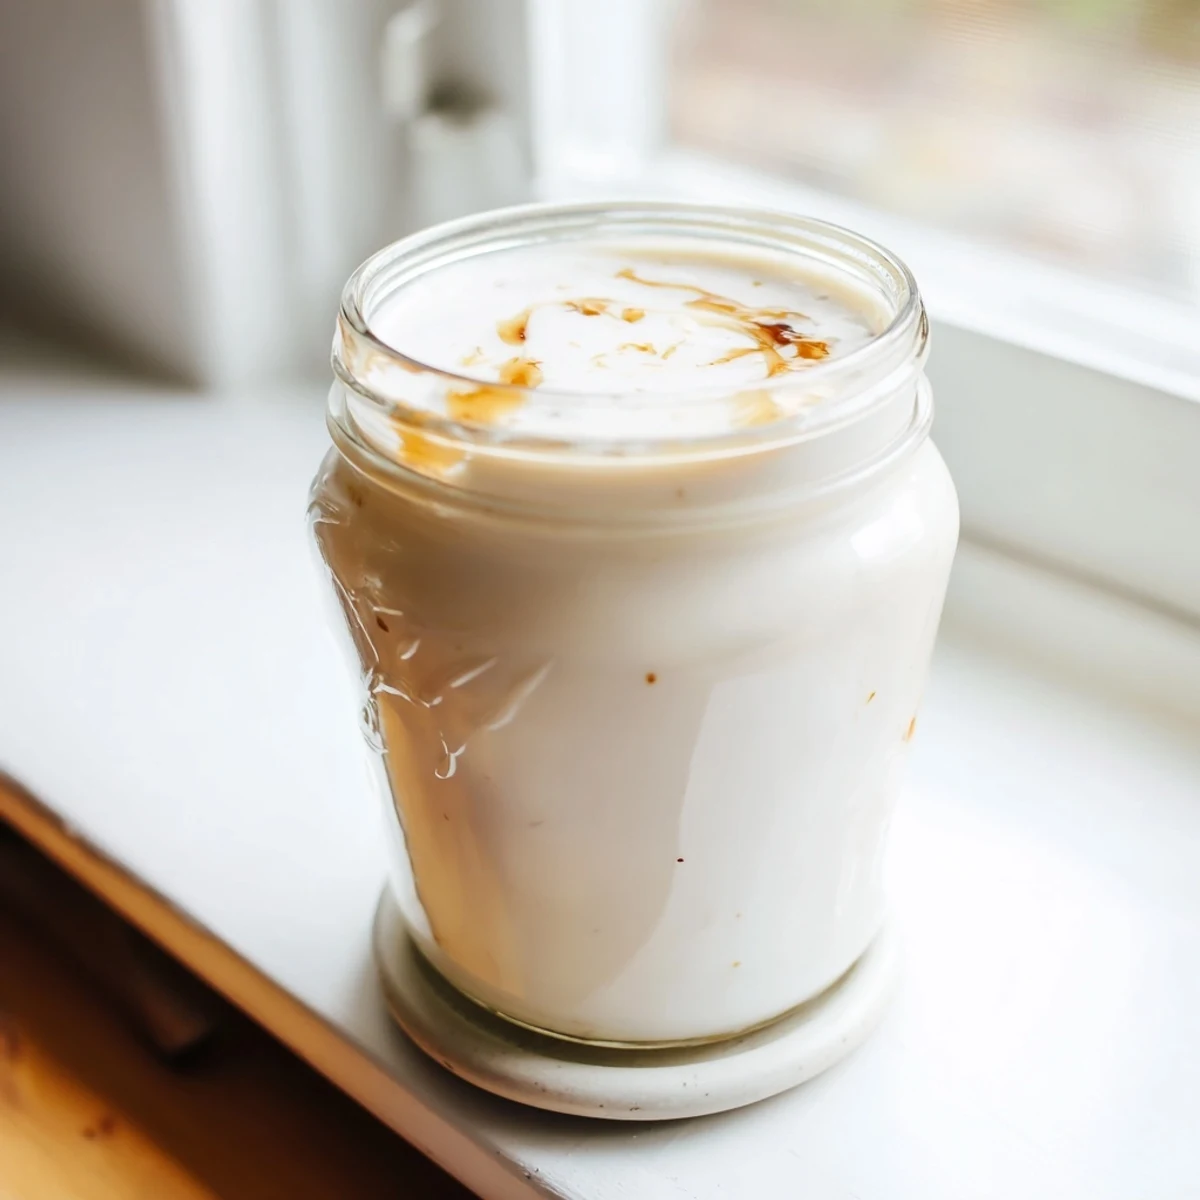
 Handing someone a jar of homemade almond milk feels like giving a small edible gift that carries real care without any fuss.
Picking the Right Almonds
Not all raw almonds behave the same way in the blender. Spanish marconas produce an almost dessert like richness but are pricey for everyday use, while standard California almonds give you that clean, familiar flavor most people expect. Buy from a store with high turnover so your almonds have not gone rancid on a back shelf. If yours taste faintly bitter straight from the bag, that bitterness will multiply in the milk.
Getting the Texture You Want
The ratio of water to almonds is your dial for thickness. Four cups of water to one cup of almonds lands somewhere between skim and whole dairy milk, which works beautifully for cereal and coffee. Drop to three cups if you want something pourable but genuinely creamy for lattes or custards. The texture also shifts slightly day by day in the fridge, thickening as it sits, so factor that in when you plan your week.
Fun Ways to Flavor Your Batch
Once you master the base recipe the variations are almost endless and keep the weekly routine exciting. Try adding a tablespoon of cocoa powder during blending for a rich chocolate version that kids adore. A cinnamon stick dropped into the storage jar infuses gently over a couple of days and makes the milk taste like a warm hug.
- Blend in a pitted date or two for sweetness that also adds body.
- A tablespoon of coconut oil emulsified in creates a latte worthy richness.
- Always label flavored batches so nothing surprises you in your morning coffee.
 Save to Pinterest
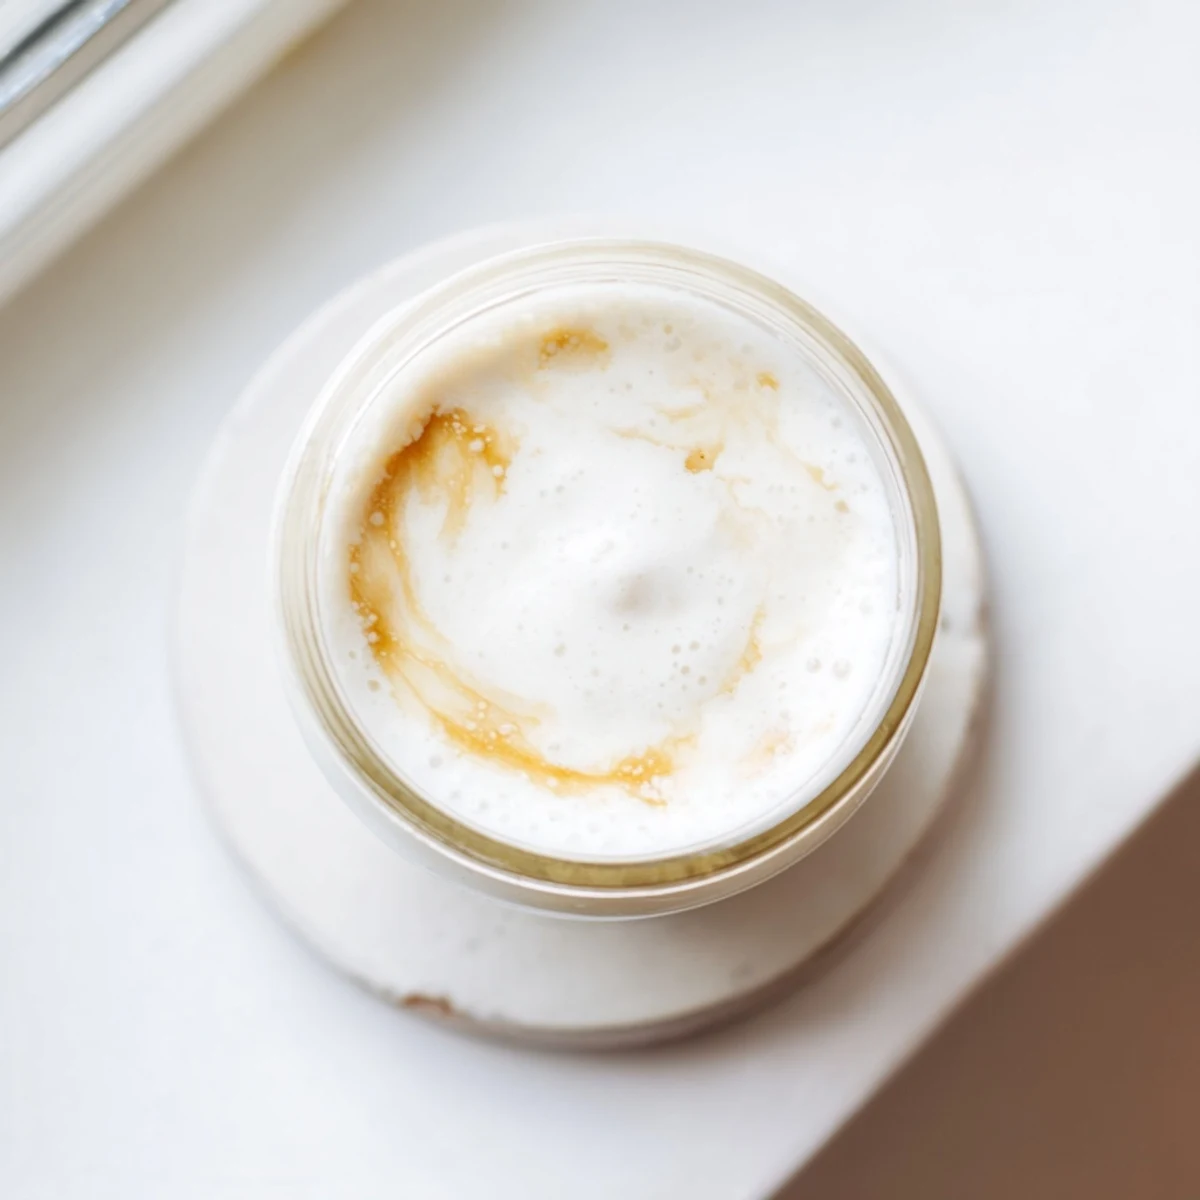
 Once you start making almond milk at home, going back to a store bought carton feels like settling for a faded photograph of the real thing. Your mornings deserve that fresh, just blended taste.
Common Questions
- → Do I really need to soak the almonds first?
-
Yes, soaking softens the nuts and helps release their oils, creating smoother milk. It also activates enzymes and makes nutrients more bioavailable. Plan for at least 8 hours of soaking time for optimal creaminess.
- → Can I use roasted almonds instead of raw?
-
Raw almonds work best as they produce a neutral, clean flavor. Roasted varieties will yield a darker milk with a distinct nutty taste that may not suit all applications. Stick to raw for versatility.
- → How long does homemade almond milk keep?
-
Stored in an airtight container in the refrigerator, homemade almond milk stays fresh for 4-5 days. Shake well before each use as natural separation occurs. The absence of preservatives means it won't last as long as commercial versions.
- → What can I do with the leftover almond pulp?
-
Don't discard the pulp! Dry it in a low oven and use as almond flour in baking, add directly to smoothies for fiber and protein, or mix with dates and nuts to form energy bites. It keeps for about a week refrigerated or months frozen.
- → Is it cheaper to make almond milk at home?
-
Homemade almond milk costs roughly half the price of store-bought versions, especially when buying almonds in bulk. Plus, you control the ingredients completely, avoiding additives, thickeners, and excessive sweeteners found in many commercial brands.
