 Save to Pinterest
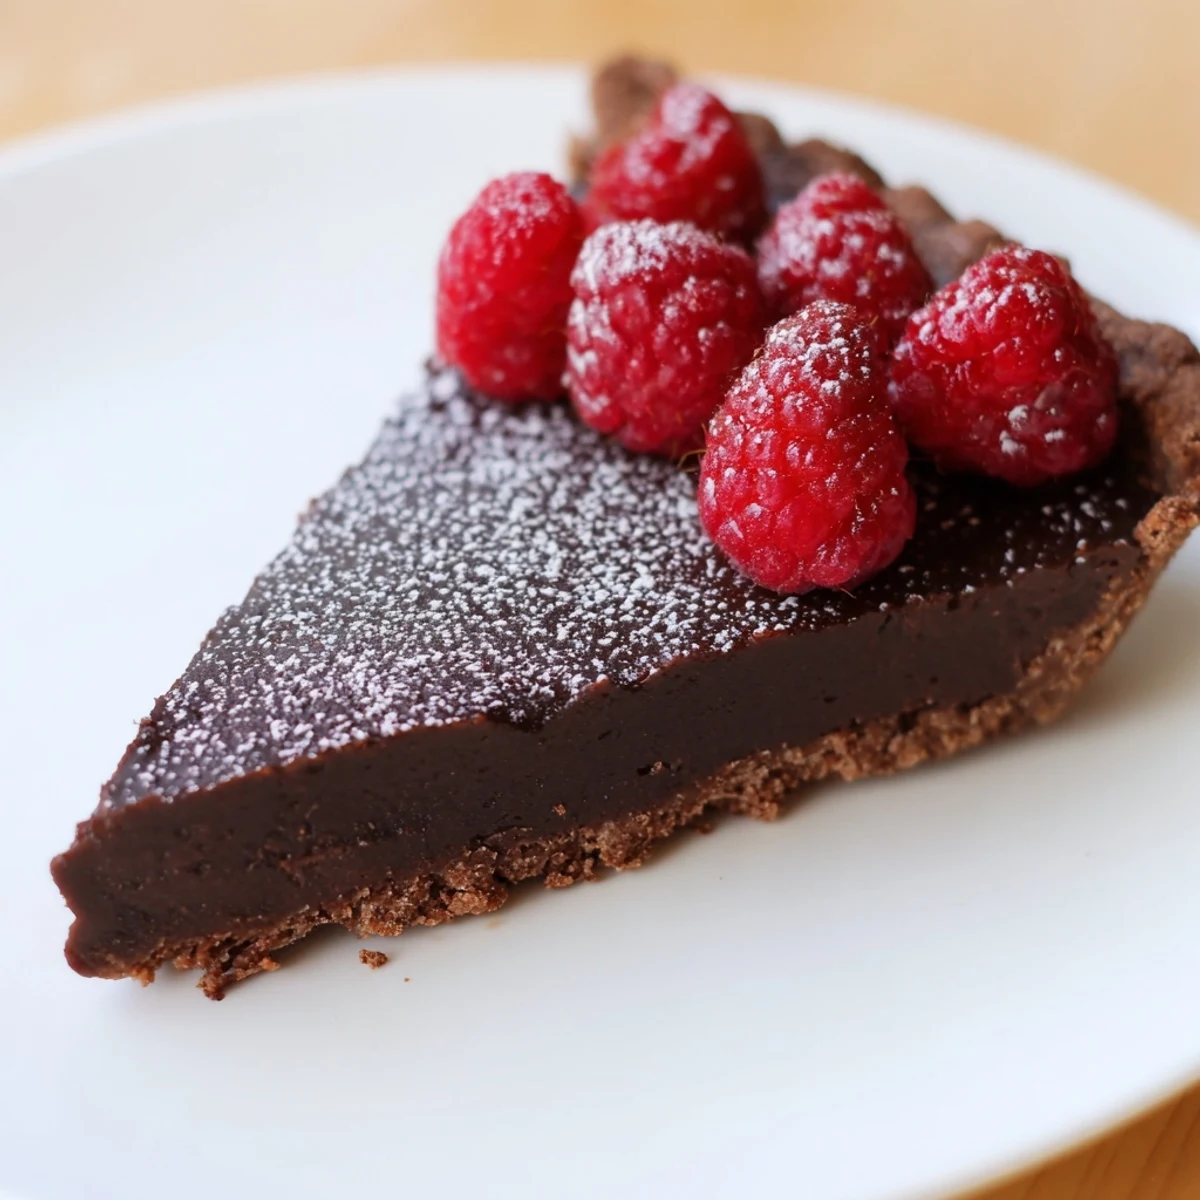
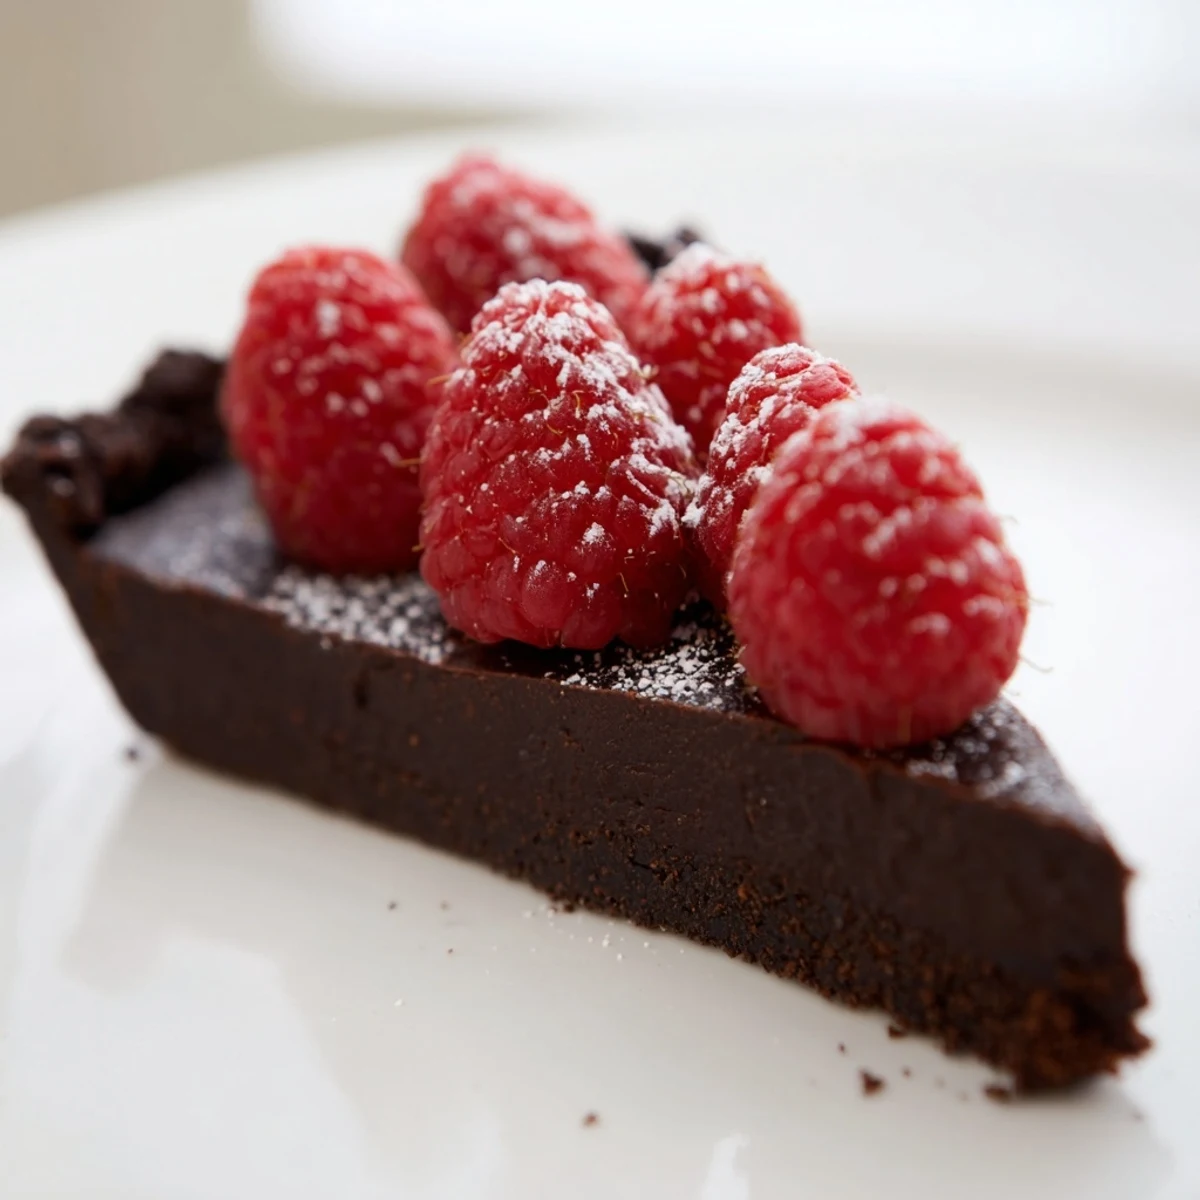
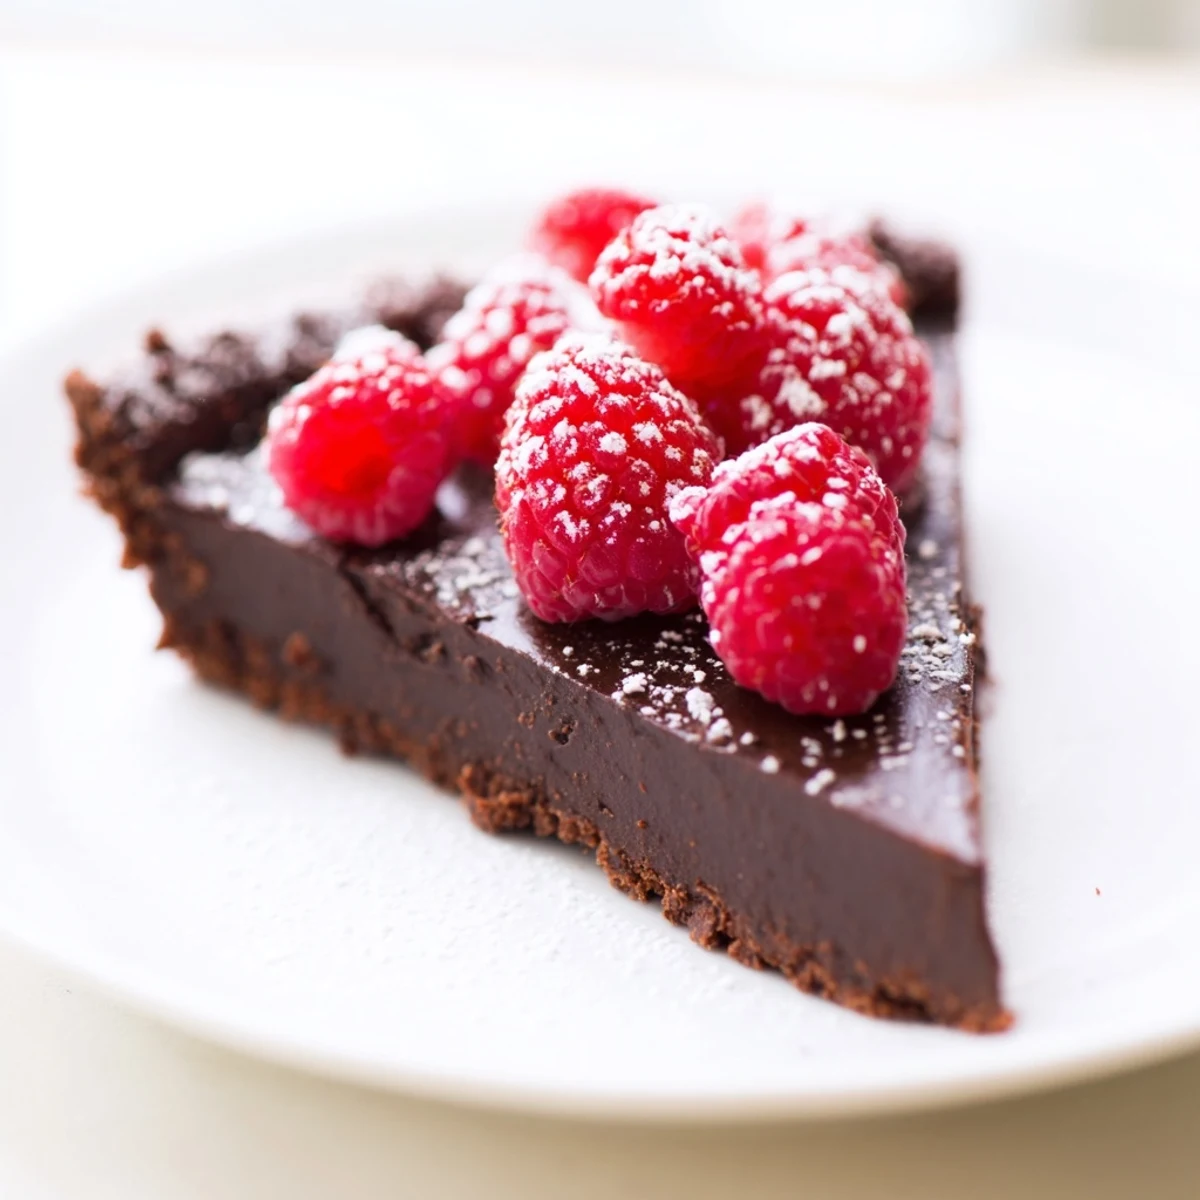
 This decadent dark chocolate tart features a crisp chocolate crust filled with a smooth, rich mixture of dark chocolate, cream, and vanilla. After baking, it's chilled until firm, then adorned with fresh raspberries that add a burst of tartness and vibrant color. The crust combines cocoa powder and butter for a chocolatey crunch that contrasts beautifully with the velvety filling. A light dusting of powdered sugar enhances its elegant appearance.
Preparation involves mixing a buttery crust, baking it until set, then creating a luscious filling by gently melting chocolate with cream and milk. Eggs and sugar are whisked in for silky texture before baking again. Chilling fully sets the tart for perfect slicing and serving. Fresh berries on top bring brightness and a fresh aroma for a stunning finished dessert.
There's a particular moment when you crack open a tart pan and realize you've somehow captured elegance in chocolate form. I was testing recipes for a dinner party when this dark chocolate tart emerged from the oven with a glossy center that wobbled just slightly—that exact wobble that means it's perfect. The smell alone had guests wandering into the kitchen before I'd even finished arranging the raspberries.
I remember standing in my friend's kitchen on a Saturday afternoon, both of us slightly nervous about the dinner we were hosting that evening. We made this tart together, and somewhere between mixing the dough and watching it bake, the whole house smelled like a French chocolaterie. That's the moment I knew this recipe was a keeper—not just because it tasted incredible, but because it turned baking into a conversation instead of a chore.
Ingredients
- All-purpose flour and cocoa powder: They team up here to build a base that's sturdy enough to hold the velvety filling but still tender enough to melt on your tongue.
- Powdered sugar and salt: These aren't just sweeteners and seasonings—they're the foundation that keeps your crust from tasting flat.
- Cold unsalted butter: Coldness is everything here; warm butter spreads into oil, and you lose those precious crispy layers.
- Egg yolk and ice water: The yolk binds everything without toughening the dough, while ice water keeps gluten from overworking.
- High-quality dark chocolate (60–70% cocoa): This is where you don't skimp; cheap chocolate tastes thin and bitter, but good chocolate becomes something luxurious.
- Heavy cream and whole milk: The combo gives you that perfect texture—rich but not dense, silky but still light enough to feel elegant.
- Butter and sugar in the filling: They emulsify with the cream and chocolate to create that glossy, spoonable richness.
- Vanilla extract and sea salt: These tiny additions wake up all the chocolate notes and deepen the flavor in ways you can't quite put your finger on.
- Eggs: They set the filling just enough while keeping it tender and mousse-like in the center.
- Fresh raspberries: Buy them as close to serving time as possible; they're worth the attention.
Instructions
- Make the crust dough:
- Whisk flour, cocoa powder, powdered sugar, and salt together in a bowl. Add cold cubed butter and work it in with a pastry blender or your fingertips until the mixture looks like sand with a few small butter pebbles still visible. This texture is your signal that you're on track—too fine and the crust becomes tough; too chunky and it won't bind. Add the egg yolk and 2 tablespoons of ice water, stirring gently until the dough just barely comes together, adding another tablespoon of water only if absolutely necessary.
- Chill and shape:
- Press the dough evenly into your tart pan, paying special attention to the corners and making sure it's even on the bottom. Prick the base all over with a fork to prevent puffing, then slide it into the freezer for 10 minutes—this resting time is what keeps the crust from shrinking during baking.
- Blind bake the crust:
- Bake at 350°F for 15 minutes until it's set and smells toasted. You might notice it pulling away from the edges slightly—that's perfect. Let it cool while you move on to the next step.
- Heat the cream mixture:
- In a saucepan, warm the heavy cream, milk, and butter together over medium heat until you see tiny bubbles forming around the edges—not a rolling boil, just a gentle simmer. The moment you see steam rising, you're done.
- Create the ganache:
- Remove the pan from heat and add your chopped chocolate all at once. Let it sit untouched for about 2 minutes—the residual heat is doing the work of melting the chocolate. Then whisk it smooth, which should take less than a minute if your chocolate was quality.
- Build the filling:
- Whisk together the sugar, vanilla, and salt into the chocolate mixture, then add your eggs one at a time, stirring until each disappears into the glossy chocolate before adding the next. This creates that silky, emulsified texture that's the whole point.
- Bake the tart:
- Pour the filling into your cooled crust and slide it into the oven for 15–18 minutes. You're looking for the edges to be set and slightly puffed, but the center should still jiggle just a tiny bit when you give the pan a gentle shake—this wobble is what keeps it mousse-like instead of rubbery.
- Cool and chill:
- Let the tart cool on a rack until it reaches room temperature, then refrigerate for at least 1 hour. The filling continues to set as it cools, and this resting time is when all the flavors deepen and come together.
- Final touch:
- Just before serving, arrange fresh raspberries on top in whatever pattern makes you happy. A light dusting of powdered sugar is optional but makes it feel even more special.
 Save to Pinterest
 There's something almost ceremonial about pulling this tart from the fridge an hour later, when everyone's hungry and the room has quieted down. Slicing into it cleanly, seeing that dark chocolate center and placing each piece on a plate with those bright raspberries—it's a moment that feels bigger than dessert. It becomes proof that you made something that tastes as good as it looks.
Why This Recipe Became My Go-To
I stopped making complicated individual desserts and started making this tart because it reads as sophisticated but doesn't require a culinary degree. The chocolate-on-chocolate moment is rich without being overwhelming, and there's something about serving a whole tart that's sliced at the table that elevates even a casual dinner into something memorable. It also sits beautifully in the refrigerator for a day, which means you can build anticipation instead of panicking an hour before guests arrive.
Serving and Storage Ideas
A thin slice with a dollop of unsweetened whipped cream is the classic pairing, though vanilla ice cream melting slightly into the warm chocolate is pure comfort. For a lighter option, a scoop of crème fraîche adds tang without heaviness. If you're serving the next day, keep it covered in the refrigerator and let it sit at room temperature for about 15 minutes before slicing—this keeps the crust crisp and the filling just tender enough to cut cleanly.
Small Variations Worth Trying
Once you've made this once and understand how it works, you can play. A pinch of espresso powder in the filling deepens the chocolate without making it taste like coffee. Orange zest whisked into the ganache adds brightness. If raspberries aren't in season, blackberries work beautifully, or you can skip the fruit entirely and dust the whole tart with cocoa powder for a moody, classic finish.
- Swap the whole milk for coconut milk for a subtle tropical undertone that pairs surprisingly well with dark chocolate.
- Add a teaspoon of Grand Marnier or another liqueur to the filling for elegance if you're cooking for adults only.
- If you're making this gluten-free, use a 1-to-1 flour blend and treat it with the same cold-dough respect—it crumbles more easily, so be gentle.
 Save to Pinterest
 This tart has taught me that elegance doesn't require stress, just good ingredients and patience. Make it once and you'll understand why it keeps showing up on dinner tables.
Common Questions
- → What kind of chocolate is best for this tart?
-
Using high-quality dark chocolate with 60–70% cocoa provides the perfect balance of richness and bitterness that complements the tart’s creamy filling.
- → Can the crust be made gluten-free?
-
Yes, substitute gluten-free flour blends for the all-purpose flour to create a gluten-free crust while maintaining texture.
- → How should the tart be stored after baking?
-
After baking and cooling, refrigerate the tart for at least one hour to allow the filling to set and develop full flavor.
- → Can I use other berries instead of raspberries?
-
Absolutely, blackberries or strawberries make great alternative toppings, adding their own distinct flavors and freshness.
- → What is the purpose of chilling the crust before baking?
-
Chilling firms the dough, preventing shrinkage during baking and ensuring a crisp, even crust texture.
- → Is it necessary to prick the crust with a fork before freezing?
-
Pricking the crust helps steam escape and keeps the crust from bubbling or puffing up during baking, resulting in a flat base.
