 Save to Pinterest
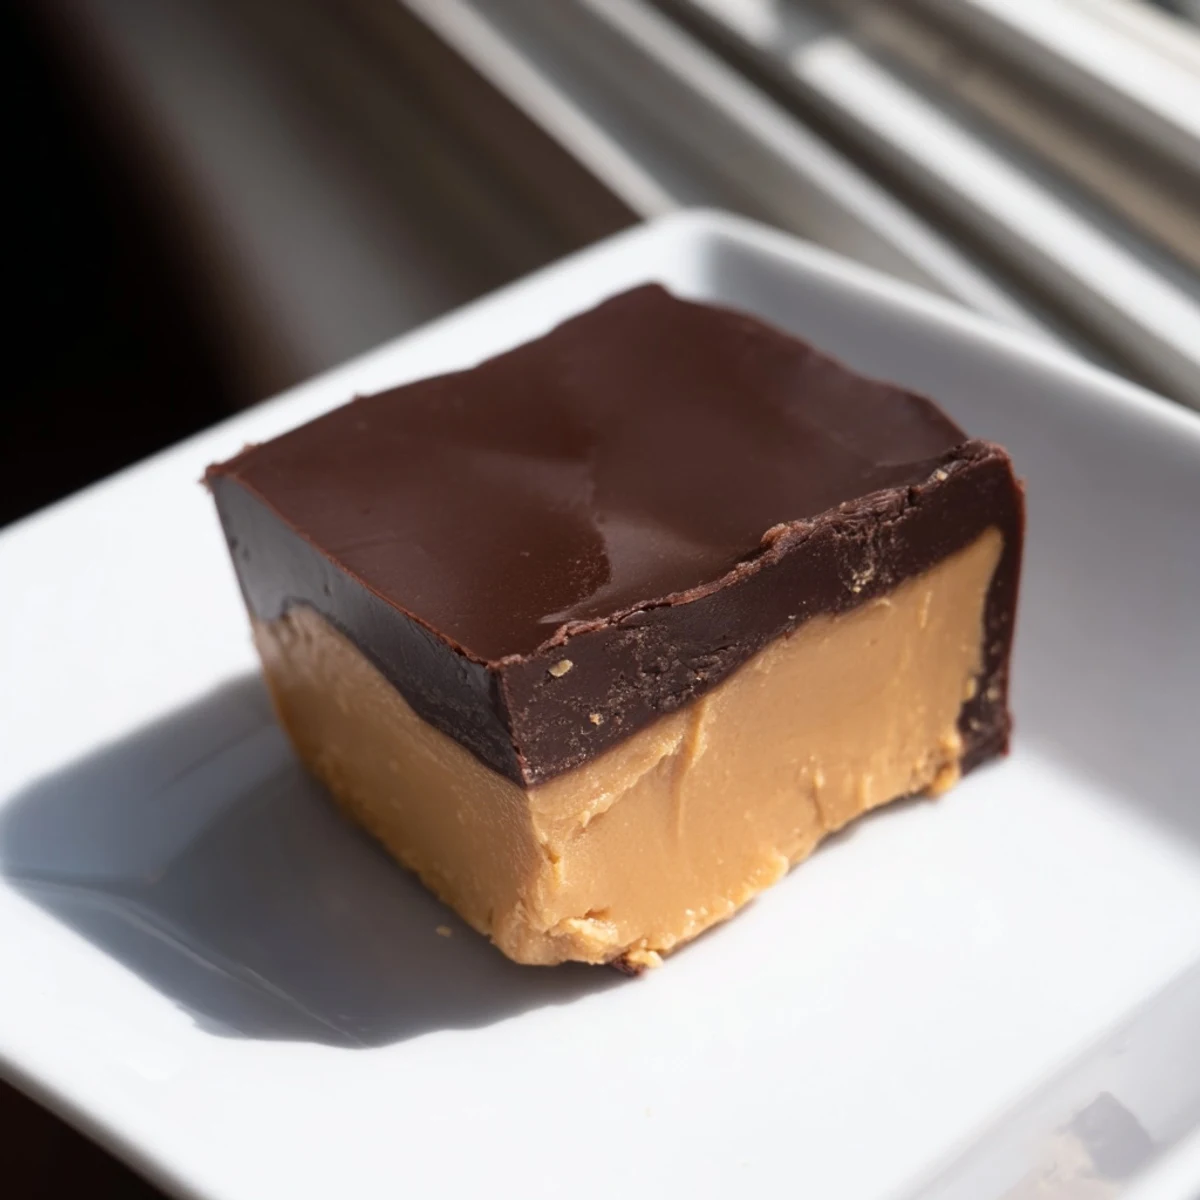
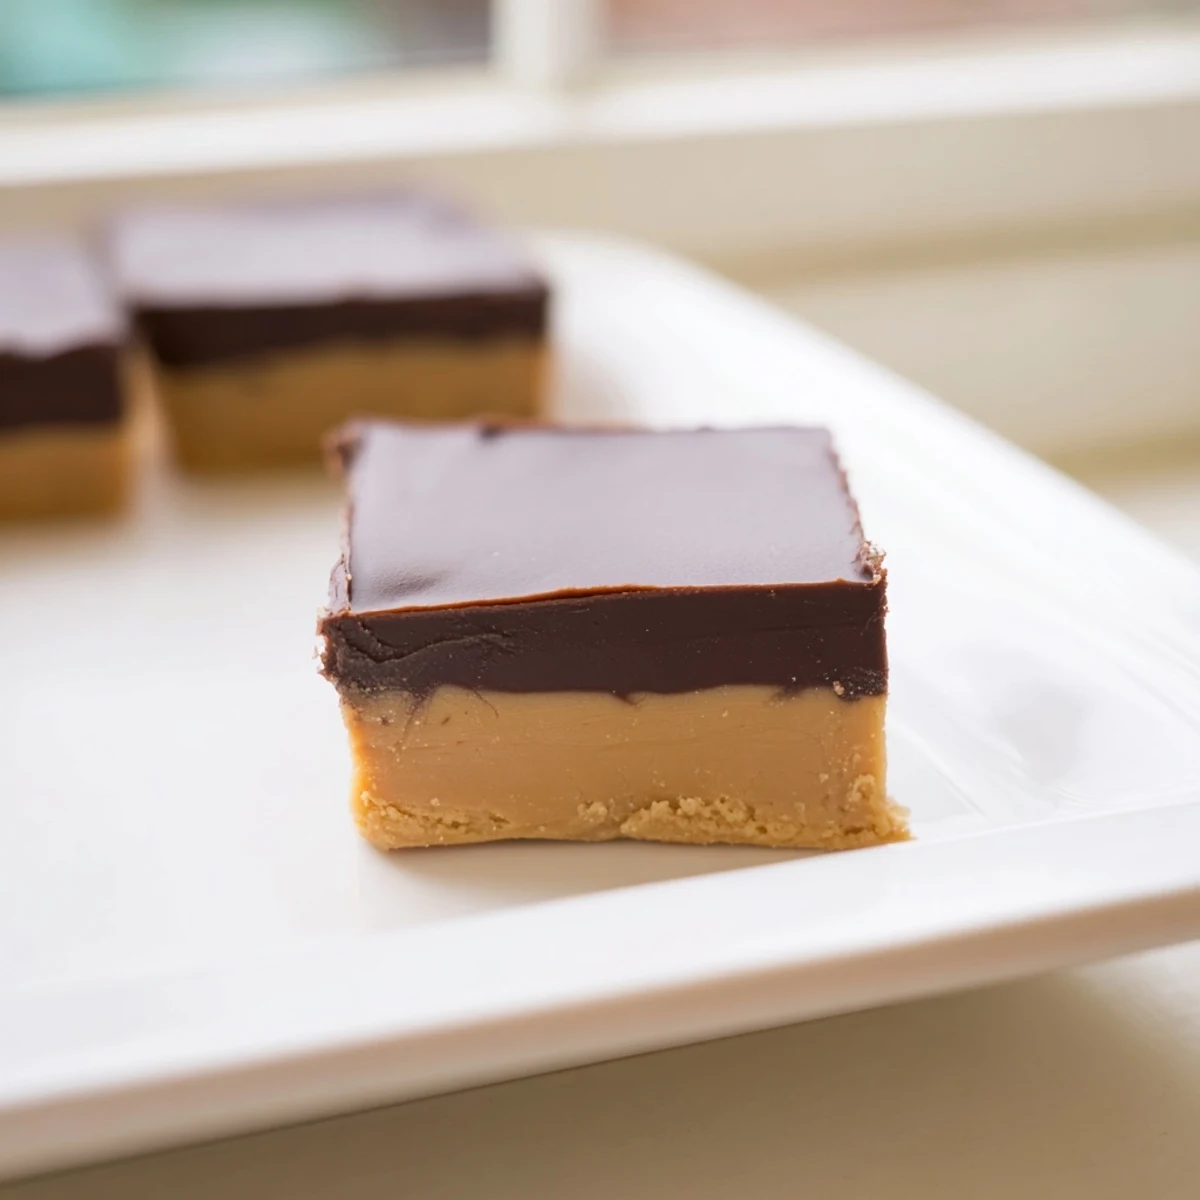
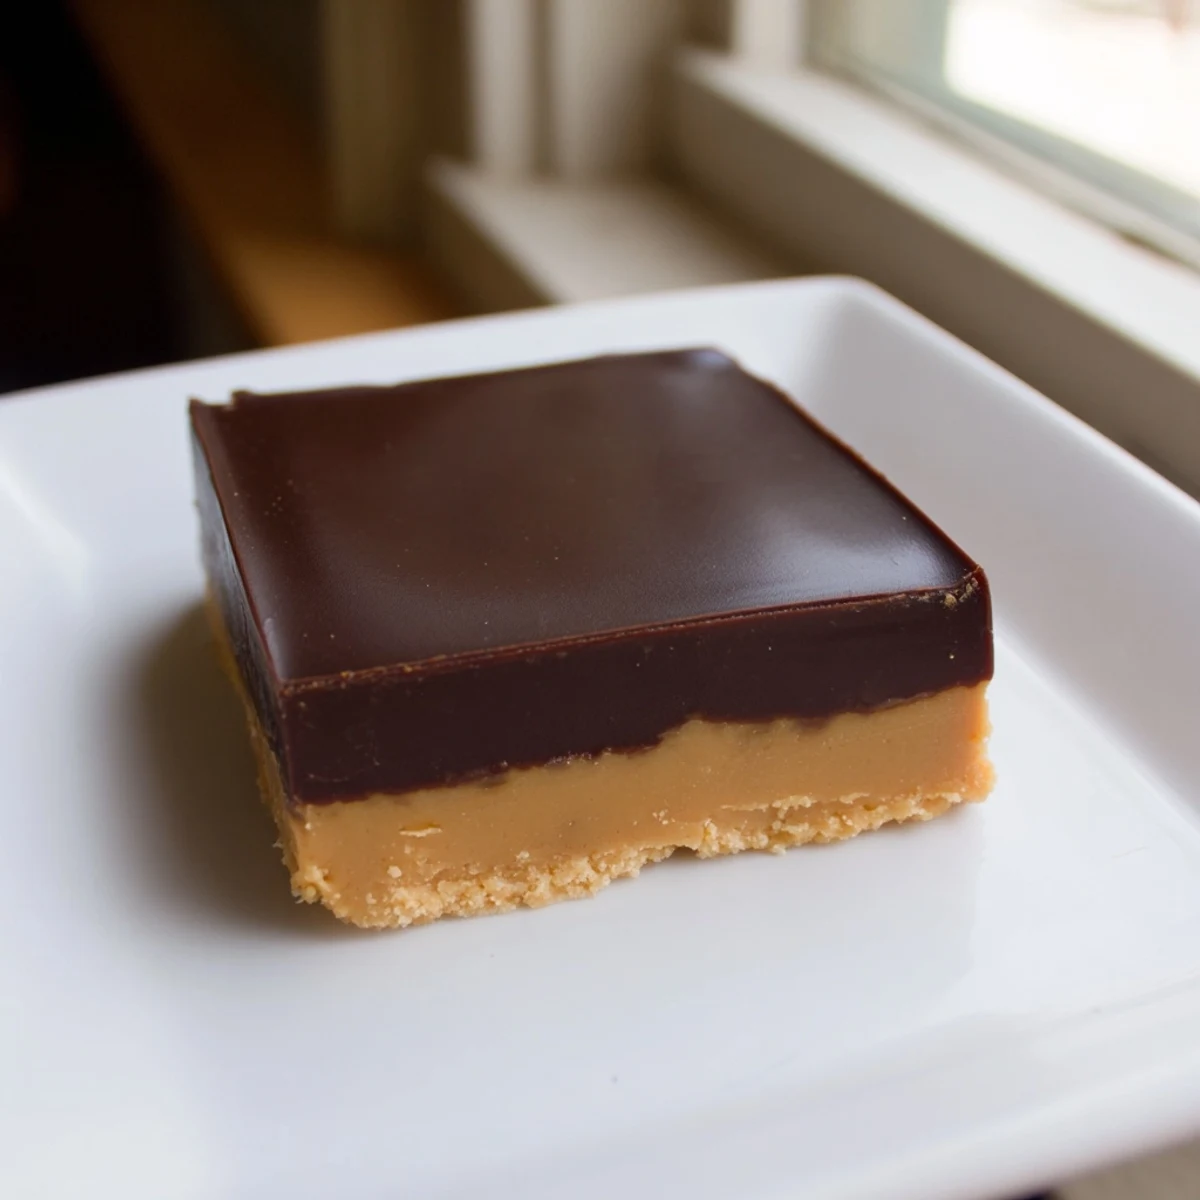
 Create indulgent chocolate peanut butter fudge squares with a smooth peanut butter base topped by a glossy chocolate layer. Combine creamy peanut butter, powdered sugar, and melted butter, then spread in a prepared pan. Melt chocolate chips with sweetened condensed milk and butter, pour over the peanut butter layer, and refrigerate until set. The result is a decadent, melt-in-your-mouth treat that yields 24 squares and requires minimal active cooking time.
The first time I made these chocolate peanut butter fudge squares was during a thunderstorm that knocked out our power for hours. With nothing but candlelight in the kitchen, I realized this no-bake treat was actually perfect for the occasion. The silky chocolate layer melted so beautifully against the peanut butter base even in the dim light, and watching the two layers come together felt like a small miracle amid the darkness.
Last December, my kitchen counters were crowded with holiday cookies when my nephew asked why we never made his favorite peanut butter fudge. Something about his hopeful expression made me pull out the ingredients right then, despite the chaos. We made these squares together, his little hands carefully smoothing each layer, and now its our special tradition whenever he visits.
Ingredients
- Semisweet chocolate chips: I find the semisweet variety offers that perfect balance between bitter and sweet, creating a sophisticated flavor that doesnt overwhelm.
- Creamy peanut butter: The commercial smooth kind actually works better than natural here, as the oils stay properly emulsified and create that perfect texture.
- Powdered sugar: Sifting it first prevents those annoying little lumps that can ruin the silky texture of your peanut butter layer.
- Sweetened condensed milk: This magical ingredient gives the chocolate layer that fudgy consistency without any complicated candy-making techniques.
Instructions
- Prep your pan:
- Line your 8x8 pan with parchment paper, leaving those edges hanging over like little handles. This simple step will save you so much frustration later when its time to lift out your creation.
- Create the peanut butter base:
- Mix your peanut butter, powdered sugar, melted butter, vanilla, and salt until everything comes together into a thick, scoopable mixture. Press it down firmly with the back of a measuring cup for that perfectly smooth surface.
- Make the chocolate layer:
- Combine chocolate chips, condensed milk, and butter in a microwave-safe bowl, stopping to stir every 30 seconds. The mixture will look grainy at first but keep stirring gently and youll witness that magical moment when everything becomes glossy and smooth.
- Layer and chill:
- Pour that velvety chocolate over the peanut butter layer, tilting the pan gently to help it spread evenly to the corners. Then comes the hardest part waiting those full two hours while it sets in the refrigerator.
- Cut and serve:
- Lift the entire block out using those parchment handles and place on a cutting board. For clean cuts, run your knife under hot water and wipe dry between slices.
 Save to Pinterest
 One summer evening, I brought these squares to a backyard gathering where a friend was celebrating finishing her chemotherapy. She hadnt been able to enjoy sweets for months due to treatment, and the look on her face when she tasted that first bite of chocolate peanut butter bliss reminded everyone why food is more than sustenance its a celebration of being alive together.
Storage Tips
These squares actually improve after a day in the refrigerator when the flavors have had time to meld. Ive found they keep beautifully in an airtight container for up to a week, though they rarely last that long in my house.
Variations Worth Trying
One winter when my pantry was running low, I substituted almond butter for the peanut butter and added a sprinkle of flaky sea salt on top. The slightly different nutty profile with those occasional salt crystals created something entirely new that my family now requests regularly.
Serving Suggestions
These squares exist in that perfect space between casual treat and worthy dessert offering. Ive served them alongside vanilla ice cream for dinner guests and packed them in lunch boxes for Tuesday treats.
- Cut them into tiny bite-sized pieces and arrange on a platter with fresh berries for a gorgeous dessert board.
- Warm a square for 10 seconds in the microwave and watch it transform into a molten, spoonable dessert.
- Pack them between layers of parchment paper in a tin for gifting they travel beautifully and always bring smiles.
 Save to Pinterest
 Every kitchen has those recipes that require no special occasion, just a moment when youre craving something truly satisfying. These chocolate peanut butter squares have become that reliable joy in my home, ready whenever life calls for a little sweetness.
Common Questions
- → How long does it take to make these fudge squares?
-
Active preparation takes about 20 minutes, but you'll need 2 hours of refrigeration time for the fudge to set properly and develop the perfect texture.
- → Can I use natural peanut butter instead of creamy?
-
Natural peanut butter can work, but the texture may be slightly grainier. For best results, stir well before measuring to combine any separated oils, or use creamy varieties for smoother layers.
- → What are good substitutes for peanut butter?
-
Almond butter, sunflower seed butter, or tahini work wonderfully as alternatives. Use the same quantity and follow the same mixing process for consistent results.
- → How should I store these squares?
-
Keep fudge squares in an airtight container in the refrigerator for up to one week. They can also be frozen for up to three months for longer storage.
- → How do I prevent the chocolate layer from cracking?
-
Ensure the chocolate mixture is completely smooth and poured while still warm. Refrigerate slowly at room temperature for 30 minutes before moving to the coldest part of your fridge to prevent sudden temperature changes.
- → Can I add toppings before chilling?
-
Yes! Chopped roasted peanuts, sea salt, or crushed cookies sprinkled on the chocolate layer immediately after pouring add excellent texture and flavor before refrigeration.
