 Save to Pinterest
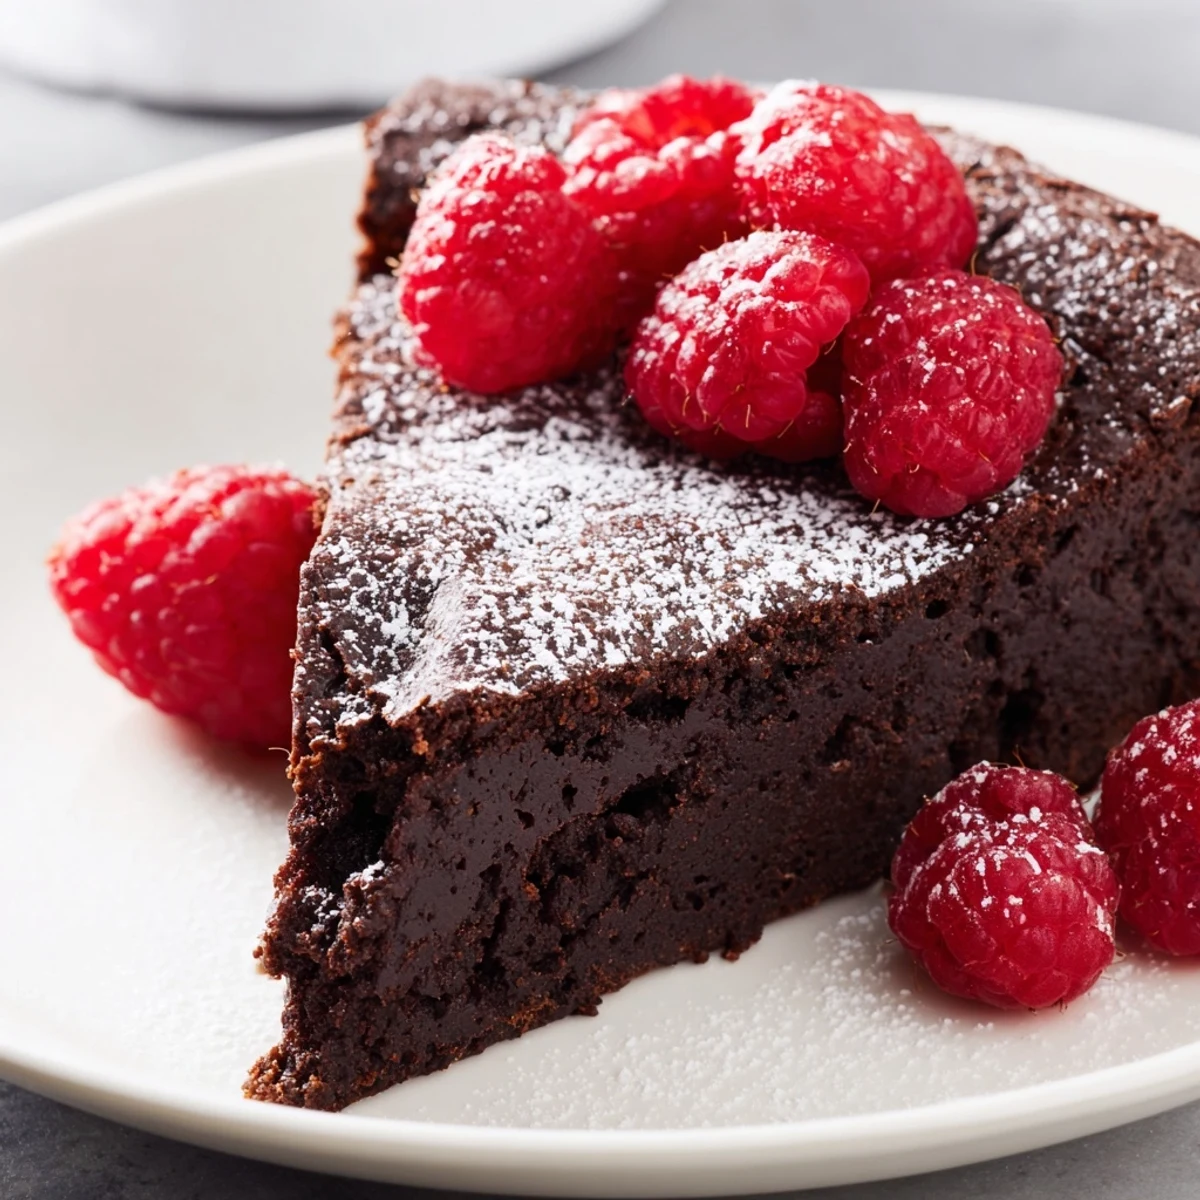
 This rich, ultra-chocolatey creation features a silky texture achieved by melting high-quality dark chocolate with butter. Topped with vibrant fresh raspberries, it offers a perfect balance of sweet and tart flavors. It is an ideal choice for a gluten-free dessert that feels luxurious and satisfying.
There's something about the smell of melting dark chocolate that stops me mid-conversation every single time. Years ago, I was nervously preparing this flourless chocolate cake for my partner's birthday dinner, worried that skipping flour altogether felt too risky, but the moment that glossy batter came together in the bowl, I knew I was onto something special. The cake that emerged from the oven had this impossibly silky center, nothing like the dense hockey pucks I'd imagined, and when I nestled those bright raspberries on top, it felt like the whole cake suddenly had a reason to exist. That night became proof that sometimes the simplest approach—just chocolate, butter, eggs, and time—creates something genuinely magical.
I made this cake last spring for a small dinner party, and I remember how the kitchen filled with that intoxicating chocolate aroma about halfway through baking. My friend asked what smelled so good before she'd even taken off her coat, and when I lifted the springform pan to reveal that deep, glossy surface with the slight wobble in the center, her eyes lit up in a way that made all the careful whisking worthwhile. That moment reminded me why I love baking for people—it's not really about the ingredients, it's about creating something that makes someone pause and feel noticed.
Ingredients
- High-quality dark chocolate (70% cocoa), 200 g: Don't skip quality here—this is your star ingredient, and the cocoa percentage matters because it keeps the sweetness balanced while delivering that deep, sophisticated flavor you're after.
- Unsalted butter, 120 g: Room temperature butter melts more evenly with the chocolate, creating that silky texture that makes this cake feel luxurious.
- Granulated sugar, 150 g: This amount gives structure and sweetness without overwhelming the chocolate; it also helps stabilize the eggs as you whisk.
- Fine sea salt, 1/4 tsp: A small pinch elevates the chocolate flavor in a way people notice but can't quite name.
- Pure vanilla extract, 1 tsp: Real vanilla adds depth and prevents the cake from tasting one-note.
- Large eggs, 4 (room temperature): Cold eggs won't incorporate properly and you'll end up with a thinner, less velvety batter—patience here pays off.
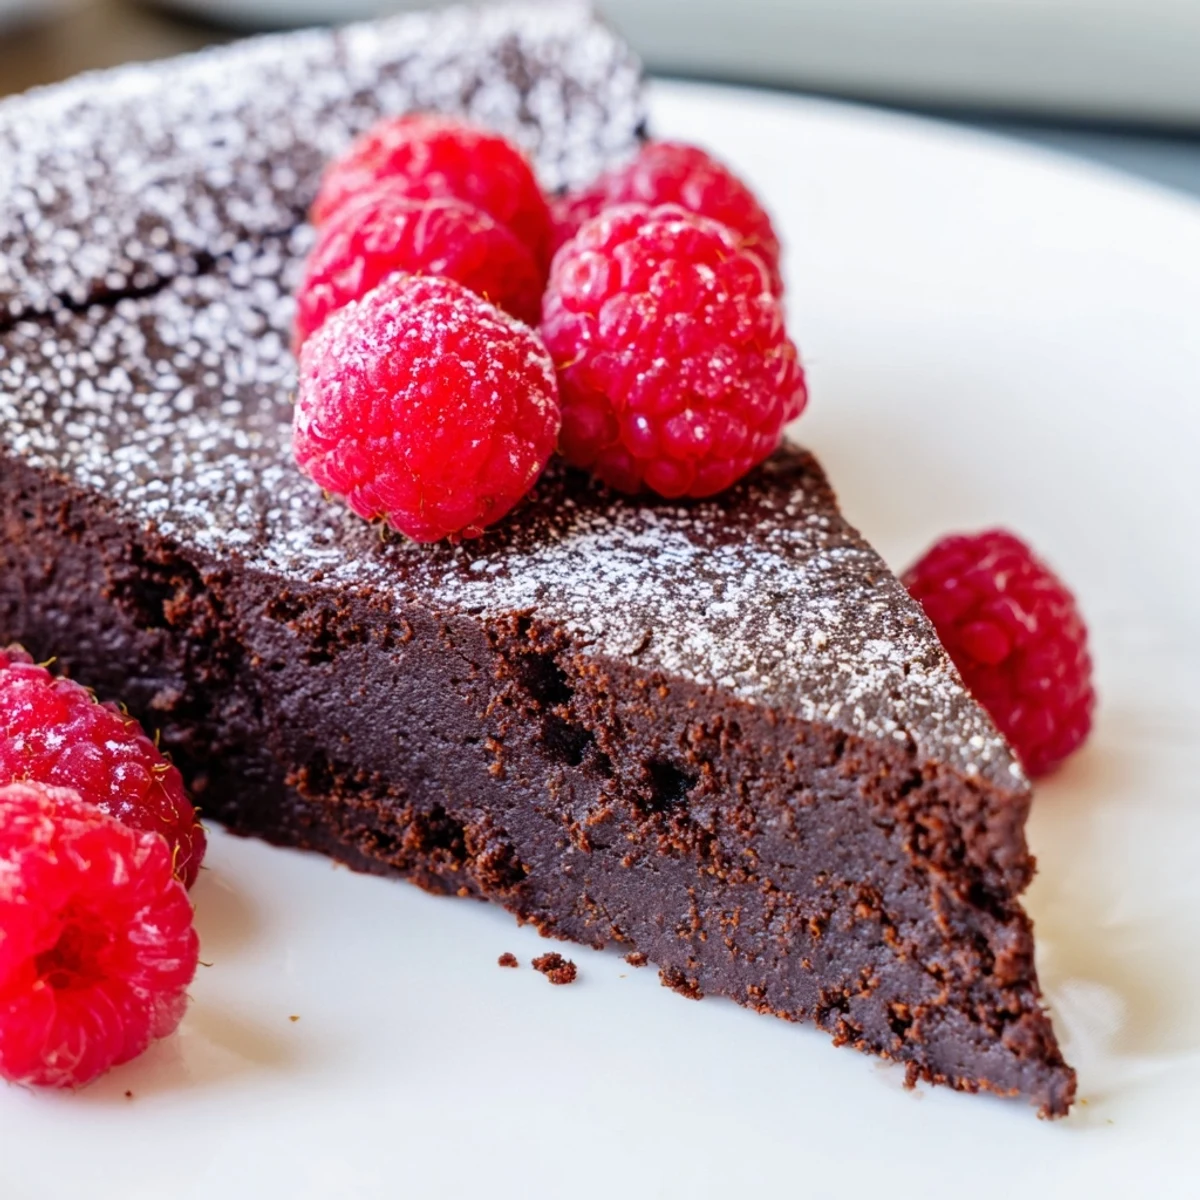
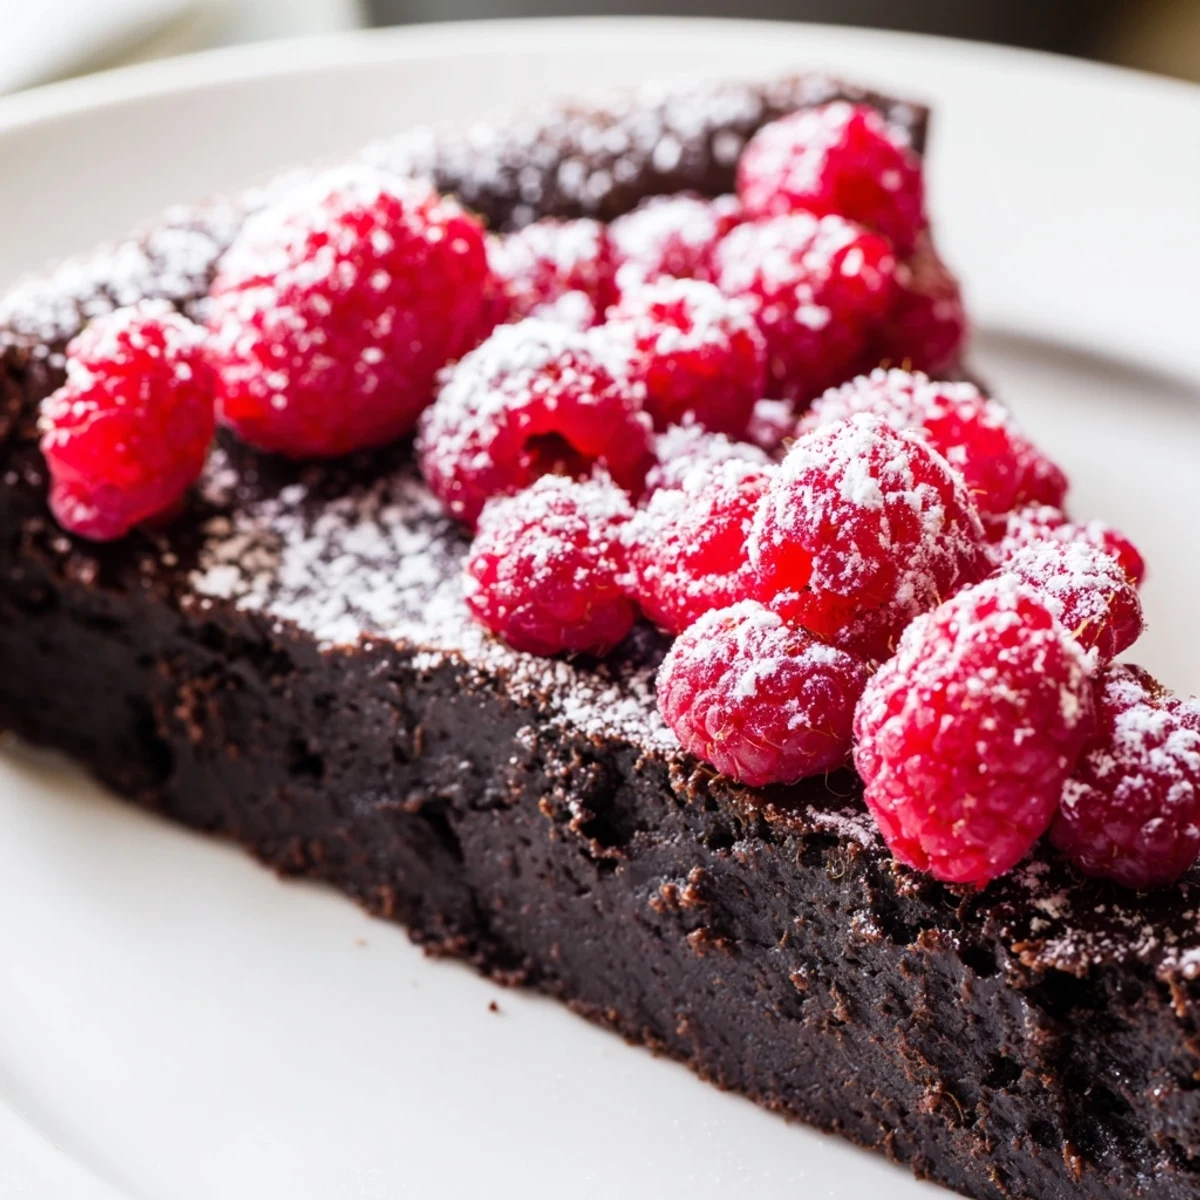
- Fresh raspberries, 125 g: Add these just before serving so they stay bright and don't bleed into the cake; their tartness is essential to the balance.
- Powdered sugar, 1 tbsp (optional): A light dusting just before plating adds elegance and a hint of extra sweetness on top.
Instructions
- Set up your station:
- Preheat the oven to 180°C (350°F) and prep your 20 cm springform pan with a light greasing and parchment paper on the base. Having everything ready before you start melting chocolate means you won't panic mid-way through.
- Melt chocolate and butter together:
- Combine the chopped chocolate and cubed butter in a heatproof bowl set over simmering water, stirring gently until completely smooth—this double-boiler method prevents seizing. Once melted, remove from heat immediately so you're not cooking the chocolate further.
- Build the batter foundation:
- Whisk in the sugar, salt, and vanilla extract into the warm chocolate mixture until everything is fully combined and smooth. You'll notice the mixture starts to look glossy and rich, which is exactly what you want.
- Temper and incorporate eggs:
- Add each egg one at a time, whisking thoroughly after each addition—this aerates the mixture and creates that signature silky texture. After all four eggs are in, keep whisking until the batter looks thick, glossy, and almost mousse-like in texture.
- Transfer and bake:
- Pour the batter into your prepared pan and smooth the top gently with a spatula. Bake for 25–30 minutes until the edges look set but the very center still has a slight wobble when you gently shake the pan—this wobble is your clue that the inside will stay fudgy.
- Cool with patience:
- Let the cake cool completely in the pan on a wire rack for about an hour, resisting the urge to peek too early. As it cools, you'll notice the center sinks slightly, which is completely normal and creates that beautiful concave surface that's perfect for cradling raspberries.
- Finish and serve:
- Once fully cooled, release the springform carefully and transfer the cake to your serving plate. Top with fresh raspberries just before serving and dust lightly with powdered sugar if you'd like that extra touch of elegance.
 Save to Pinterest
 I'll never forget the first time a guest asked for the recipe and then admitted they were intimidated by it because there's no flour. Watching them make it weeks later and then text me a photo of their own perfect flourless cake felt like being handed a small gift—proof that something that seemed risky was actually simple, just different. That moment cemented why I love sharing this recipe; it feels like giving someone permission to trust their instincts in the kitchen.
Why This Cake Works Without Flour
The eggs are doing all the heavy lifting here, which is the secret that changes everything. When you whisk them into the warm chocolate mixture, they trap tiny air bubbles that expand in the oven and create structure, while the chocolate itself contributes richness and body. There's actually less guesswork than traditional baking because you're not battling gluten development or overworking a dough—you're just encouraging eggs to do what they naturally do when treated gently.
The Raspberry Moment
Fresh raspberries are the unsung hero of this cake, and I learned this the hard way by topping the cake an hour before guests arrived, only to watch the berries release their juice and stain the glossy chocolate. Now I add them at the last possible moment, literally right before plating, which keeps them jewel-bright and prevents any weeping. The tartness and slight texture of the raspberries break up the richness so beautifully that you can actually eat a full slice without feeling overwhelmed by chocolate.
Serving Suggestions
This cake shines on its own, but it also plays beautifully with accompaniments if you're in the mood to elevate it further. A small dollop of whipped cream or a scoop of vanilla ice cream melts into the warm center and adds a cooling contrast that some people absolutely live for. The cake is rich enough that eight slices is genuinely appropriate, and it actually tastes better the next day once all the flavors have settled and deepened together.
- Whipped cream brings airiness and a subtle sweetness that doesn't compete with the chocolate.
- Vanilla ice cream creates a temperature contrast that makes each bite feel like two desserts in one.
- A dusting of cocoa powder on the plate underneath the slice adds visual drama with almost zero effort.
 Save to Pinterest
 This cake reminds me that sometimes the best recipes are the ones that feel slightly impossible until you make them, and then suddenly they feel obvious. Once you've made it once and seen how those four eggs transform into something silky and substantial, you'll understand why this flourless cake has earned its place on my regular rotation.
Common Questions
- → Is this dessert gluten-free?
-
Yes, this cake uses no flour, making it naturally gluten-free. However, always check your chocolate labels to ensure there is no cross-contamination.
- → Can I use milk chocolate instead of dark chocolate?
-
You can, but the result will be much sweeter. Using 70% cocoa dark chocolate provides a rich intensity that balances the sugar and fresh raspberries.
- → How should I store leftovers?
-
Keep the cake in an airtight container at room temperature for up to two days, or refrigerate it for up to five days to maintain its texture.
- → Can I use frozen raspberries?
-
Fresh raspberries are best for the topping as they hold their shape. If using frozen, thaw them completely and pat them dry to prevent excess moisture.
- → Why did the center sink?
-
A slight sink in the center is normal for flourless cakes as they cool. It actually helps create a dense, fudgy texture rather than a dry, airy one.
