 Save to Pinterest
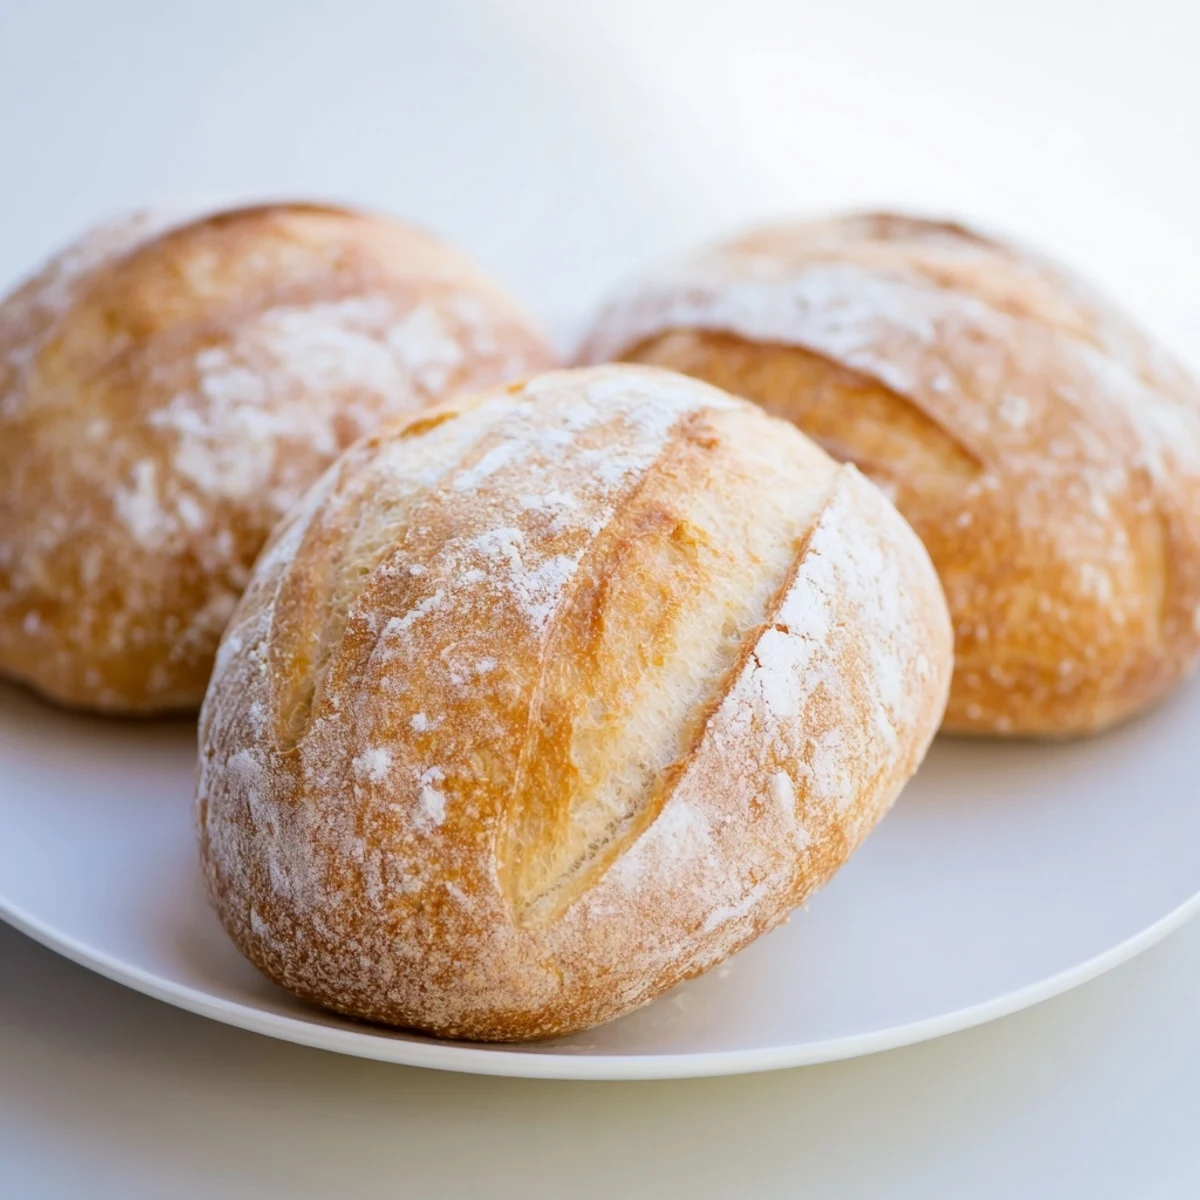
 These classic French bread rolls feature a beautifully golden, crunchy crust that gives way to a soft, airy interior. Perfect for serving warm with salted butter, alongside hearty soups, or building your favorite sandwiches. The steam baking technique creates that authentic bakery-style crust while keeping the inside tender and light.
My tiny apartment kitchen barely had space for a baking sheet, but the smell of fresh bread completely took over the place. I started making these rolls during a rainy spring weekend when comfort food felt essential. Now they are my go to whenever I need to turn a simple dinner into something special.
Last winter I made a batch for a dinner party and my friend actually asked if I had bought them from a bakery downtown. Watching people break open warm bread and slather it with butter became one of my favorite hosting moments. There is something magical about serving bread you created with your own hands.
Ingredients
- Bread flour: The higher protein content creates that perfect chewy texture we all love in French bread.
- Lukewarm water: Temperature matters here, too hot kills the yeast and too cold slows everything down.
- Active dry yeast: This little organism does all the heavy lifting, so give it time to wake up properly.
- Salt: Do not be tempted to skip this, it is essential for flavor and controlling the fermentation.
- Sugar: Just enough to feed the yeast without making the rolls taste sweet.
Instructions
- Wake up the yeast:
- Combine your lukewarm water and sugar in a large bowl, then sprinkle the yeast on top like you are planting tiny seeds. Wait about ten minutes until the surface looks foamy and alive.
- Build the dough:
- Add the flour and salt into your yeast mixture, stirring until everything comes together into a shaggy ball. Turn it onto a clean surface and knead for eight to ten minutes until the dough feels smooth and elastic under your hands.
- First rise:
- Place your dough in a greased bowl and cover it with a damp cloth like you are tucking it in for a nap. Let it rest in a warm spot for about an hour until it has doubled in size.
- Shape the rolls:
- Gently punch down the dough to release some of that air, then divide it into eight equal pieces. Roll each piece into a smooth ball or tuck the edges under to form ovals.
- Second rise:
- Arrange your rolls on a parchment lined baking sheet with enough space to spread out. Cover them loosely with a towel and let them proof for thirty to forty minutes.
- Create steam:
- Preheat your oven to 450 degrees and place a tray of water on the bottom rack, which creates the steam needed for that professional bakery crust.
- Score and bake:
- Dust each roll lightly with flour and use a sharp knife to make a quick slash across the top. Bake for twenty to twenty five minutes until deep golden brown.
- Cool completely:
- Let the rolls rest on a wire rack for at least fifteen minutes before breaking into them, which completes the cooking process.
 Save to Pinterest
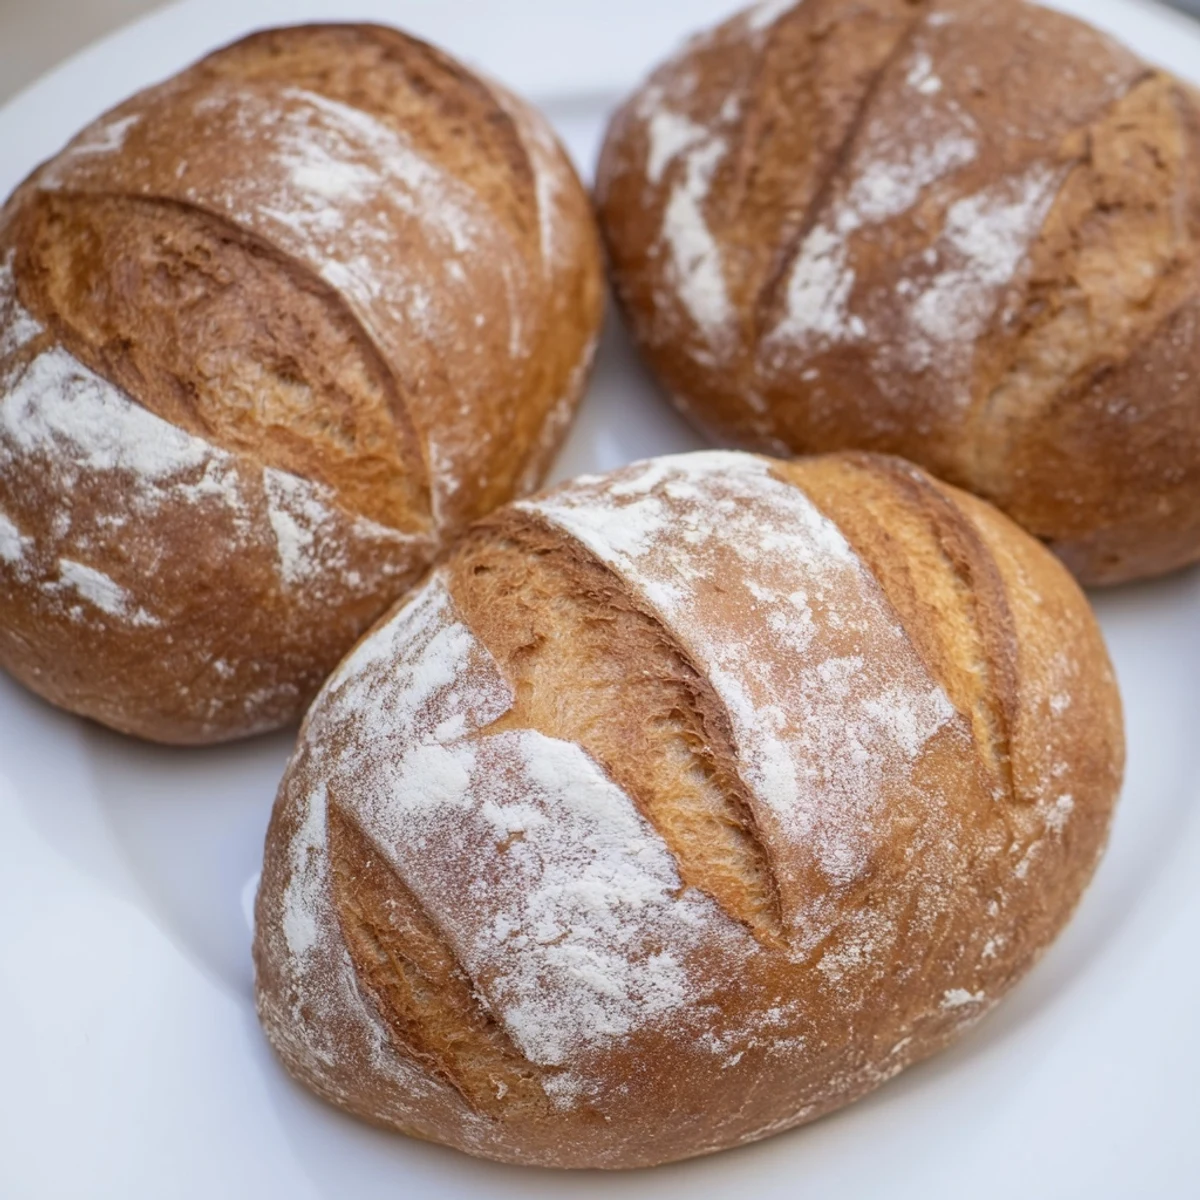
 These rolls became my signature contribution to family gatherings, requested more often than any dessert I have ever made. There is something deeply satisfying about mastering a recipe that seems intimidating but becomes second nature with practice.
Getting The Rise Right
The temperature of your kitchen affects how quickly the dough rises, so in colder months I sometimes preheat my oven briefly then turn it off to create a warm proofing box. Too cold and the yeast stays sleepy, while too much heat can cause the dough to overproof and collapse.
Shaping Techniques
I used to struggle with getting uniform rolls until I started using a kitchen scale to divide the dough evenly. Creating surface tension on the outside of each roll by tucking the dough underneath gives you that beautifully smooth exterior.
Storage and Reheating
These rolls are best enjoyed the same day but can be stored in a paper bag to maintain some crispness without getting soggy. To refresh leftover rolls, sprinkle them lightly with water and warm them in a 350 degree oven for five minutes.
- Freeze extra rolls immediately after cooling for up to three months.
- Thaw frozen rolls at room temperature, then refresh them in the oven.
- Never store freshly baked bread in plastic bags or the crust will soften completely.
 Save to Pinterest
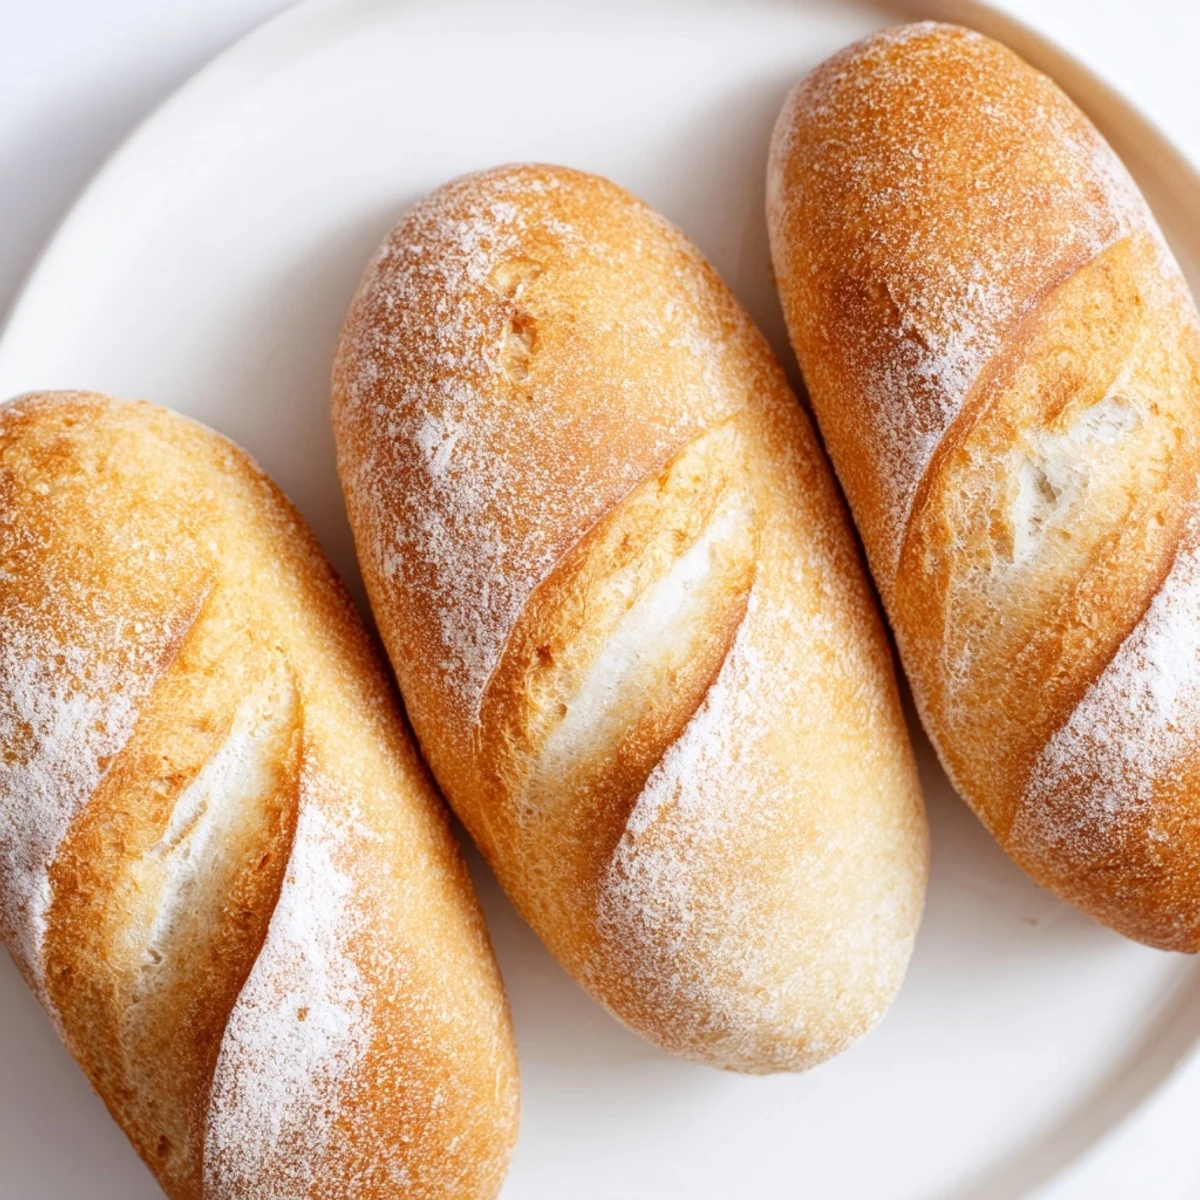
 There is nothing quite like breaking open a warm roll you made yourself, steam rising into the kitchen. Happy baking.
Common Questions
- → How do I get a crispy crust on my French bread rolls?
-
The secret to a crispy crust is creating steam in the oven. Place a tray of water on the bottom rack while preheating. The steam keeps the dough moist initially, allowing it to expand fully before the crust forms, resulting in that perfect crunchy exterior.
- → Can I make these rolls ahead of time?
-
Yes! You can prepare the dough, shape the rolls, and refrigerate them overnight before the final rise. In the morning, let them come to room temperature and rise for about 30-40 minutes before baking. Fresh baked rolls for breakfast!
- → Why did my rolls turn out dense instead of fluffy?
-
Dense rolls usually result from not letting the dough rise long enough or kneading insufficiently. Ensure your yeast is fresh and foamy before proceeding. Let the dough double in size during both rises, and knead for the full 8-10 minutes to develop gluten structure.
- → What's the purpose of slashing the tops before baking?
-
Slashing the rolls with a sharp knife creates a controlled path for the dough to expand while baking. This gives you that attractive split pattern and prevents the rolls from bursting unevenly. Score about 1/4 inch deep at a slight angle.
- → Can I use all-purpose flour instead of bread flour?
-
You can, but bread flour is recommended for the best texture. Bread flour has higher protein content, creating more gluten and giving you that chewy, bakery-style interior with superior structure. All-purpose will still work but yield slightly softer, less chewy rolls.
