 Save to Pinterest
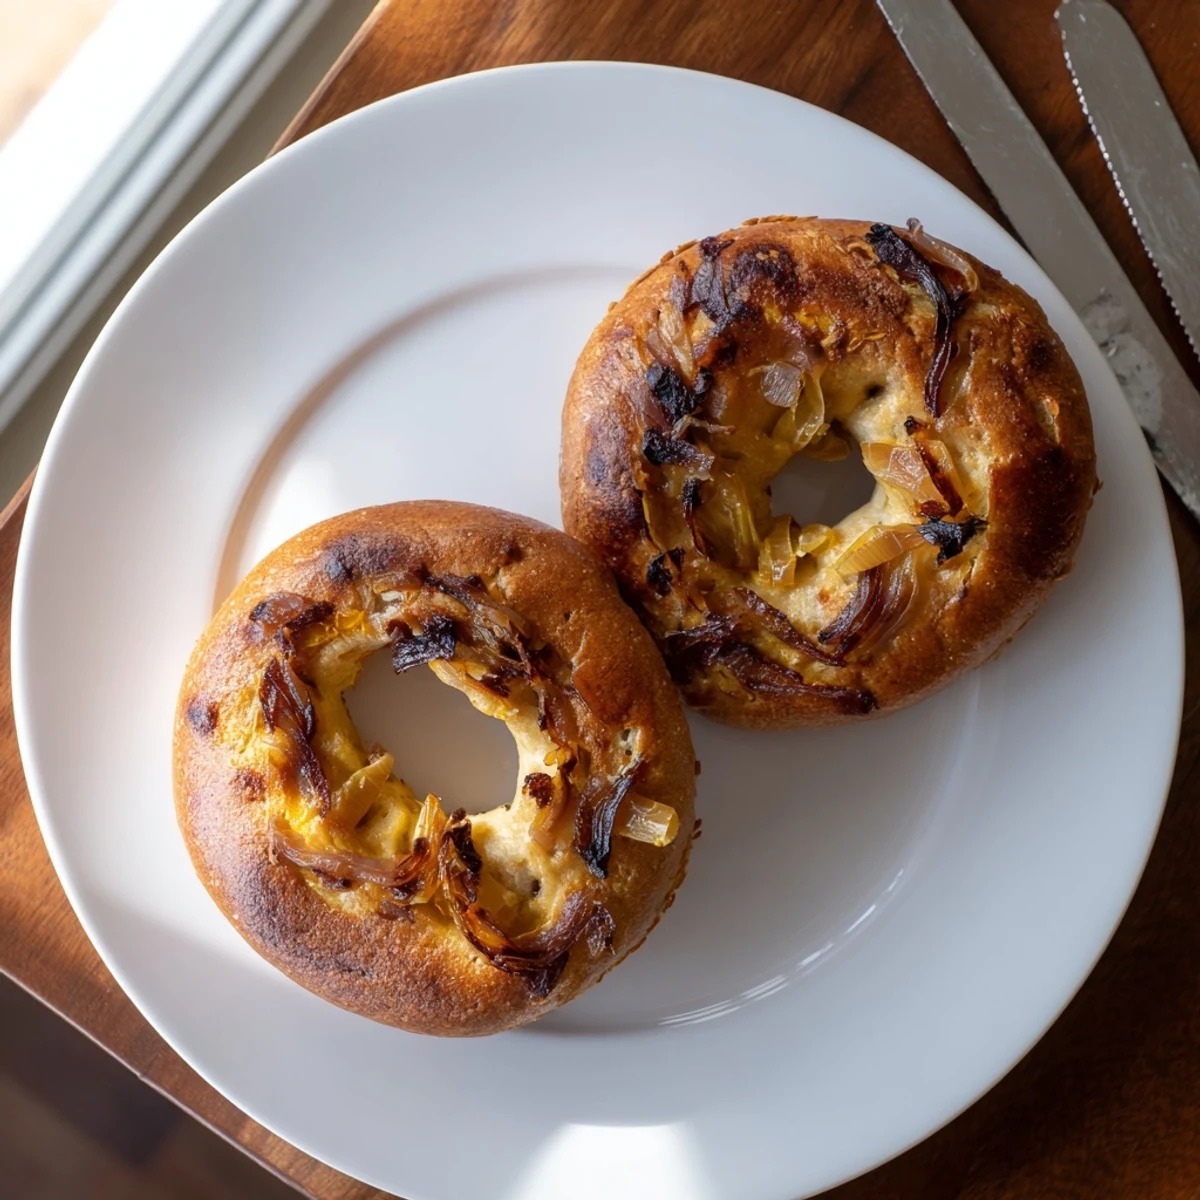
 These artisan bagels combine the tangy complexity of naturally fermented sourdough with the rich sweetness of slowly caramelized yellow onions. The overnight cold proofing develops deep flavor while creating that characteristic chewy texture bakery bagels are known for. Each bagel gets a quick boil in malt-sweetened water before baking, ensuring the perfect glossy crust and tender interior.
The process requires planning ahead—the dough ferments for 4-6 hours before an overnight refrigeration that builds flavor and makes shaping easier. The onion topping cooks down for nearly 25 minutes until deeply golden and sweet. While the total time stretches over 13 hours, most of that is hands-off fermentation time. The result is worth the wait: eight perfectly crisp, chewy bagels with a golden crust and savory-sweet onion topping that elevates your morning routine.
The first time I made these sourdough onion bagels, my entire apartment smelled like a French bistro. My roommate wandered out at midnight asking what restaurant had moved in, only to find me hovering over the oven watching bagels turn golden.
These bagels have become my go to contribution to weekend brunch with friends. Theres something deeply satisfying about sliding a warm bagel onto a wooden board, the onion topping still glistening, while coffee brews in the background.
Ingredients
- Active sourdough starter: This fermented base provides the characteristic tang and chew that defines authentic bagels
- Bread flour: Higher protein content creates the dense satisfying texture bagels are famous for
- Whole wheat flour: Adds nutty depth and helps create a sturdy dough that holds its shape during boiling
- Honey: Feeds the sourdough and adds subtle sweetness that balances the onions sharpness
- Fine sea salt: Essential for flavor but also helps strengthen the gluten structure
- Yellow onions: When caramelized slowly they become sweet and deeply flavorful
- Olive oil: Helps onions cook evenly without burning
- Barley malt syrup: The secret ingredient that gives bagels their professional shiny crust
Instructions
- Caramelize the onions:
- Heat olive oil in a skillet over medium low heat, add thinly sliced onions and salt, cook stirring occasionally for 20 to 25 minutes until deeply golden and fragrant
- Mix the base:
- Combine sourdough starter, warm water, and honey in a large bowl until the starter dissolves completely into the liquid
- Build the dough:
- Add both flours and salt, mix until a rough dough forms, then knead on a floured surface for 8 to 10 minutes until smooth and elastic
- First rise:
- Place dough in a lightly oiled bowl, cover, and let rest at room temperature for 4 to 6 hours until doubled
- Shape portions:
- Divide dough into 8 equal pieces, roll each into a tight ball, then poke a hole through the center and stretch gently to form a 2 inch opening
- Cold proof:
- Place shaped bagels on a parchment lined sheet, cover loosely, proof at room temperature for 1 hour, then refrigerate overnight
- Prepare the bath:
- Preheat oven to 220°C and bring water with barley malt syrup to a gentle boil in a wide pan
- Boil and bake:
- Boil each bagel for 45 seconds per side, return to the baking sheet, press caramelized onions onto the tops, bake for 20 to 25 minutes until golden and crisp
 Save to Pinterest
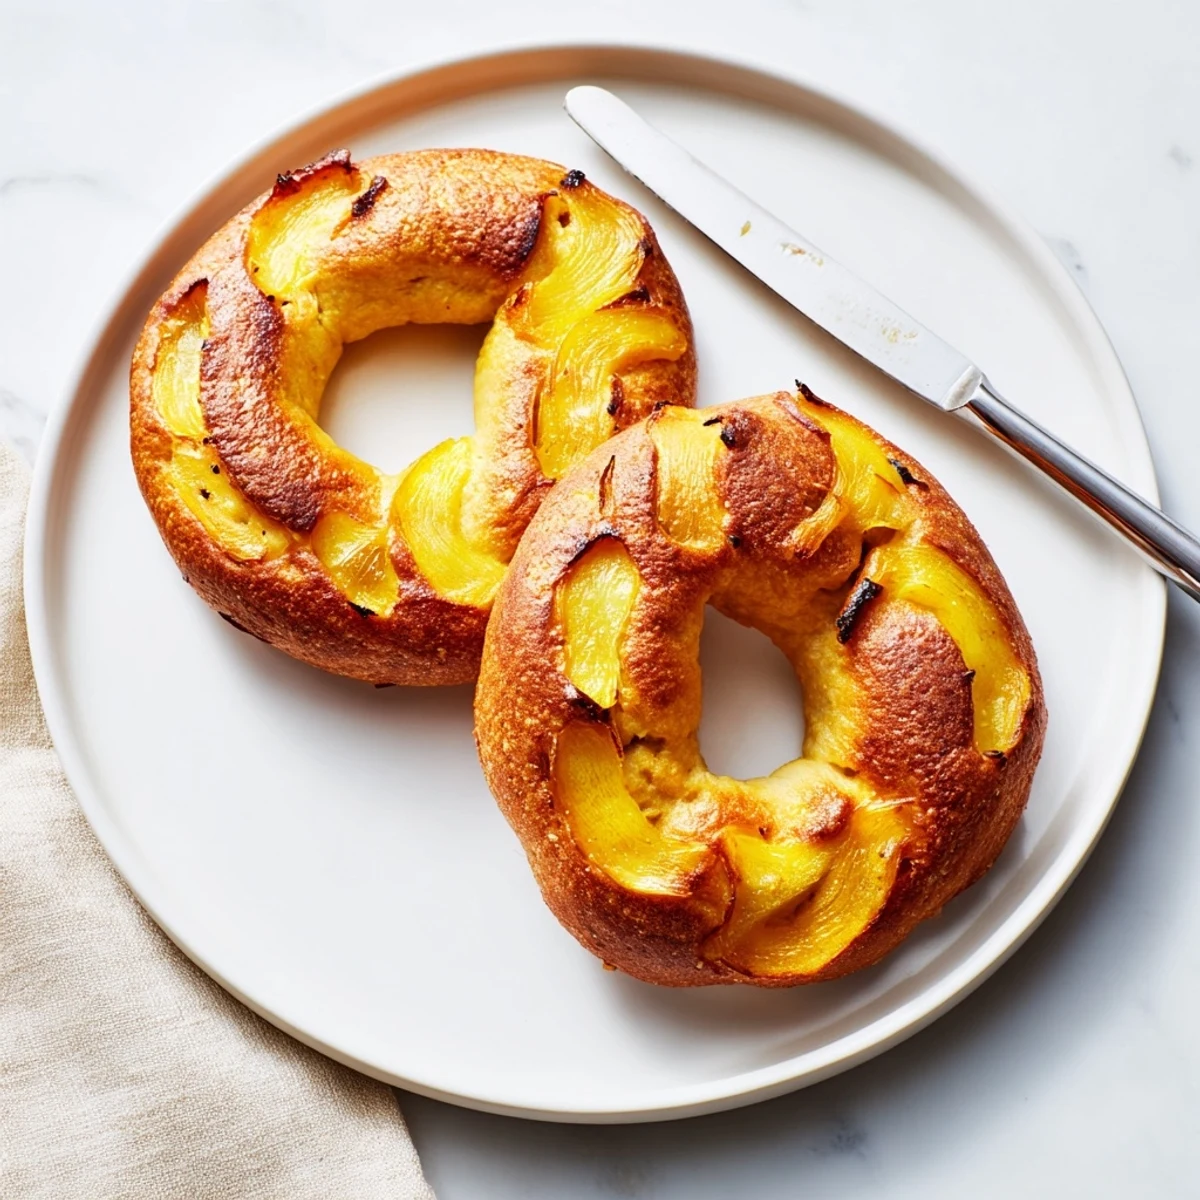
 Last weekend my friend took one bite and immediately asked for the recipe, which is always my favorite kind of feedback. Theres nothing quite like pulling a fresh batch from the oven and watching steam rise off the crispy onion crust.
Getting The Perfect Texture
The key to bakery style bagels is developing strong gluten through proper kneading. Your dough should push back when you press it, indicating the protein structure is tight enough to hold its shape through the boiling process.
Timing Your Bake
Ive learned to start the onions first since they need the most attention and can cool while you work the dough. This multitasking approach makes the whole process feel like a calm rhythm rather than a race against the clock.
Storing And Freezing
These bagels freeze beautifully if you slice them first. I always keep a stash in the freezer for busy weekday mornings when something homemade feels like a small luxury.
- Wrap cooled bagels individually in plastic wrap before freezing
- Toast directly from frozen for best texture
- Frozen bagels stay fresh for up to one month
 Save to Pinterest
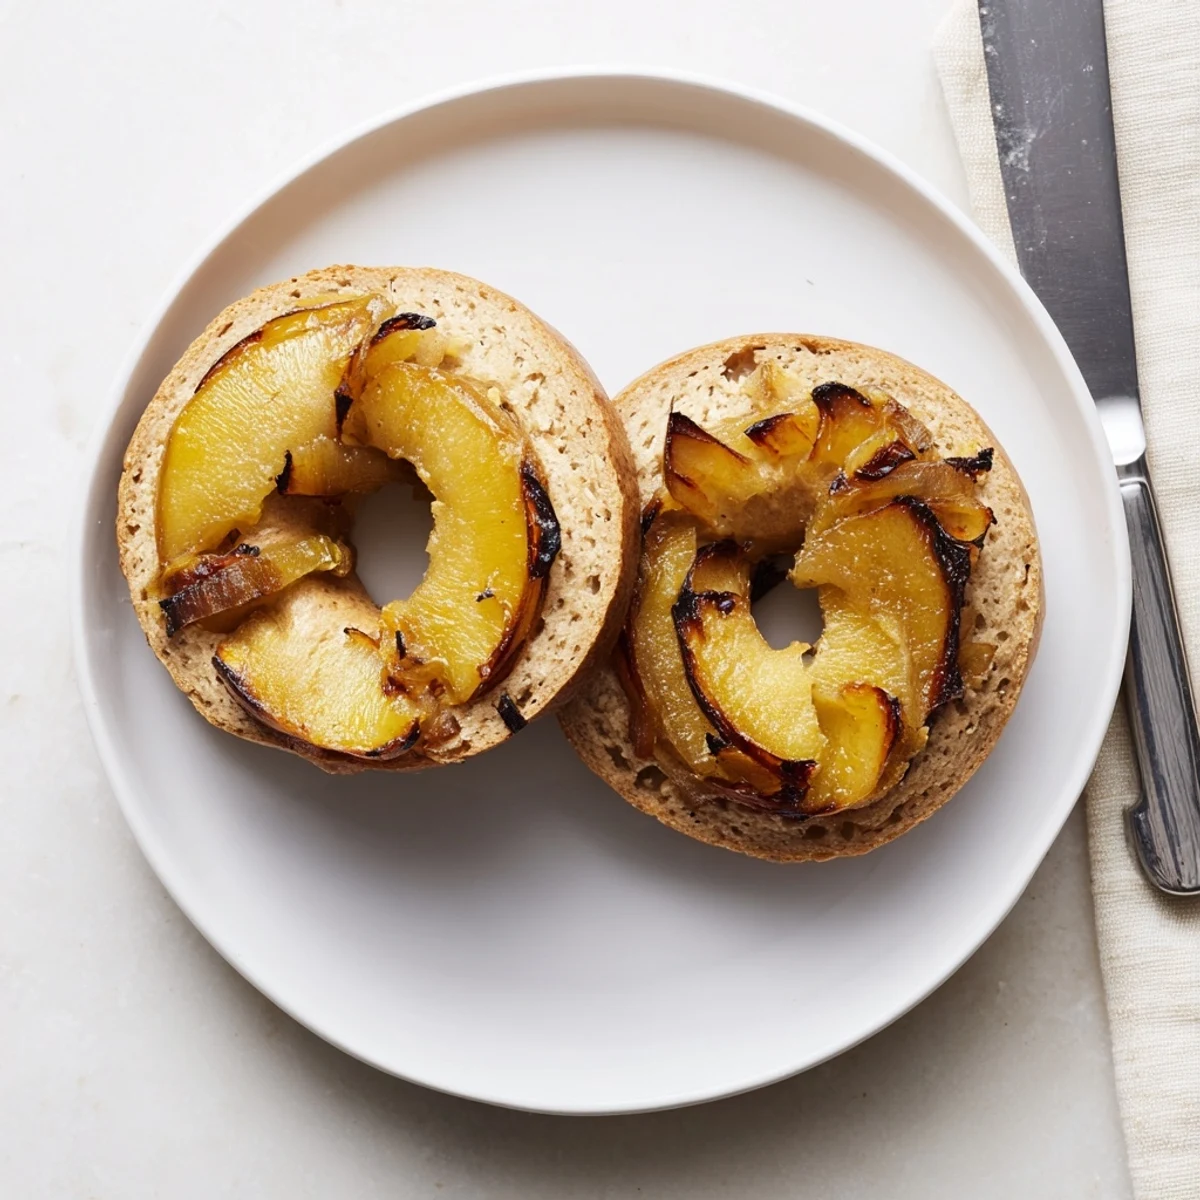
 Whether youre feeding a crowd or treating yourself, these bagels transform breakfast into something special. Happy baking, friend.
Common Questions
- → What makes sourdough bagels different from regular ones?
-
Sourdough bagels use natural fermentation instead of commercial yeast, giving them a tangier flavor and longer shelf life. The wild yeast creates a more complex taste profile and chewier texture that develops over the longer fermentation period.
- → Can I skip the overnight refrigeration?
-
The overnight cold proof is essential for flavor development and easier handling. Without it, the bagels won't have the same depth of flavor or achieve that ideal chewy texture. It also relaxes the gluten, making shaping much easier.
- → Why do bagels need to be boiled before baking?
-
Boiling gelatinizes the surface starch, creating that signature shiny crust and chewy interior. The malt syrup or honey adds subtle sweetness and helps the crust brown beautifully in the oven. This step is what separates bagels from regular bread.
- → How should I store these bagels?
-
Keep fresh bagels at room temperature for up to 2 days in a paper bag. For longer storage, slice and freeze in airtight bags for up to 1 month. Toast straight from frozen for the best texture and flavor.
- → Can I make these without sourdough starter?
-
These specifically rely on sourdough starter for their characteristic tang and texture. Substituting commercial yeast would change the flavor profile significantly. If you're new to sourdough, consider starting a beginner-friendly starter first.
- → What's the best way to caramelize onions for bagels?
-
Cook sliced onions slowly over medium-low heat with oil and salt for 20-25 minutes, stirring occasionally. Low and slow allows the natural sugars to break down and caramelize without burning. Don't rush this step—the deeper the color, the more intense the flavor.
